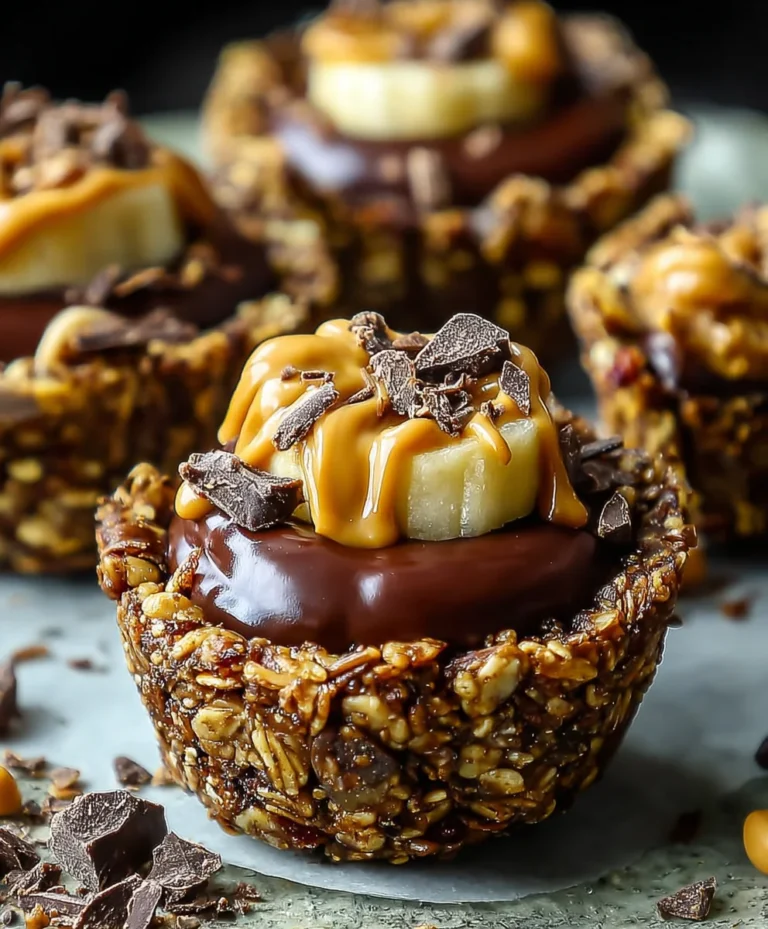
Easy Peanut Butter Energy Balls-No-Bake Treat
Peanut Butter Energy Balls are more than just a tasty snack; they’re little bites of pure, unadulterated joy that fuel your day and satisfy your sweet cravings without derailing your healthy habits. Have you ever found yourself reaching for something quick and satisfying when hunger strikes, only to end up with something that leaves you feeling sluggish? That’s where these magical little spheres come in! People absolutely adore Peanut Butter Energy Balls because they’re incredibly versatile, incredibly simple to make, and pack a serious nutritional punch. They are the perfect pick-me-up before a workout, a mid-afternoon treat, or even a healthier dessert option. What makes them truly special is the delightful harmony of creamy peanut butter, wholesome oats, and a touch of sweetness, all coming together to create a perfectly balanced, no-bake wonder that’s as convenient as it is delicious. Get ready to fall in love with this incredibly easy and satisfying recipe!
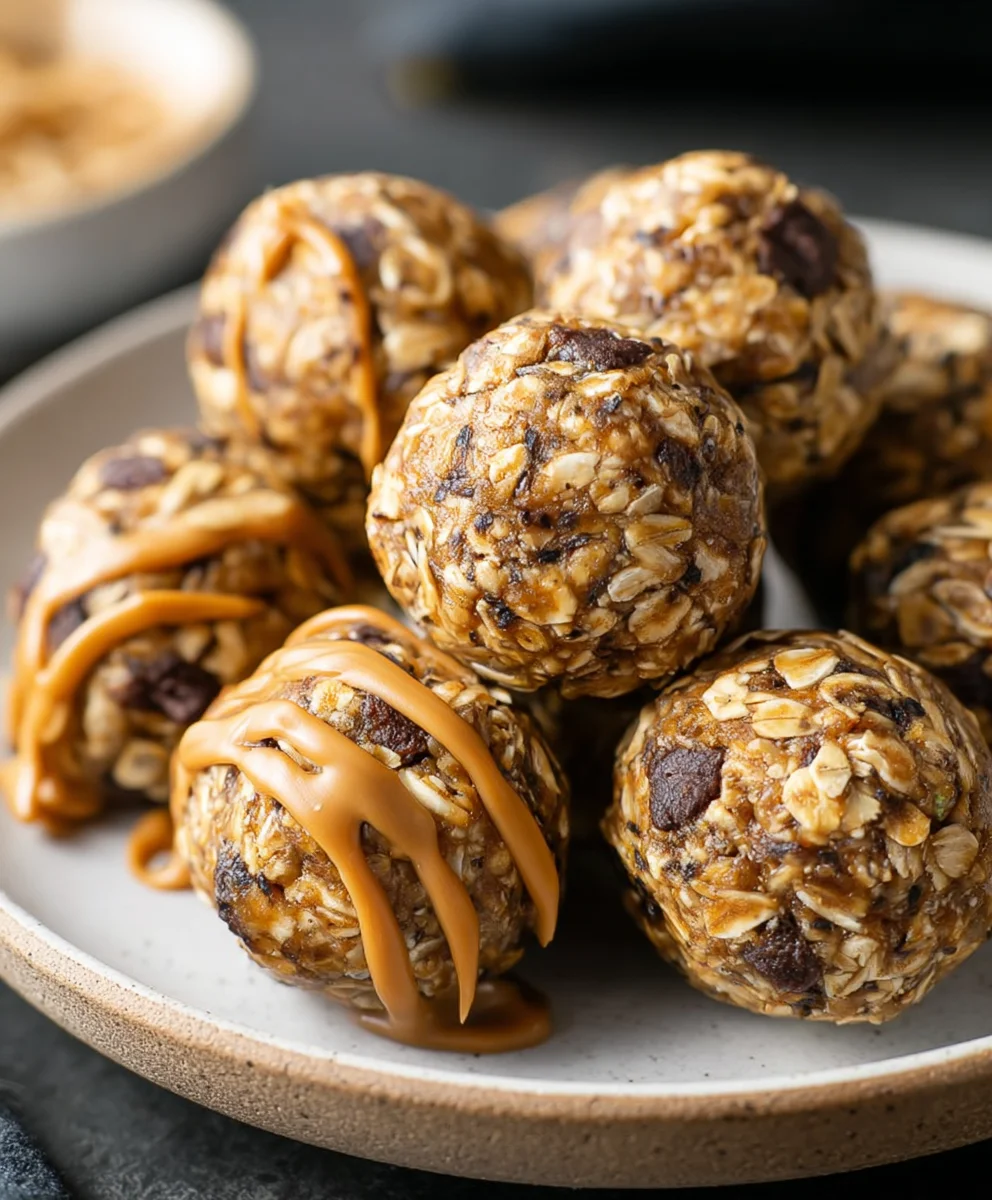
Ingredients:
- 1.5 cups old-fashioned oats
- 1 cup creamy peanut butter
- 1/2 cup mini chocolate chips
- 1/2 cup ground flaxseed
- 4 tablespoons honey (or maple syrup or agave nectar)
Preparation
Step 1: Combining the Dry Ingredients
The first step in creating these delightful Peanut Butter Energy Balls is to get all of your dry ingredients together in one large mixing bowl. This makes it easier to ensure everything is evenly distributed before you start adding the wet ingredients. So, take your 1.5 cups of old-fashioned oats and pour them into the bowl. Old-fashioned oats are crucial here because they have a chewier texture and hold their shape better than instant oats, which can become mushy. Next, add the 1/2 cup of ground flaxseed. Ground flaxseed, also known as flax meal, not only adds a slightly nutty flavor but also contributes valuable nutrients and acts as a binder. Make sure your flaxseed is finely ground; this helps it incorporate more smoothly into the mixture and makes its nutrients more bioavailable. Give these two dry ingredients a good whisk or stir together until they are well combined. This initial mixing prevents pockets of oats or flaxseed from forming later on.
Step 2: Incorporating the Wet Ingredients
Now it’s time to introduce the binders and sweeteners. Add the 1 cup of creamy peanut butter to the bowl with the oats and flaxseed. When choosing your peanut butter, a standard creamy variety works best. Natural peanut butters that are very oily might require slightly adjusting the other ingredients, so a conventional creamy peanut butter tends to yield the most consistent results for this recipe. Next, add the 4 tablespoons of honey. Honey is a wonderful natural sweetener and a fantastic binder. If you prefer a vegan option, or simply want to vary the flavor profile, you can absolutely substitute the honey with an equal amount of maple syrup or agave nectar. Both will work beautifully as binders and sweeteners. After adding the peanut butter and honey, you will likely notice that the mixture becomes quite thick and a bit sticky. This is completely normal.
Step 3: Mixing and Achieving the Right Consistency
This is where the magic happens! Using a sturdy spoon or a spatula, begin extract to thoroughly mix all the ingredients together. It’s important to get in there and really work the ingredients until everything is evenly distributed. You’ll want to ensure that the peanut butter and honey are fully incorporated into the oat and flaxseed mixture. This step can take a few minutes, and it’s helpful to press the ingredients against the sides of the bowl to break up any large clumps of peanut butter. The goal is to create a cohesive dough-like mixture that holds together when you squeeze it. If, after a good amount of mixing, you find the mixture is too dry and crum extractbly and doesn’t hold its shape, you can add a tiny bit more peanut butter or honey, perhaps a teaspoon at a time, and continue mixing. Conversely, if it seems too wet and sticky, you can add a tablespoon more of oats or flaxseed. The ideal consistency will be firm enough to roll into balls without sticking excessively to your hands.
Step 4: Adding the Chocolate Chips
The final ingredient to incorporate is the 1/2 cup of mini chocolate chips. These add a delightful burst of sweetness and a pleasing textural contrast to the chewy energy balls. Pour the mini chocolate chips into the mixture. Now, fold them in gently. You don’t want to overmix at this stage, as you want the chocolate chips to remain relatively intact and distributed throughout the balls, rather than melting into the mixture. Continue folding until the chocolate chips are evenly dispersed within the dough. It’s a good idea to use your spatula or spoon to gently incorporate them, ensuring they don’t get crushed. This step adds that irresistible touch that makes these energy balls so enjoyable.
Step 5: Rolling the Energy Balls
Now for the fun part – forming the balls! Take a small portion of the mixture, about a tablespoon’s worth, and roll it between your palms. Aim for a consistent size for each ball, roughly one inch in diameter. If the mixture is sticking to your hands a bit, you can lightly dampen your hands with water or lightly coat them with a tiny bit of coconut oil or cooking spray. This will help prevent sticking and make the rolling process smoother. Continue this process until all of the mixture has been rolled into individual energy balls. As you roll them, you can place them on a baking sheet lined with parchment paper or a plate. This makes them easy to store and keeps them from sticking to the surface. The goal is to create compact, uniform balls that will hold their shape. Once all the balls are rolled, you can proceed to chill them to set.
Step 6: Chilling and Storing
Once all your Peanut Butter Energy Balls have been rolled, it’s time to let them firm up. Transfer the baking sheet or plate with the rolled balls to the refrigerator. Allow them to chill for at least 30 minutes. This chilling period is essential as it helps the balls to set and become firmer, making them easier to handle and eat. It also allows the flavors to meld together beautifully. After chilling, you can transfer the energy balls to an airtight container. They will keep well in the refrigerator for up to two weeks. For longer storage, you can also freeze them. Simply place them in a freezer-safe bag or container and they will last for up to three months. When you’re ready to enjoy a frozen one, you can eat it straight from the freezer or let it thaw at room temperature for a few minutes. These are perfect for a quick snack, a pre- or post-workout boost, or a healthy treat any time of day.
Conclusion:
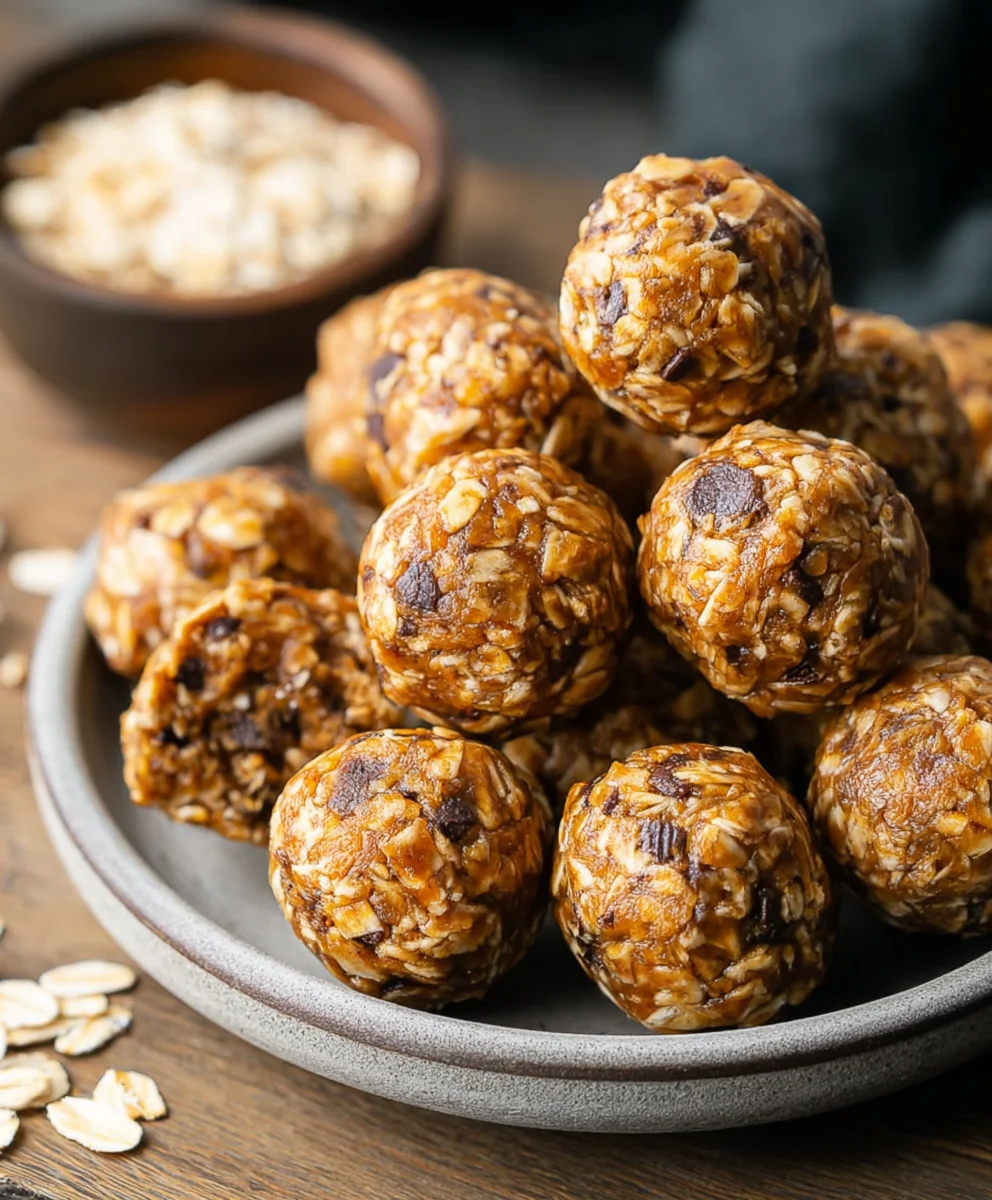
And there you have it – your guide to creating delicious and incredibly versatile Peanut Butter Energy Balls! We’ve explored how simple ingredients can combine to form a satisfying and wholesome treat that’s perfect for any time of day. These Peanut Butter Energy Balls are a fantastic grab-and-go snack, a pre- or post-workout boost, or even a healthier dessert option. Feel free to get creative with your additions; consider a sprinkle of chia seeds for extra fiber, a dash of cinnamon for warmth, or even some finely chopped dark chocolate for a decadent twist. The possibilities are truly endless!
I truly hope you enjoy making and devouring these Peanut Butter Energy Balls as much as I do. Don’t be afraid to experiment and make them your own. Happy snacking!
Frequently Asked Questions:
How long do Peanut Butter Energy Balls last?
When stored in an airtight container in the refrigerator, Peanut Butter Energy Balls will typically stay fresh for about one to two weeks. You can also freeze them for longer storage, and they’ll remain delicious for up to 2-3 months.
Can I make these Peanut Butter Energy Balls without oats?
Yes, you absolutely can! If you need to avoid oats, you can substitute them with an equal amount of finely ground nuts (like almonds or cashews), shredded coconut, or even puffed rice cereal for a similar texture. Adjust the amount of liquid binder (like honey or maple syrup) if needed, as different ingredients will absorb moisture differently.
Are these Peanut Butter Energy Balls suitable for vegans?
The base recipe for Peanut Butter Energy Balls is easily made vegan. Simply ensure you use a plant-based sweetener like maple syrup or agave nectar instead of honey, and choose a vegan-friendly peanut butter. All other ingredients are typically vegan-friendly!
Easy Peanut Butter Energy Balls-No-Bake Treat
A simple and delicious no-bake energy ball recipe made with peanut butter, oats, and chocolate chips, perfect for a quick snack or energy boost.
Ingredients
-
1.5 cups old-fashioned oats
-
1 cup creamy peanut butter
-
1/2 cup mini chocolate chips
-
1/2 cup ground flaxseed
-
4 tablespoons honey (or maple syrup or agave nectar)
Instructions
-
Step 1
Combine 1.5 cups old-fashioned oats and 1/2 cup ground flaxseed in a large mixing bowl. Whisk or stir until well combined. -
Step 2
Add 1 cup creamy peanut butter and 4 tablespoons honey (or maple syrup or agave nectar) to the bowl. Mix thoroughly until a thick, cohesive dough-like mixture forms. -
Step 3
Gently fold in 1/2 cup mini chocolate chips until evenly dispersed throughout the mixture. -
Step 4
Roll about a tablespoon of the mixture between your palms to form 1-inch diameter balls. Lightly dampen hands with water or coat with a tiny bit of coconut oil if sticking occurs. -
Step 5
Place the rolled balls on a baking sheet lined with parchment paper. Chill in the refrigerator for at least 30 minutes to set. -
Step 6
Transfer chilled energy balls to an airtight container. Store in the refrigerator for up to two weeks or freeze for up to three months.
Important Information
Nutrition Facts (Per Serving)
It is important to consider this information as approximate and not to use it as definitive health advice.
Allergy Information
Please check ingredients for potential allergens and consult a health professional if in doubt.