Chocolate Peanut Butter Granola Cups-Easy Recipe
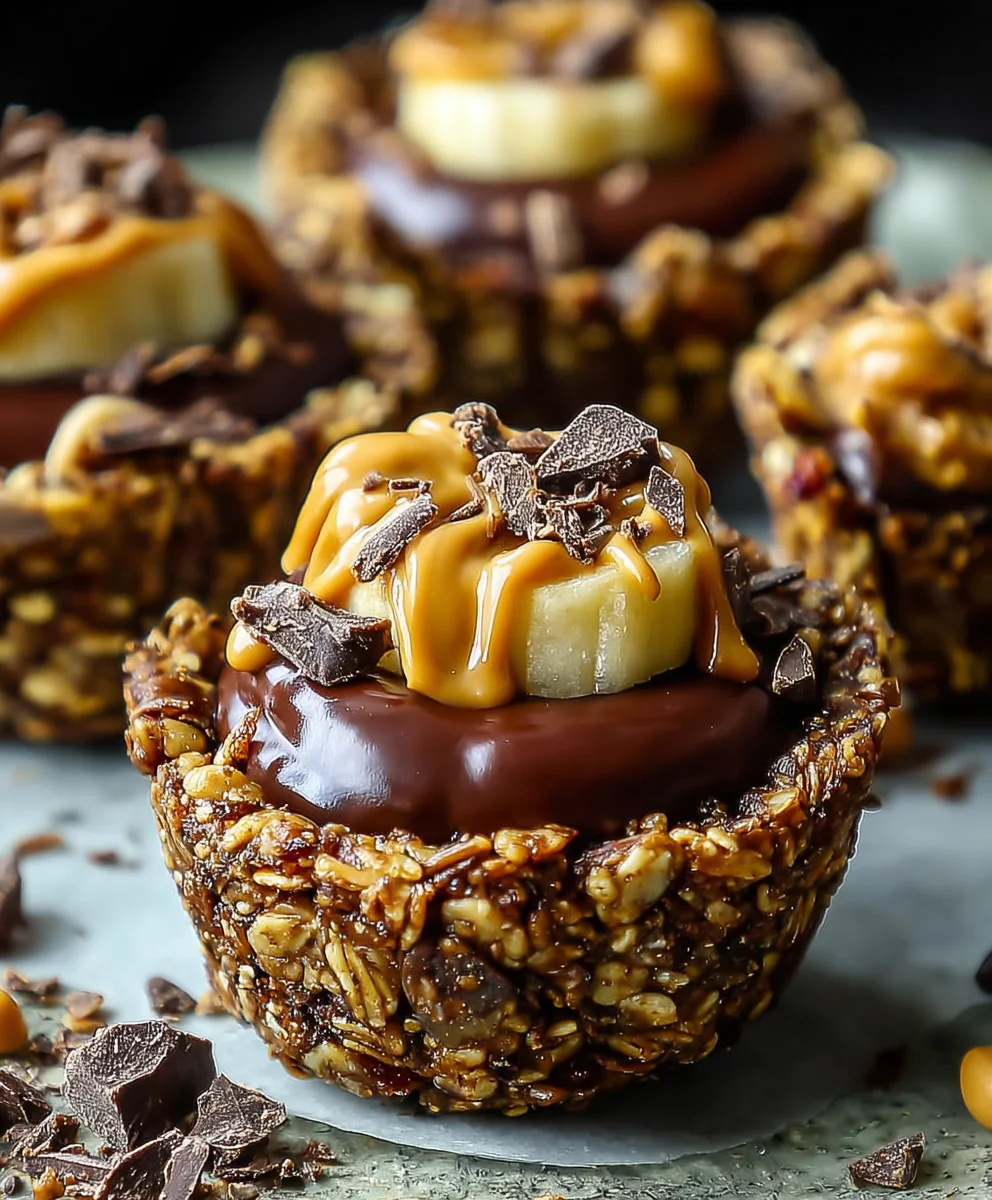
Chocolate Granola Cups with Peanut Butter Filling are more than just a treat; they’re a delightful explosion of textures and flavors that will have you reaching for another before you’ve even finished the first. Imagin extracte a perfectly crisp, slightly sweet granola base, studded with rich chocolate chips, cradling a luscious, creamy peanut butter center. It’s this incredible combination that makes these little delights so utterly irresistible. Whether you’re looking for a quick and healthy breakfast, an afternoon energy boost, or a guilt-free dessert, these Chocolate Granola Cups with Peanut Butter Filling deliver. They’re wonderfully customizable, easily adaptable to your favorite nuts, seeds, or dried fruits, making each batch uniquely yours. The magic lies in their simplicity and the satisfying contrast between the crunchy granola and the smooth, nutty filling – a true taste of bliss in every bite!
Ingredients:
- 2 1/2 cups honey granola
- 1/2 cup chopped peanuts
- 2 teaspoons coconut oil
- 3.5 ounces dark chocolate, finely chopped
- 2 tablespoons peanut butter
- 3 tablespoons honey
- 1 cup creamy peanut butter
- 12 thin slices of banana (optional)
Making the Chocolate Granola Cups
Preparing the Base Mixture
The first step in creating these delightful Chocolate Granola Cups with Peanut Butter Filling is to prepare the base that will form the outer shell. In a medium-sized mixing bowl, combine the 2 1/2 cups of honey granola with the 1/2 cup of chopped peanuts. This combination provides a lovely crunch and nutty flavor that complements the chocolate beautifully. Next, add the 2 teaspoons of coconut oil to the bowl. The coconut oil will act as a binder, helping to hold the granola and peanut mixture together when it’s pressed into your muffin tin. It also adds a subtle tropical note that works surprisingly well with the other flavors.
Melting the Chocolate
Now it’s time to melt the dark chocolate. You have a couple of excellent options for this. The most straightforward method is the microwave. Place the 3.5 ounces of finely chopped dark chocolate in a microwave-safe bowl. Heat it in 30-second intervals, stirring thoroughly after each interval, until the chocolate is completely melted and smooth. Be careful not to overheat the chocolate, as this can cause it to seize and become grainy. Alternatively, you can use a double boiler. Fill the bottom pot of your double boiler with about an inch of water and bring it to a gentle simmer. Place the finely chopped dark chocolate in the top pot, ensuring the bottom of the pot doesn’t touch the water. Stir frequently until the chocolate is fully melted and glossy. Once melted, stir the coconut oil into the dark chocolate until it’s fully incorporated. This extra touch of coconut oil will make the chocolate slightly more pliable and easier to work with, resulting in a smoother finish for your granola cups.
Combining and Pressing the Granola Mixture
Once your dark chocolate and coconut oil mixture is smooth and ready, it’s time to incorporate it into the granola and peanut mixture. Pour the melted chocolate mixture over the granola and chopped peanuts in the mixing bowl. Using a sturdy spatula or a wooden spoon, gently but thoroughly mix everything together. Ensure that every piece of granola and every peanut is coated in the glossy dark chocolate. You want a sticky, cohesive mixture. This is crucial for creating a sturdy base for your cups.
Now, prepare your muffin tin. You can use a standard 12-cup muffin tin. If you want to make removal easier and prevent sticking, it’s highly recommended to use silicone muffin liners or paper liners. If you don’t have liners, you can lightly grease the cups with a little extra coconut oil or butter.
Spoon about 2 tablespoons of the chocolate granola mixture into each muffin cup. Then, using the back of the spoon, your fingers, or a small offset spatula, press the mixture firmly and evenly into the bottom and up the sides of each muffin cup. Aim to create a shell that is about 1/4 to 1/2 inch thick. The firmer you press, the sturdier your granola cups will be, preventing them from crum extractbling when you remove them or when you add the filling. Pay special attention to building up the sides to create a well for the peanut butter filling.
Creating the Peanut Butter Filling
While your granola shells are chilling, let’s prepare the luscious peanut butter filling. In a separate bowl, combine the 1 cup of creamy peanut butter with the 2 tablespoons of peanut butter and the 3 tablespoons of honey. The extra tablespoon of peanut butter adds an even richer peanut flavor, and the honey provides sweetness and helps to create a smoother, more scoopable texture. Stir these ingredients together until they are thoroughly combined and you have a smooth, creamy, and spreadable filling. If your peanut butter is particularly stiff, you can warm it very slightly in the microwave for 10-15 seconds to make it easier to mix and spread.
Assembling and Chilling the Cups
Now it’s time to bring everything together! Once your granola shells have had a chance to set slightly in the refrigerator (about 15-20 minutes should do it), carefully spoon the peanut butter filling into each shell. Fill each cup about two-thirds of the way with the peanut butter mixture. Don’t overfill, as you’ll want a little space for any optional banana slices and for the chocolate to set around the top.
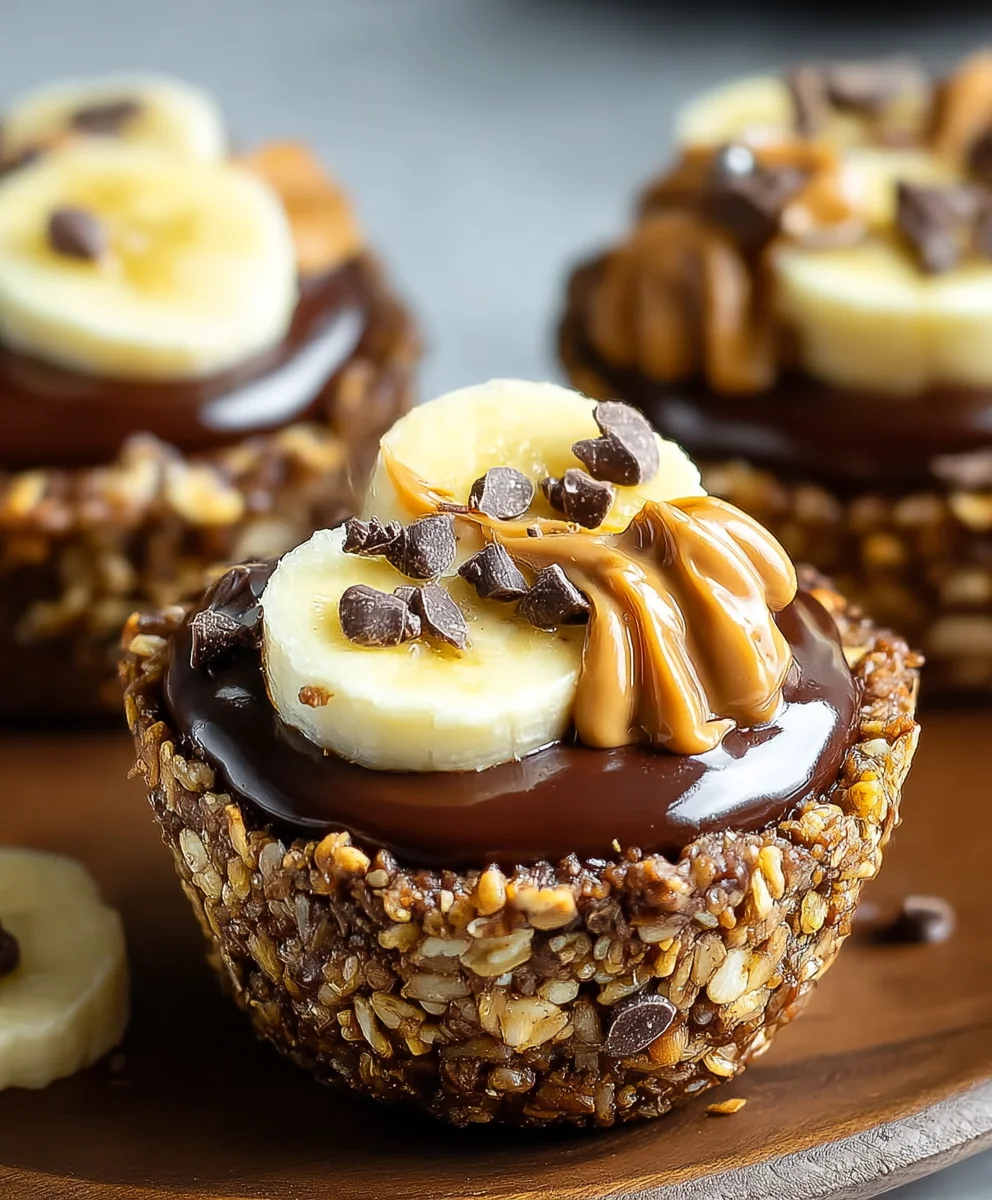
If you’re using the banana slices, arrange 1-2 thin slices of banana on top of the peanut butter filling in each cup. The sweetness of the banana is a wonderful addition, and it pairs exceptionally well with both the chocolate and peanut butter.
Once filled, place the muffin tin back into the refrigerator to allow the chocolate granola cups to set completely. This usually takes at least 1 to 2 hours. You want the chocolate to be firm and the peanut butter filling to be solid enough to hold its shape. For the best results and to ensure the cups are easy to remove, allow them to chill thoroughly.
When you’re ready to serve, gently remove the Chocolate Granola Cups with Peanut Butter Filling from the muffin tin. If you used liners, you can peel them away easily. If you didn’t use liners and the cups seem a bit stuck, you can very briefly run the bottom of the muffin tin under warm water, then try to gently ease them out. These are best enjoyed chilled, offering a satisfying crunch from the granola and a creamy, decadent filling.
Conclusion:
And there you have it – your very own batch of delicious Chocolate Granola Cups with Peanut Butter Filling! We’ve walked through each step, from creating that perfect crunchy granola base to whipping up the decadent chocolate shell and finally, that irresistible peanut butter swirl. These treats are a fantastic balance of textures and flavors, offering a satisfying crunch followed by a creamy, nutty core. They are surprisingly simple to make, proving that gourmet-level desserts don’t always require hours in the kitchen.
When it comes to serving, these Chocolate Granola Cups with Peanut Butter Filling are incredibly versatile. Enjoy them as a delightful breakfast treat, a post-workout refuel, or a healthier dessert option. They pair wonderfully with a glass of cold milk or a hot cup of coffee. For variations, feel free to experiment with different nut butters, like almond or cashew, or add a sprinkle of sea salt on top for an extra flavor dimension. You could even mix in some mini chocolate chips into the peanut butter filling for an extra chocolatey kick!
We truly encourage you to give this recipe a try. It’s a crowd-pleaser and a personal favorite for its ease and flavor. Don’t be afraid to get creative and make them your own!
Frequently Asked Questions:
How do I store my Chocolate Granola Cups with Peanut Butter Filling?
Store your Chocolate Granola Cups with Peanut Butter Filling in an airtight container in the refrigerator for up to a week. This helps to keep the chocolate firm and the peanut butter filling from becoming too soft.
Can I make these vegan?
Absolutely! To make these Chocolate Granola Cups with Peanut Butter Filling vegan, ensure you use vegan chocolate chips for the outer shell and check that your granola recipe does not contain any non-vegan ingredients like honey (use maple syrup or agave instead). The peanut butter filling is naturally vegan.
Chocolate Peanut Butter Granola Cups
Easy homemade granola cups with a rich chocolate shell and a creamy peanut butter filling, optionally topped with banana slices.
Ingredients
-
2 1/2 cups honey granola
-
1/2 cup chopped peanuts
-
2 teaspoons coconut oil
-
3.5 ounces dark chocolate, finely chopped
-
2 tablespoons peanut butter
-
3 tablespoons honey
-
1 cup creamy peanut butter
-
12 thin slices of banana (optional)
Instructions
-
Step 1
In a mixing bowl, combine honey granola and chopped peanuts. Stir in 2 teaspoons of coconut oil to bind the mixture. -
Step 2
Melt the finely chopped dark chocolate using a microwave or a double boiler. Once melted, stir in the 2 teaspoons of coconut oil until smooth. -
Step 3
Pour the melted chocolate mixture over the granola and peanut mixture. Stir until everything is well coated and forms a sticky, cohesive mixture. -
Step 4
Spoon about 2 tablespoons of the chocolate granola mixture into each cup of a 12-cup muffin tin lined with liners or greased. Press firmly into the bottom and up the sides to form shells. -
Step 5
In a separate bowl, combine 1 cup of creamy peanut butter, 2 tablespoons of peanut butter, and 3 tablespoons of honey. Stir until smooth and creamy. -
Step 6
Spoon the peanut butter filling into the granola shells, filling them about two-thirds full. If using, top with banana slices. -
Step 7
Refrigerate the muffin tin for at least 1 to 2 hours, or until the chocolate granola cups are completely set and firm.
Important Information
Nutrition Facts (Per Serving)
It is important to consider this information as approximate and not to use it as definitive health advice.
Allergy Information
Please check ingredients for potential allergens and consult a health professional if in doubt.