Easy Red Velvet Crinkle Cookies-Festive & Delicious
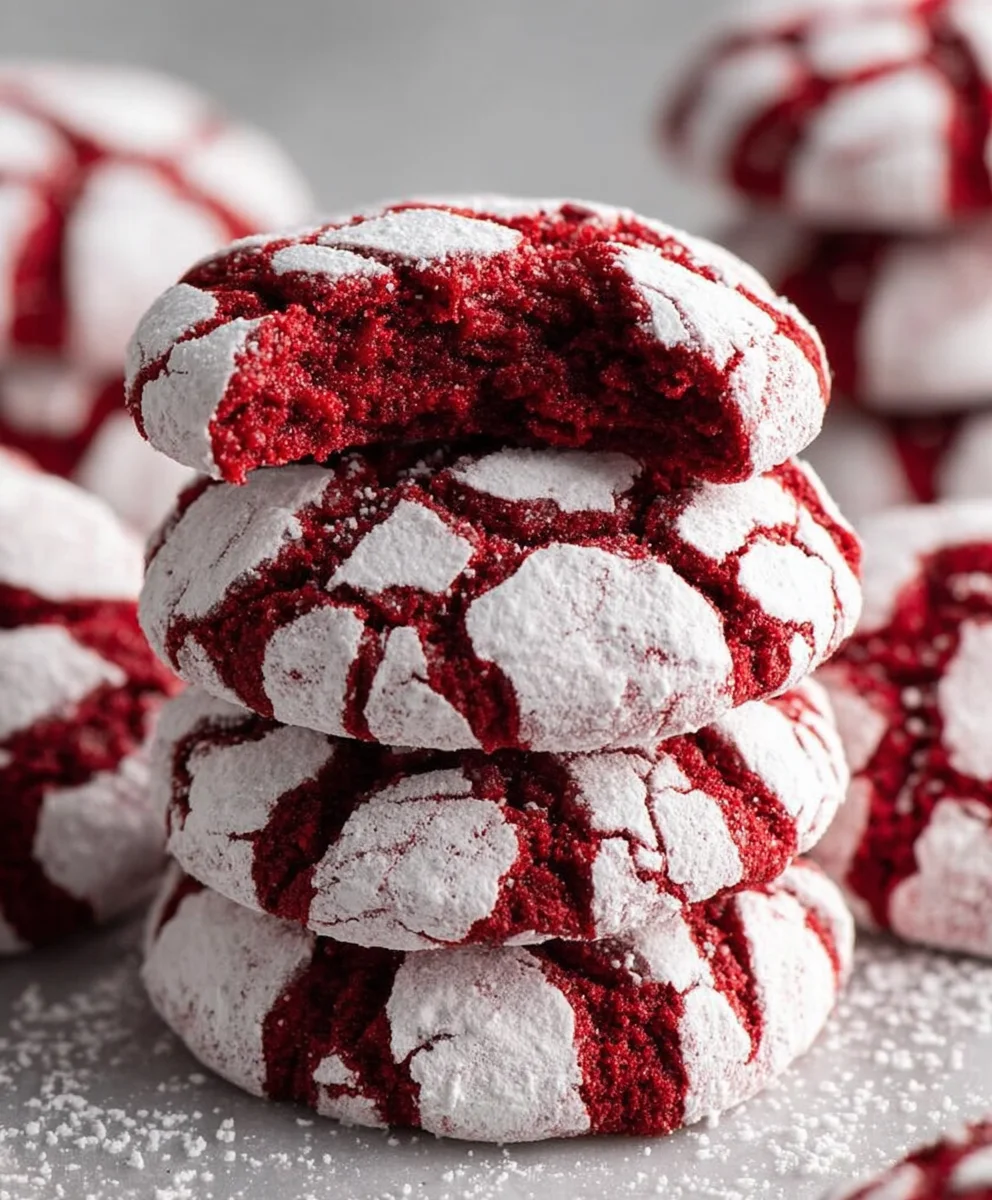
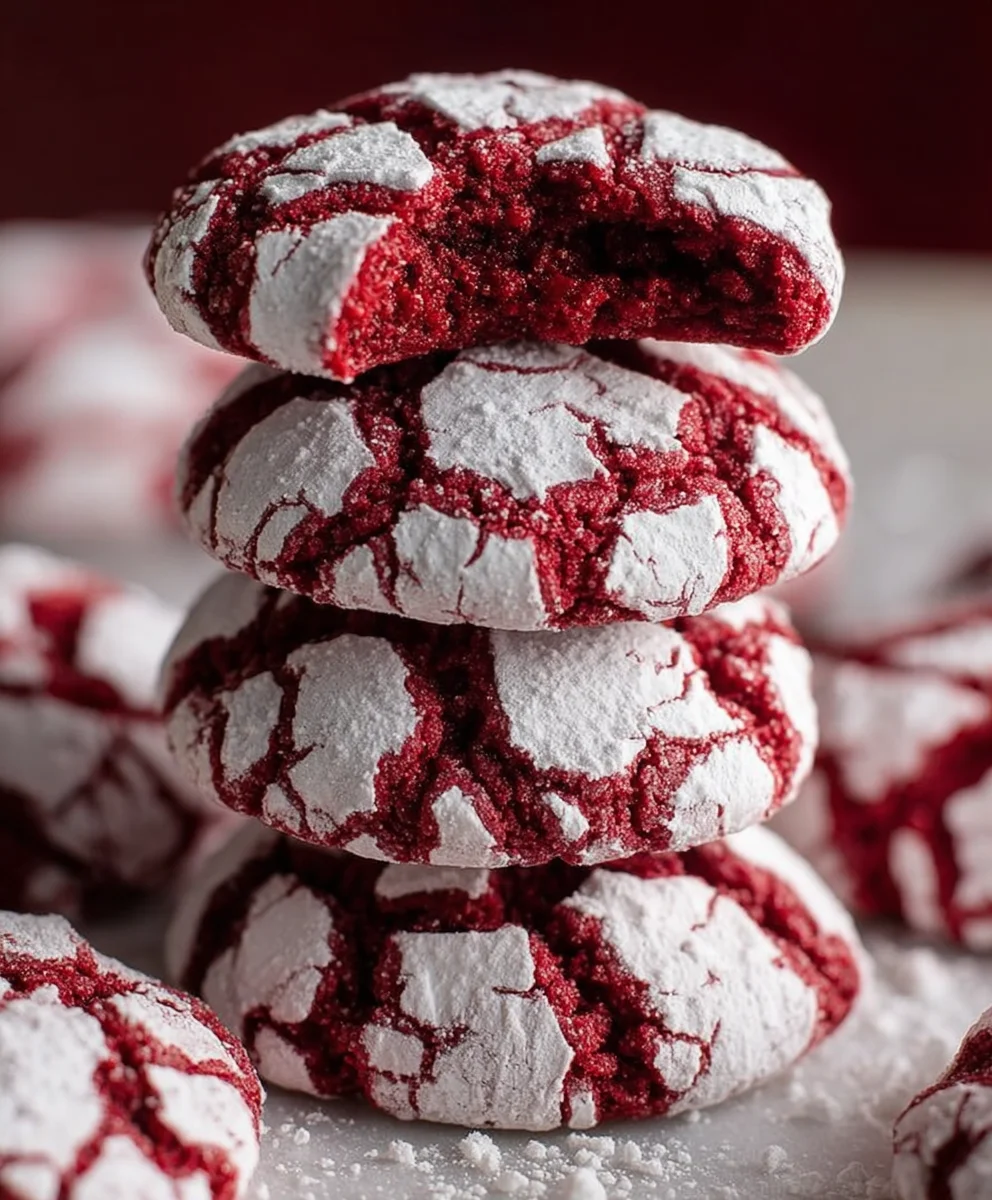
Red Velvet Crinkle Cookies are more than just a delightful treat; they’re a little piece of edible magic that brings joy to any occasion. Imagin extracte biting into a cookie that offers a wonderfully soft, cake-like interior, perfectly complemented by a crisp, sugary exterior that cracks and crum extractbles with every bite. That’s the irresistible allure of these crimson beauties! They’re a perennial favorite, especially around holidays, but honestly, why limit such perfection to just a few weeks of the year? What truly sets these Red Velvet Crinkle Cookies apart is their stunning visual appeal, thanks to the vibrant red hue, combined with that signature crinkled surface dusted with powdered sugar, which makes them look as festive as they taste. Get ready to fall in love with the rich, subtle chocolate flavor and the incredibly satisfying texture that makes each bite an experience.”
Ingredients:
- 1 1/2 cups all-purpose flour
- 1/2 cup unsweetened cocoa powder
- 1 teaspoon baking powder
- 1/4 teaspoon salt
- 1/2 cup unsalted butter, softened to room temperature
- 1 cup granulated sugar
- 2 large eggs, at room temperature
- 1 teaspoon vanilla extract
- 1 tablespoon red food coloring (gel or liquid)
- 1/2 cup powdered sugar, for rolling
Preparing the Dough
Step 1: Combine Dry Ingredients
Begin extract by gathering all of your dry ingredients. In a medium-sized mixing bowl, whisk together the 1 1/2 cups of all-purpose flour, 1/2 cup of unsweetened cocoa powder, 1 teaspoon of baking powder, and 1/4 teaspoon of salt. Whisking these together thoroughly ensures that the leavening agent (baking powder) and salt are evenly distributed throughout the flour and cocoa mixture. This even distribution is crucial for consistent cookie rise and flavor. Set this bowl aside for now.
Step 2: Cream Butter and Sugar
In a larger mixing bowl, ideally the bowl of a stand mixer fitted with the paddle attachment or using a hand mixer, cream together the 1/2 cup of softened unsalted butter and 1 cup of granulated sugar. Beat these on medium speed until the mixture is light, fluffy, and pnon-alcoholic ale yellow in color. This process, known as creaming, incorporates air into the butter and sugar, which contributes to the tender texture of the final cookies. Make sure your butter is truly softened – not melted, but pliable to the touch. If it’s too cold, it won’t cream properly. Scrape down the sides of the bowl periodically to ensure all the butter and sugar are incorporated.
Step 3: Add Wet Ingredients and Color
Once the butter and sugar are well creamed, add the 2 large eggs one at a time, beating well after each addition. Next, incorporate the 1 teaspoon of vanilla extract. Now for the signature color! Add the 1 tablespoon of red food coloring. Whether you’re using gel or liquid food coloring, ensure it’s fully integrated into the mixture. The color may seem intense at this stage, but it will develop beautifully during baking. Continue to beat until the mixture is smooth and uniformly colored.
Step 4: Combine Wet and Dry Mixtures
Gradually add the dry ingredient mixture (from Step 1) to the wet ingredient mixture (from Step 3). Mix on low speed until just combined. Be careful not to overmix at this stage. Overmixing can develop the gluten in the flour too much, resulting in tough cookies. Stop mixing as soon as you no longer see streaks of dry flour. The dough will be thick and vibrantly red.
Step 5: Chill the Dough
Cover the bowl with plastic wrap and refrigerate the dough for at least 1 hour, or until it is firm enough to handle. Chilling the dough is a critical step for crinkle cookies. It allows the fats to solidify, which prevents the cookies from spreading too much during baking. A firm dough is much easier to roll into perfect balls, and the chilling process also allows the flavors to meld and deepen. If you’re short on time, you can try chilling for 30 minutes, but a longer chill yields better results.
Baking the Red Velvet Crinkle Cookies
Step 6: Preheat Oven and Prepare Baking Sheets
While the dough is chilling, preheat your oven to 350°F (175°C). Line two baking sheets with parchment paper or silicone baking mats. This prevents the cookies from sticking and makes for easier cleanup.
Step 7: Roll and Coat the Cookies
Once the dough has chilled and is firm, scoop out portions of the dough. I find using a small cookie scoop or a tablespoon works well to create uniformly sized cookies. Roll each portion into a smooth ball, about 1 inch in diameter. Then, place the 1/2 cup of powdered sugar into a shallow bowl. Roll each cookie dough ball generously in the powdered sugar until it is completely coated. The powdered sugar coating is what gives crinkle cookies their distinctive snowy appearance and sweet exterior.
Step 8: Bake and Cool
Place the coated dough balls onto the prepared baking sheets, leaving about 2 inches of space between each cookie to allow for spreading. Bake for 10-12 minutes, or until the edges are set and the centers still look slightly soft. The cookies will continue to cook slightly on the hot baking sheet after they are removed from the oven. Be careful not to overbake, as this will result in dry cookies.
Step 9: Cool Completely
Allow the cookies to cool on the baking sheets for 5 minutes before carefully transferring them to a wire rack to cool completely. As they cool, the red velvet crinkle cookies will firm up and develop their characteristic cracked appearance. Enjoy them once they have reached room temperature.
Conclusion:
And there you have it! Your very own batch of stunning Red Velvet Crinkle Cookies. We hope you enjoyed the journey of creating these delightful treats, with their iconic vibrant color and signature crackled surface. These cookies are more than just a dessert; they’re a celebration in every bite, perfect for holidays, special occasions, or simply to brighten your day.
To elevate your cookie experience, consider serving these Red Velvet Crinkle Cookies alongside a glass of cold milk, a steaming mug of hot chocolate, or even a creamy vanilla milkshake. They also make a wonderfully thoughtful homemade gift, beautifully presented in a decorative tin or cookie jar. Don’t be afraid to get creative with variations! You can add a sprinkle of white chocolate chips for extra sweetness and texture, or drizzle them with a thin layer of cream cheese frosting once cooled for an indulgent touch. Experiment with different extracts, like a hint of peppermint during the holiday season, or a splash of almond for a subtle nutty note. The possibilities are endless!
We encourage you to try this recipe and share your delicious creations. Baking is all about joy and experimentation, so have fun with it! Let us know how yours turn out. Happy baking!
Frequently Asked Questions:
Why do my Red Velvet Crinkle Cookies not have crinkles?
The crinkle effect is primarily achieved through the dough chilling process and the combination of baking soda and sugar. Ensure your dough has been adequately chilled (at least 1-2 hours) as this helps the cookies spread and crack during baking. Rolling the chilled dough balls generously in powdered sugar just before baking is also crucial, as this sugar melts and cracks the surface. Over-mixing the dough can also contribute to a lack of crinkles.
Can I make the dough ahead of time?
Absolutely! The dough for Red Velvet Crinkle Cookies can be made up to 2-3 days in advance and stored in the refrigerator. This is actually beneficial as it allows the flavors to meld and the dough to firm up, which is ideal for achieving those perfect crinkles. Just ensure it’s well-wrapped to prevent it from drying out.
Easy Red Velvet Crinkle Cookies-Festive & Delicious
Festive and delicious red velvet crinkle cookies with a snowy powdered sugar coating and a soft, chewy interior.
Ingredients
-
1 1/2 cups all-purpose flour
-
1/2 cup unsweetened cocoa powder
-
1 teaspoon baking powder
-
1/4 teaspoon salt
-
1/2 cup unsalted butter, softened
-
1 cup granulated sugar
-
2 large eggs
-
1 teaspoon vanilla extract
-
1 tablespoon red food coloring
-
1/2 cup powdered sugar, for rolling
Instructions
-
Step 1
Combine all-purpose flour, unsweetened cocoa powder, baking powder, and salt in a medium bowl. Whisk together and set aside. -
Step 2
In a larger bowl, cream softened unsalted butter and granulated sugar until light and fluffy. Beat in eggs one at a time, then add vanilla extract and red food coloring until uniformly colored. -
Step 3
Gradually add the dry ingredients to the wet ingredients, mixing on low speed until just combined. Do not overmix. -
Step 4
Cover the dough and refrigerate for at least 1 hour until firm enough to handle. -
Step 5
Preheat oven to 350°F (175°C) and line baking sheets with parchment paper. -
Step 6
Roll chilled dough into 1-inch balls and generously coat each ball in powdered sugar. -
Step 7
Place balls on prepared baking sheets, leaving 2 inches between cookies. Bake for 10-12 minutes until edges are set and centers appear slightly soft. -
Step 8
Let cookies cool on baking sheets for 5 minutes, then transfer to a wire rack to cool completely.
Important Information
Nutrition Facts (Per Serving)
It is important to consider this information as approximate and not to use it as definitive health advice.
Allergy Information
Please check ingredients for potential allergens and consult a health professional if in doubt.