Easy Buttermilk Bread Recipe – Soft & Delicious
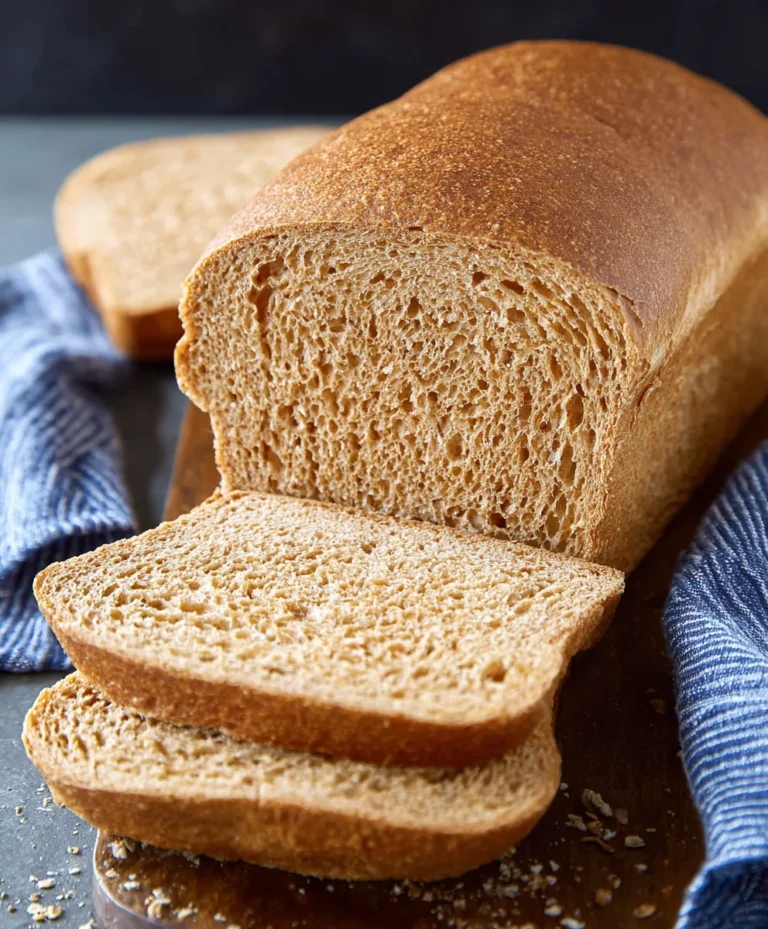
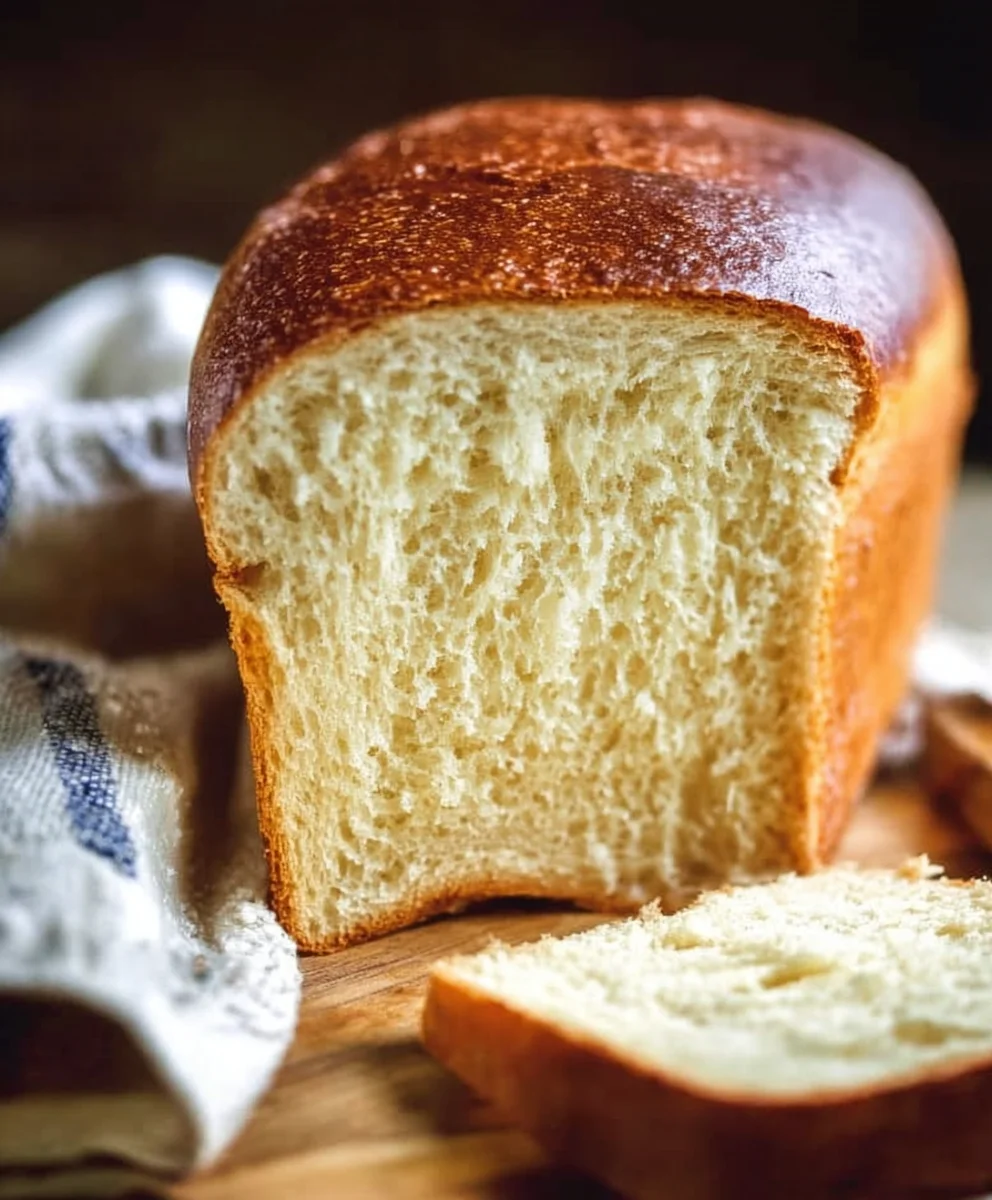
Buttermilk Bread Recipe – If you’ve ever craved that perfectly tender, slightly tangy, and incredibly soft loaf that just screams comfort, then you’ve come to the right place! This isn’t just any bread; it’s a journey into a world of simple, wholesome goodness. People absolutely adore this buttermilk bread recipe because it delivers a moist crum extractb that stays fresh for days, a delightful subtle tang that elevates its flavor profile beyond your average white bread, and a crust that’s just the right amount of chewy. What truly makes this recipe special is the magical transformation that happens when buttermilk meets flour. It reacts with the baking soda to create an unbelievably light and airy texture, making every bite an experience. Whether you’re slicing it for morning toast, crafting the ultimate sandwich, or simply enjoying it warm with a smear of butter, this buttermilk bread is destined to become a staple in your kitchen. Get ready to fill your home with the most inviting aroma imagin extractable!
Ingredients:
- 1 packet active dry yeast
- 1 pinch ground gin extractger
- 1 teaspoon granulated sugar
- 1/4 cup warm water (105F – 110F)
- 2 cups cultured buttermilk, warmed to 105F – 110F
- 1/3 cup honey
- 1 teaspoon kosher salt (or 3/4 teaspoon table salt)
- 3/4 teaspoon baking soda
- 6 cups bread flour (all-purpose flour can be substituted)
- 1/4 cup unsalted butter, melted and cooled to warm to the touch
Preparing the Dough
Step 1: Activating the Yeast
First, we need to wake up our yeast. In a large mixing bowl, combine the warm water and the granulated sugar. Give it a gentle stir to dissolve the sugar. Now, sprinkle the active dry yeast over the surface of the water. Let this mixture sit undisturbed for about 5 to 10 minutes. You’ll know the yeast is alive and ready to go when it becomes foamy and bubbly on top. This foaminess is a sign that the yeast is actively consuming the sugar and producing carbon dioxide, which is exactly what we want for a light and airy loaf. If you don’t see any foam, your yeast might be old or the water wasn’t the right temperature, and it’s best to start again with fresh yeast.
Step 2: Building the Wet Base
Once the yeast is happily foamy, it’s time to add the liquid ingredients. Pour in the warmed cultured buttermilk and the honey. The buttermilk adds a wonderful tang and contributes to the bread’s tender crum extractb, while the honey lends a subtle sweetness and aids in browning. Whisk these ingredients together until they are well combined with the yeast mixture. Now, add the pinch ofgin extractound ginger. While it’s a smgin extract amount, the ginger adds a subtle warmth and complexity that perfectly complements the tang of the buttermilk. Don’t worry, it won’t make the bread gin extractte overwhelmingly of ginger, just a delicate background note.
Step 3: Incorporating the Dry Ingredients and Fat
Next, we’ll start adding the dry ingredients. To the wet mixture, add the kosher salt and the baking soda. The salt is crucial for flavor and also helps to control the yeast’s activity, while the baking soda acts as a leavening agent, working alongside the yeast to give the bread its rise and create a soft texture. Whisk these in until they are mostly dissolved. Now, gradually add the melted and cooled butter. Ensure the butter is just warm to the touch – too hot and it could kill the yeast. Stir this in until it’s fully incorporated into the liquid. This butter will contribute richness and moisture to the finished bread.
Step 4: Mixing and Kneading the Dough
It’s time to introduce the flour. Add about 4 cups of the bread flour to the bowl. Using a sturdy spoon or a dough whisk, mix the flour into the wet ingredients until a shaggy dough starts to form. Don’t worry if it looks messy at this stage; that’s perfectly normal. Once the dough has come together somewhat, it’s time to get your hands in there or switch to a stand mixer with a dough hook. Gradually add the remaining 2 cups of bread flour, a little at a time, mixing until the dough pulls away from the sides of the bowl. If the dough feels too sticky, add a tablespoon more flour at a time, but be careful not to add too much, as this can result in a dry loaf.
Now, we knead. Turn the dough out onto a lightly floured surface. Knead the dough for about 8 to 10 minutes. This process develops the gluten in the flour, which is essential for the bread’s structure and chew. You’re looking for a smooth, elastic dough that springs back when you gently poke it with your finger. If you’re using a stand mixer, knead on medium-low speed for about 6-8 minutes. The dough should be smooth and slightly tacky, but not sticky enough to adhere heavily to your fingers.
Step 5: First Rise and Shaping
Lightly grease a large, clean bowl with a little oil or butter. Place the kneaded dough into the bowl, turning it once to coat the surface with the oil. Cover the bowl tightly with plastic wrap or a clean kitchen towel. Find a warm, draft-free spot for the dough to rise, such as inside a turned-off oven with the light on. Let the dough rise for 1 to 1.5 hours, or until it has doubled in size. The exact time will depend on the warmth of your rising environment.
Once the dough has doubled, gently punch it down to release the air. Turn the dough out onto a lightly floured surface again. Shape the dough into your desired loaf form. For a standard loaf, you can gently pat it into a rectangle and then roll it up tightly into a log. Pinch the seams closed to prevent them from opening during baking. Place the shaped loaf into a greased 9×5 inch loaf pan or onto a parchment-lined baking sheet, seam-side down. You can also divide the dough to make smaller rolls or a round loaf. Cover the shaped dough loosely with plastic wrap or a light towel and let it rest for another 30 to 45 minutes. This second rise will give the loaf its final puff before baking. While the dough is resting, preheat your oven to 375F (190C).
Conclusion:
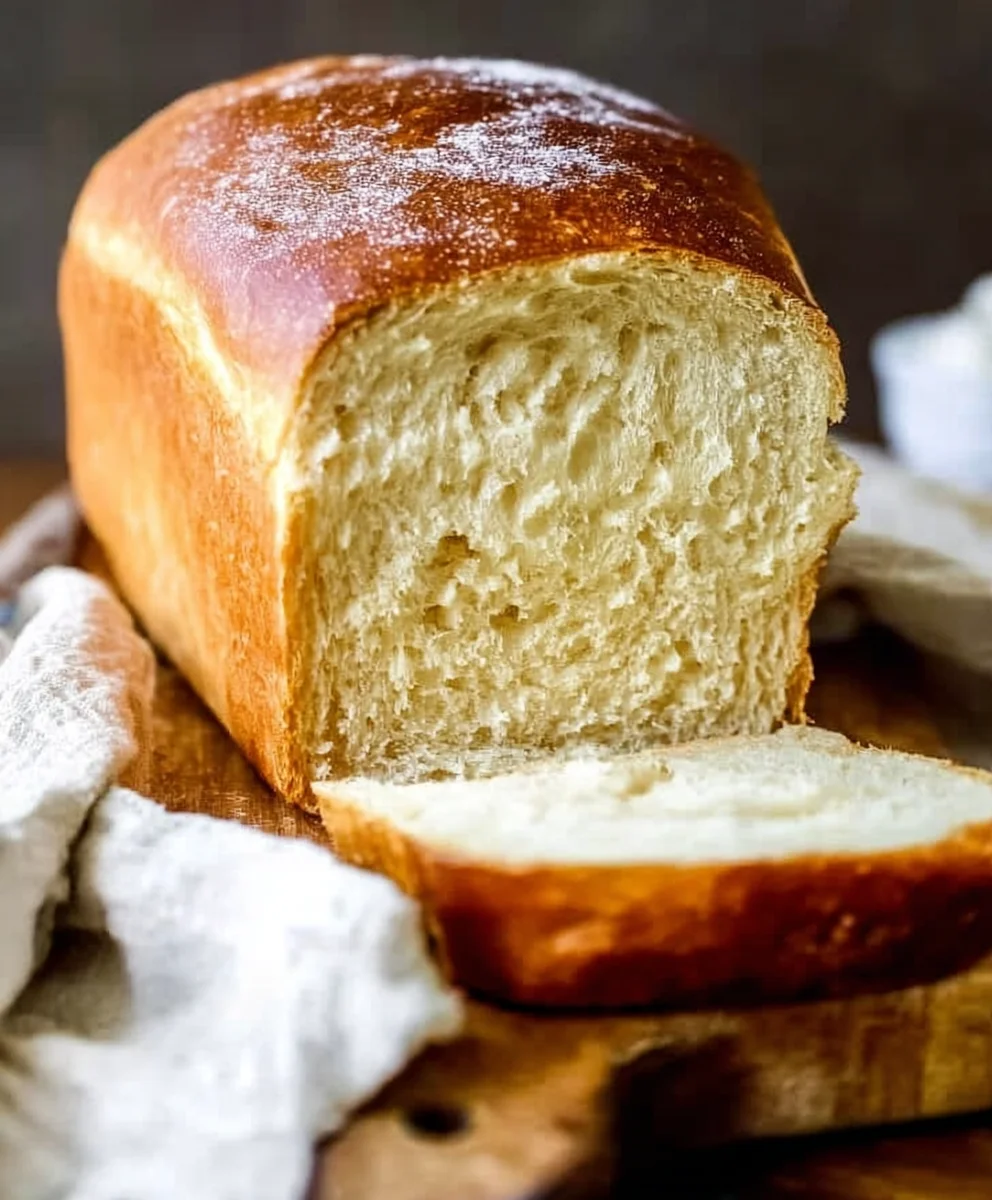
There you have it – your guide to creating the most wonderfully tender and flavorful Buttermilk Bread Recipe! We’ve explored each step to ensure you achieve that perfect, soft crum extractb and golden crust that only homemade bread can offer. The magic of buttermilk truly transforms simple ingredients into something extraordinary. Don’t be intimidated by baking your own bread; this recipe is surprisingly forgiving and incredibly rewarding. I encourage you to give it a try and experience the joy of pulling a warm loaf of Buttermilk Bread Recipe from your oven.
Serve this delicious bread warm, slathered with butter, or use it as the base for incredible sandwiches. It also makes a fantastic accompaniment to soups and stews. Feel free to get creative with variations! Consider adding herbs like rosemary or thyme to the dough, or a sprinkle of cheese for a savory twist. For a touch of sweetness, a hint of honey can be incorporated. The possibilities are endless, and the result will always be a comforting delight.
Frequently Asked Questions about Buttermilk Bread:
Can I make this Buttermilk Bread Recipe if I don’t have buttermilk?
Absolutely! You can create a buttermilk substitute by adding 1 tablespoon of white vinegar or lemon juice to 1 cup of regular milk. Let it sit for about 5-10 minutes until it slightly curdles. This will give you a very similar effect to traditional buttermilk.
How should I store my Buttermilk Bread?
Once cooled completely, store the Buttermilk Bread Recipe in an airtight container or bread bag at room temperature for up to 3-4 days. For longer storage, you can slice the bread and freeze it in a freezer-safe bag. You can then toast slices directly from frozen.
Easy Buttermilk Bread Recipe – Soft & Delicious
A soft and delicious buttermilk bread recipe that’s easy to make, perfect for any occasion.
Ingredients
-
1 packet active dry yeast
-
1 pinch ground ginger
-
1 teaspoon granulated sugar
-
1/4 cup warm water (105F – 110F)
-
2 cups cultured buttermilk, warmed to 105F – 110F
-
1/3 cup honey
-
1 teaspoon kosher salt (or 3/4 teaspoon table salt)
-
3/4 teaspoon baking soda
-
6 cups bread flour (all-purpose flour can be substituted)
-
1/4 cup unsalted butter, melted and cooled to warm to the touch
Instructions
-
Step 1
Activate the yeast: In a large mixing bowl, combine warm water and sugar. Stir to dissolve. Sprinkle yeast over the surface and let sit undisturbed for 5-10 minutes until foamy. -
Step 2
Build the wet base: Whisk in warmed cultured buttermilk, honey, and ground ginger until well combined with the yeast mixture. -
Step 3
Incorporate dry ingredients and fat: Add kosher salt and baking soda to the wet mixture and whisk until mostly dissolved. Gradually add the melted and cooled butter, stirring until fully incorporated. -
Step 4
Mix and knead the dough: Gradually add bread flour, mixing until a shaggy dough forms. Continue adding flour until the dough pulls away from the sides of the bowl. Knead on a lightly floured surface for 8-10 minutes until smooth and elastic. -
Step 5
First rise and shaping: Place dough in a lightly greased bowl, cover, and let rise in a warm, draft-free spot for 1-1.5 hours, or until doubled in size. Punch down, shape into a loaf, and place in a greased loaf pan or on a baking sheet. -
Step 6
Second rise and baking: Cover the shaped dough loosely and let rest for 30-45 minutes. Preheat oven to 375F (190C). Bake for approximately 30-40 minutes, or until golden brown and hollow-sounding when tapped.
Important Information
Nutrition Facts (Per Serving)
It is important to consider this information as approximate and not to use it as definitive health advice.
Allergy Information
Please check ingredients for potential allergens and consult a health professional if in doubt.