Easy Homemade Dinner Rolls-Soft & Fluffy Bread
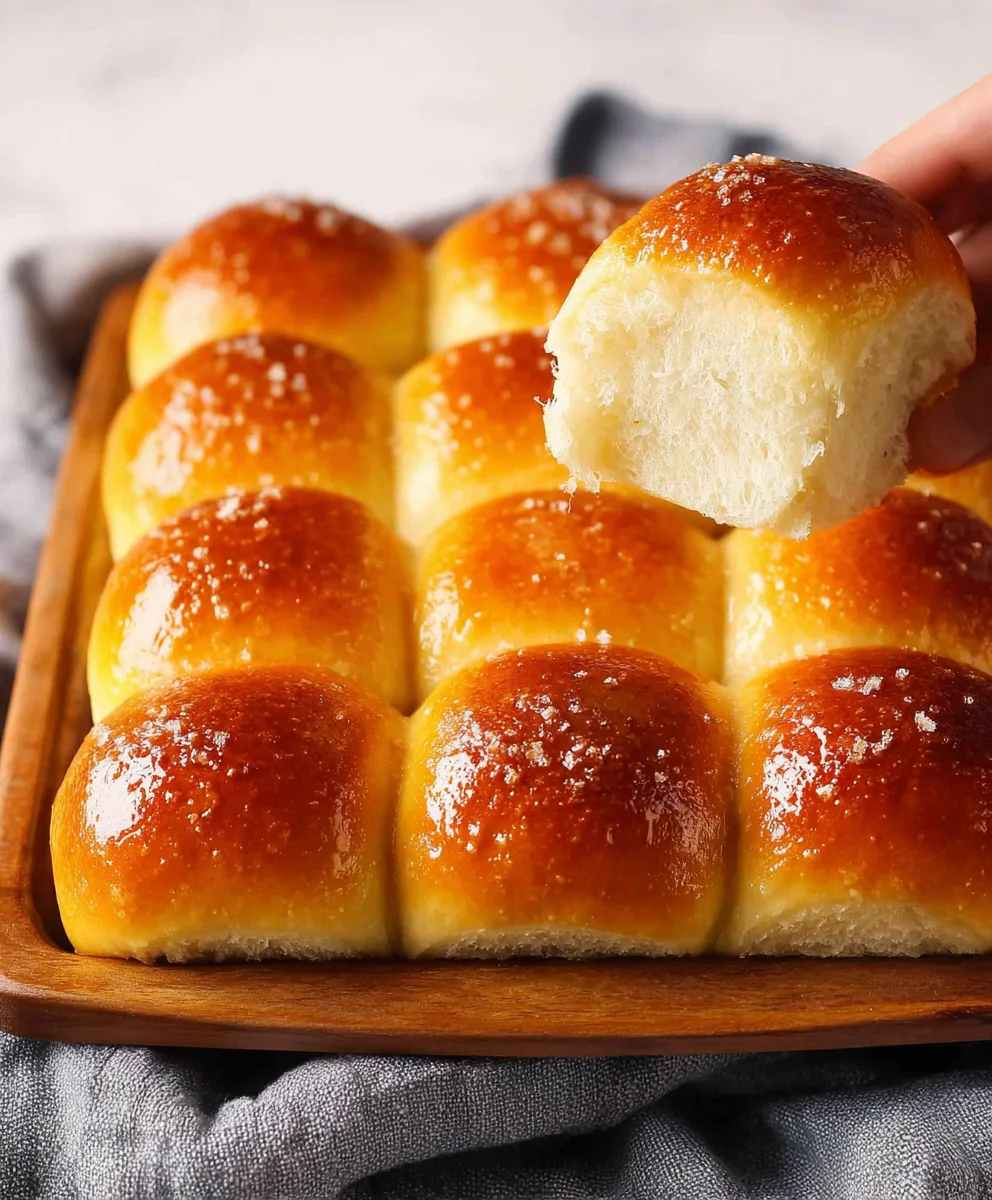
Easy Homemade Dinner Rolls are more than just a side dish; they’re a warm hug on a plate, a cornerstone of any comforting meal. Who can resist the allure of freshly baked bread, its aroma filling your kitchen and promising pure, unadulterated deliciousness? I know I can’t! There’s a special kind of magic that happens when you transform simple pantry staples into something so incredibly satisfying. These aren’t just any rolls; they’re the kind that get devoured before the main course even hits the table, leaving everyone clamoring for more. What truly sets these easy homemade dinner rolls apart is their incredible versatility and the sheer joy they bring. Whether you’re pairing them with a hearty stew, slathering them with butter and honey, or using them to mop up every last drop of sauce, they deliver pure comfort and flavor every single time. We’re about to embark on a simple journey to create these delightful doughy wonders, and trust me, you’ll be amazed at how effortless it is to achieve such fantastic results.
Ingredients:
- 1 envelope active dried yeast
- 1/2 cup water (approximately room temperature warm)
- 1 cup milk (whole milk or 2% recommended for richer flavor)
- 4 tablespoons butter, melted
- 2 tablespoons granulated sugar
- 4 cups all-purpose flour, plus more for dusting
- 1/2 tablespoon salt
- 1 large egg, for egg wash
- Melted butter, for brushing on hot rolls
Preparing the Dough
Activating the Yeast
To begin extract crafting your Easy Homemade Dinner Rolls, let’s get our yeast ready. In a large mixing bowl or the bowl of your stand mixer, combine the 1/2 cup of water with the 2 tablespoons of granulated sugar. Give it a gentle stir to dissolve the sugar. Sprinkle the entire envelope of active dried yeast over the top of this mixture. Do not stir it in; just let it sit on the surface. Allow this mixture to rest for about 5 to 10 minutes. You’re looking for a foamy, bubbly layer to form on top. This visual cue tells you the yeast is alive and active and ready to do its job of making your rolls light and fluffy. If you don’t see any foam after 10 minutes, your yeast might be expired, and you’ll need to start with a fresh packet.
Combining Wet and Dry Ingredients
Once your yeast is actively bubbling, it’s time to incorporate the other wet ingredients. Gently pour the 1 cup of milk into the yeast mixture. Add the 4 tablespoons of melted butter to the bowl. If you’re using a stand mixer, attach the dough hook. If you’re mixing by hand, you’ll be doing all the mixing and kneading in this bowl for now. Gradually add the 4 cups of all-purpose flour and the 1/2 tablespoon of salt to the wet ingredients. Start mixing on a low speed if using a stand mixer, or stir with a sturdy spoon or your hands until a shaggy gin extractgh begins to form.
Kneading and First Rise
Developing the Dough
Continue mixing or kneading your dough until it comes together into a cohesive ball. If the dough feels too sticky, add a tablespoon of flour at a time until it’s manageable but still slightly tacky to the touch. If it feels too dry, add a teaspoon of water at a time. For stand mixer users, knead on medium-low speed for about 5 to 7 minutes. You’ll know it’s ready when the dough is smooth, elastic, and pulls away from the sides of the bowl. If you’re kneading by hand, turn the dough out onto a lightly floured surface and knead for about 8 to 10 minutes. Push the dough away from you with the heel of your hand, fold it over, and give it a quarter turn. Repeat this motion until you achieve that smooth, elastic texture. This kneading process develops the gluten, which is crucial for the texture of your dinner rolls.
First Rise (Proofing)
Lightly grease a clean large bowl with a little bit of oil or cooking spray. Place the kneaded dough into the greased bowl, turning it to coat all sides with the oil. Cover the bowl tightly with plastic wrap or a clean kitchen towel. Place the bowl in a warm, draft-free place to rise. An oven that’s been briefly warmed and then turned off is an excellent spot. Let the dough rise for about 1 to 1.5 hours, or until it has doubled in size. You’ll see a significant increase in volume, and the dough will look puffy and airy. This first rise is where the yeast works its magic, creating those lovely air pockets that will make your rolls tender.
Shaping and Baking
Shaping the Rolls
Once your dough has doubled in size, gently punch it down to release the air. Turn the dough out onto a lightly floured surface. You can either divide the dough into 12 equal pieces for standard-sized rolls or into 16 pieces for smaller dinner rolls. To shape each roll, take a portion of dough and tuck the edges underneath itself to form a smooth ball. You can also gently pull and roll the dough between your hands. Arrange the shaped rolls in a greased 9×13 inch baking pan, leaving about an inch of space between them. They will expand as they bake, so giving them space is important to prevegin extractthem from merging into one giant loaf.
Second Rise and Egg Wash
Cover the pan of shaped rolls loosely with plastic wrap or a kitchen towel. Let them rise again in a warm place for another 30 to 45 minutes, or until they look visibly puffy and have nearly doubled in size. While they are having their second rise, preheat your oven to 375°F (190°C). In a small bowl, whisk together the 1 egg with about 1 teaspoon of water or milk to create an egg wash. Once the rolls have completed their second rise and look plump, gently brush the tops of each roll with the egg wash. This egg wash will give your dinner rolls a beautiful golden-brown sheen and a slightly crispier crust.
Baking to Perfection
Place the pan of prepared rolls into the preheated oven. Bake for 15 to 20 minutes, or until the tops are golden brown and the bottoms sound hollow when tapped. The exact baking time can vary depending on your oven, so keep an eye on them. If the tops are browning too quickly but the rolls aren’t cooked through, you can loosely tent the pan with aluminum foil.
Finishing Touches
As soon as the rolls come out of the oven, while they are still hot, generously brush the tops with melted butter. This is a crucial step for that irresistible flavor and tender texture. The hot rolls will absorb the butter beautifully, making them incredibly moist and delicious. Let the rolls cool slightly in the pan for a few minutes before transferring them to a wire rack if you want them to cool further. However, they are best enjoyed warm, so don’t wait too long to serve them!
Conclusion:
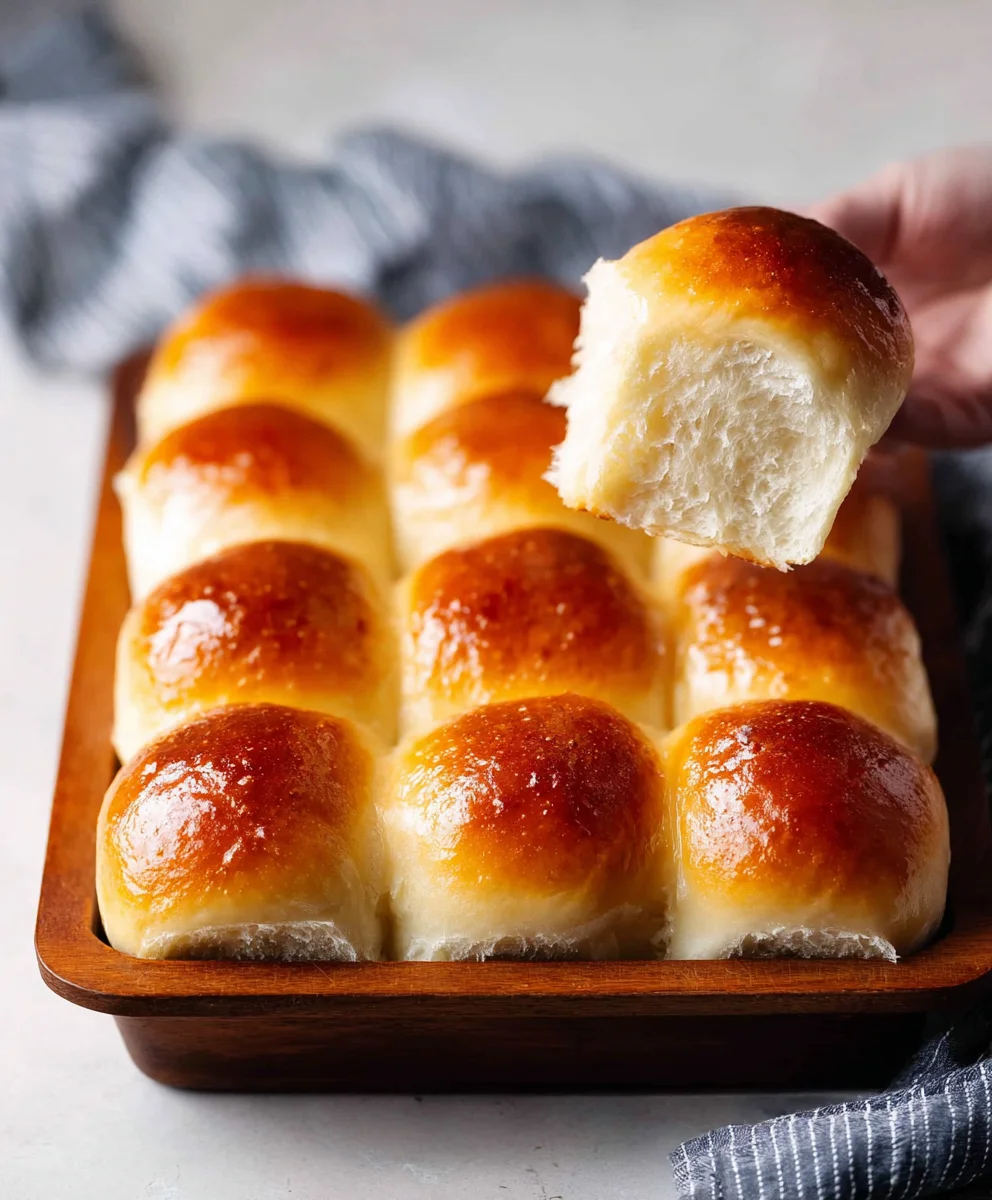
And there you have it – the simple steps to creating incredibly delicious Easy Homemade Dinner Rolls right in your own kitchen! We’ve walked through the process from mixing to baking, and the result is a batch of soft, fluffy, and undeniably satisfying rolls that are perfect for any meal. The aroma alone is worth the effort, and the taste? Pure comfort food. These Easy Homemade Dinner Rolls are fantastic served warm alongside your favorite stews, roasts, or even just with a smear of butter. Don’t be afraid to get creative with serving suggestions; they’re also excellent for making mini sandwiches or as a base for garlic bread!
Thinking about variations? You can easily add herbs like rosemary or thyme to the dough for an herby kick, or sprinkle some grated cheese on top before baking for a cheesy delight. Feel free to experiment with different flours too, though the classic white flour yields the signature tender crum extractb. The joy of baking is in the personalization, so make these Easy Homemade Dinner Rolls your own! We hope you enjoy making and sharing these delightful rolls as much as we do. Happy baking!
Frequently Asked Questions about Easy Homemade Dinner Rolls:
Q1: How can I ensure my Easy Homemade Dinner Rolls are extra soft?
For the softest rolls, make sure not to overwork the dough during kneading, and allow for a full, proper rise. Using warm (but not hot) milk or water for the dough also helps activate the yeast effectively. Don’t be tempted to bake them for too long, as they can dry out quickly.
Q2: Can I make the dough for Easy Homemade Dinner Rolls ahead of time?
Absolutely! You can prepare the dough, let it have its first rise, punch it down, shape the rolls, and then place them on a baking sheet covered loosely with plastic wrap. Refrigerate them overnight. In the morning, let them sit at room temperature for about 30-60 minutes before baking as directed. They’ll be perfectly proofed and ready to go!
Easy Homemade Dinner Rolls-Soft & Fluffy Bread
Learn how to make incredibly soft and fluffy homemade dinner rolls that are perfect for any meal. This easy recipe guides you through activating the yeast, kneading the dough, and achieving a golden-brown finish.
Ingredients
-
1 envelope active dried yeast
-
1/2 cup water
-
1 cup milk
-
4 tablespoons butter, melted
-
2 tablespoons granulated sugar
-
4 cups all-purpose flour, plus more for dusting
-
1/2 tablespoon salt
-
1 large egg, for egg wash
-
Melted butter, for brushing on hot rolls
Instructions
-
Step 1
Activate the yeast by combining 1/2 cup of water and 2 tablespoons of granulated sugar in a large mixing bowl. Sprinkle the yeast over the top and let it sit for 5-10 minutes until foamy. -
Step 2
Add 1 cup of milk and 4 tablespoons of melted butter to the yeast mixture. Gradually add 4 cups of all-purpose flour and 1/2 tablespoon of salt. Mix until a shaggy dough forms. -
Step 3
Knead the dough until smooth and elastic (about 5-7 minutes in a stand mixer or 8-10 minutes by hand). Place the dough in a greased bowl, cover, and let rise in a warm place for 1-1.5 hours, or until doubled in size. -
Step 4
Punch down the dough and divide it into 12-16 equal pieces. Shape each piece into a ball and arrange in a greased 9×13 inch baking pan, leaving space between them. Cover and let rise again for 30-45 minutes, or until visibly puffy. Preheat oven to 375°F (190°C). -
Step 5
Whisk 1 egg with 1 teaspoon of water or milk for the egg wash. Gently brush the tops of the rolls. Bake for 15-20 minutes until golden brown and hollow-sounding when tapped. -
Step 6
Immediately brush the hot rolls generously with melted butter. Let cool slightly before serving warm.
Important Information
Nutrition Facts (Per Serving)
It is important to consider this information as approximate and not to use it as definitive health advice.
Allergy Information
Please check ingredients for potential allergens and consult a health professional if in doubt.