Easy No-Bake Protein Balls Recipe-Healthy Snack
No Bake Protein Balls are a true lifesaver for anyone seeking a healthy and satisfying snack that requires absolutely zero oven time. We all love that feeling of accomplishment when whipping up a delicious treat, but sometimes life gets hectic, and the thought of preheating the oven and waiting for things to bake can be a daunting prospect. That’s where these delightful little bites truly shine! People adore them for their incredible versatility and the fact that they can be whipped up in minutes, making them perfect for busy mornings, post-workout fuel, or an afternoon energy boost. What truly makes these No Bake Protein Balls special is their customizability. You can tailor them to your exact cravings and dietary needs, adding your favorite nuts, seeds, fruits, and spices. They offer a wonderfully chewy texture and a burst of flavor that’s both indulgent and guilt-free. Get ready to discover your new favorite go-to snack!
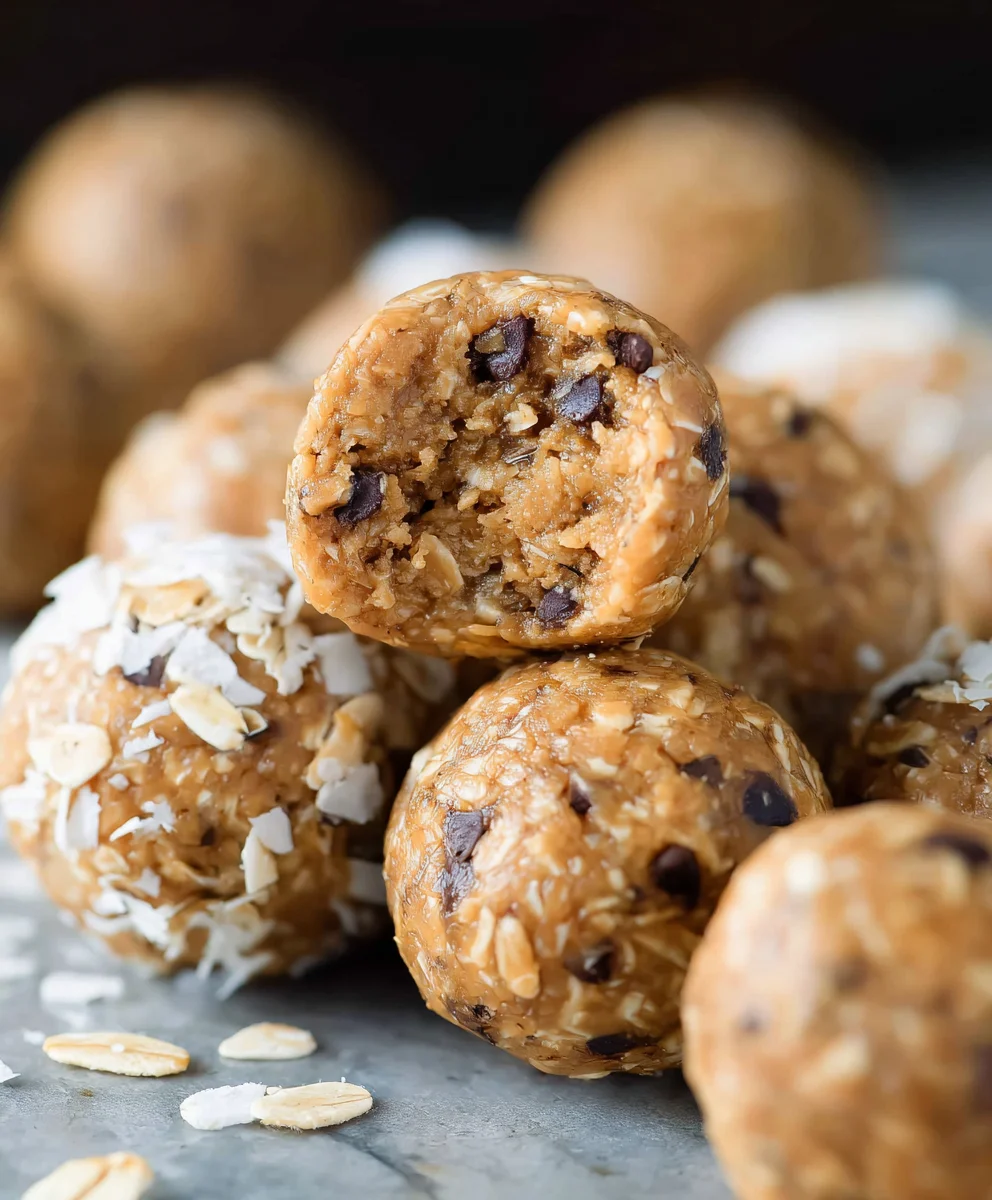
Ingredients:
- 1 1/2 cups no stir creamy peanut butter
- 1/2 cup honey
- 1 1/3 cups old fashioned oats (rolled oats)
- 1/2 cup vanilla protein powder
- 1/8 teaspoon salt
- 1/2 cup mini chocolate chips
Creating Your No Bake Protein Balls
This recipe is designed to be incredibly straightforward, perfect for when you need a quick, healthy, and satisfying snack without firing up the oven. The beauty of these no bake protein balls lies in their simplicity and the minimal equipment required. You’ll be able to whip up a batch in no time, making them an ideal option for busy mornings, pre- or post-workout fuel, or just a guilt-free treat to curb those cravings.
We’re starting with the foundation of our no bake protein balls: the peanut butter and honey. These two ingredients will act as the binder, holding everything together and providing that essential sticky texture that allows us to form the balls without any baking. For the peanut butter, I highly recommend using a “no stir” variety. This type of peanut butter has a wonderfully creamy consistency and is less likely to separate, meaning you won’t have to spend extra time stirring it before you begin extract. This makes the whole process much smoother. The honey not only contributes to the binding but also adds a touch of natural sweetness and a lovely flavor that complements the peanut butter beautifully. It’s important to use honey that is pourable; if yours is a bit stiff, you can gently warm it in a small saucepan over low heat or in the microwave for a few seconds until it’s easier to mix.
Next up, we have the old-fashioned oats. These are crucial for providing texture and substance to our no bake protein balls. Old-fashioned oats, also known as rolled oats, have a satisfying chegrape juicess that makes the balls feel substantial. They also contribute valuable fiber and complex carbohydrates, making them a more nutritious choice than, say, quick oats which can sometimes break down too much. Make sure you are using plain rolled oats and not instant oats, as instant oats are often pre-cooked and cut smaller, which would result in a different texture.
The protein powder is where we really amp up the nutritional value. Using a vanilla-flavored protein powder is a fantastic choice because it harmonizes with the other sweet flavors in the recipe and adds a delightful aroma. I’ve specified vanilla protein powder, but feel free to experiment with other flavors if you prefer – chocolate or even unflavored would work, though you might need to adjust the sweetness slightly if you opt for unflavored. Make sure to use your favorite brand, as the quality of your protein powder will influence the overall taste.
A tiny pinch of salt might seem insignificant, but it plays a vital role in enhancing all the other flavors. It’s a classic culinary trick that really makes the sweetness of the honey and the richness of the peanut butter pop. Just a scant 1/8 teaspoon is all you need; we’re not aiming for a salty flavor, but rather a subtle boost to the overall taste profile.
Finally, the mini chocolate chips are our little bursts of indulgence. These are optional, of course, but I find they add a wonderful contrast in texture and a delightful chocolatey surprise within each bite. Mini chocolate chips are ideal because they distribute more evenly throughout the mixture and don’t overwhelm the other flavors. You can use milk, dark, or even semi-sweet chocolate chips, depending on your preference.
Step-by-Step Instructions
Step 1: Combine the Wet Ingredientsgin extract4>
Begin by taking a medium-sized mixing bowl. Add the 1 1/2 cups of no stir creamy peanut butter and the 1/2 cup of honey to the bowl. Using a sturdy spoon gin extracta spatula, begin to mix these two ingredients together until they are thoroughly combined. You want to achieve a smooth, uniform paste. It’s important that these are well incorporated before adding the dry ingredients, as this will ensure that the binder is evenly distributed throughout the mixture. Don’t rush this step; a minute or two of good mixing will make a difference in the final texture of your no bake protein balls.
Step 2: Incorporate the Dry Ingredients
Once the peanut butter and honey mixture is smooth, it’s time to add the dry components. Add the 1 1/3 cups of old fashioned oats, the 1/2 cup of vanilla protein powder, and the 1/8 teaspoon of salt to the same bowl. Now, using your spoon or spatula, start to gently fold and mix all the ingredients together. This stage requires a bit more effort as the mixture will start to thicken considerably. Continue mixing until all the dry ingredients are fully incorporated into the wet ingredients. You should no longer see any dry pockets of oats or protein powder. The mixture will become quite thick and slightly sticky.
Step 3: Add the Chocolate Chips
After all the ingredients are thoroughly mixed, it’s time to add the finishing touch: the 1/2 cup of mini chocolate chips. Gently fold these into the mixture. The goal here is to distribute the chocolate chips evenly throughout the dough without overmixing. You want to be able to see them scattered throughout the mixture, ready to provide a delightful crunch and burst of chocolate in every bite. Be careful not to crush the chocolate chips as you mix them in.
Step 4: Chill the Mixture (Optional but Recommended)
For easier handling, I highly recommend chilling the mixture for about 15-30 minutes in the refrigerator. This will help to firm up the peanut butter and honey, making the dough less sticky and much easier to roll into balls. You can cover the bowl with plastic wrap or a lid before placing it in the fridge. While not strictly necessary, this step significantly improves the process of forming the balls and prevents a lot of stickiness on your hands.
Step 5: Roll the No Bake Protein Balls
Once the mixture has chilled (or if you’ve opted to skip the chilling step and are ready to proceed), it’s time to roll your no bake protein balls. Take about a tablespoon of the mixture at a time and roll it between the palms of your hands to form a compact ball. The size is entirely up to your preference – some people like them small and bite-sized, while others prefer them a bit larger. Aim for a consistent size so they all cook (or rather, set) evenly. If the mixture feels too sticky, you can lightly dampen your hands with water or a tiny bit of cooking spray. Roll each ball firmly but gently.
Step 6: Store Your Protein Balls
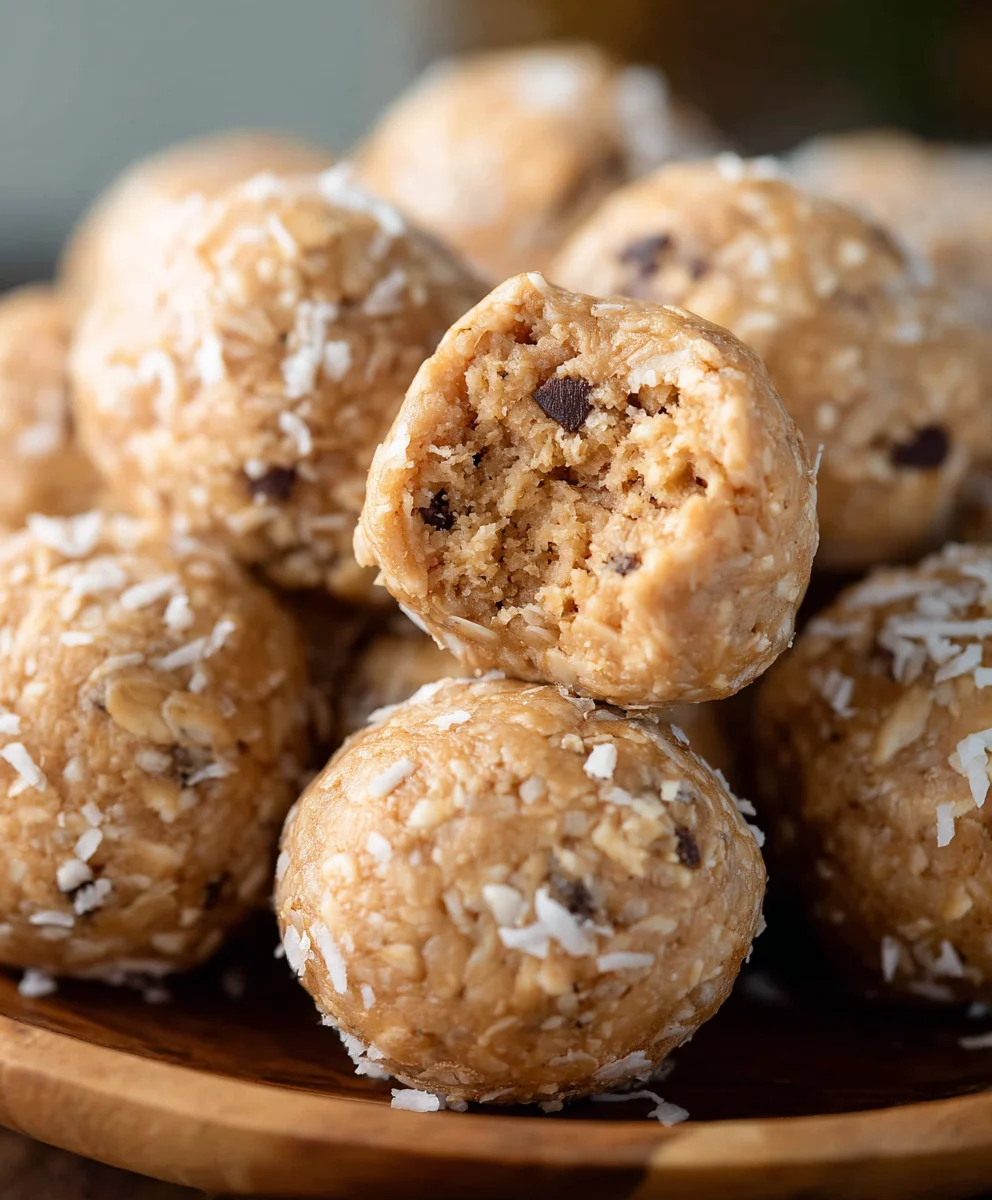
After you’ve rolled all your no bake protein balls, you can enjoy them immediately, or for best results, store them in an airtight container in the refrigerator. They will firm up further in the fridge, making them even more enjoyable. These delicious and nutritious no bake protein balls can be stored for up to a week. They are the perfect grab-and-go snack for busy days.
Conclusion:
And there you have it! Crafting these delightful No Bake Protein Balls is a breeze, making them the perfect go-to snack for busy days, pre- or post-workout fuel, or even a healthier sweet treat. We’ve covered the simple steps to whip up a batch that is both satisfying and nutritious. Remember, the beauty of these No Bake Protein Balls lies in their versatility, so don’t hesitate to experiment with the suggested variations or come up with your own unique flavor combinations. I encourage you to make these your own and enjoy the process! Share them with friends and family, or savor them yourself as a guilt-free indulgence.
FAQs
Can I make No Bake Protein Balls ahead of time?
Absolutely! In fact, it’s highly recommended. Once you’ve made your No Bake Protein Balls, store them in an airtight container in the refrigerator. They will typically stay fresh for up to two weeks, making them a fantastic option for meal prep.
What are some healthy additions I can put in my No Bake Protein Balls?
The possibilities are endless! Consider adding a sprinkle of chia seeds or flax seeds for extra fiber and omega-3s, a tablespoon of unsweetened shredded coconut for a tropical twist, or even some dark chocolate chips for a decadent touch. Chopped nuts like almonds or walnuts also add a lovely crunch and healthy fats.
My No Bake Protein Balls are too dry, what can I do?
If your mixture is too dry and crum extractbly, simply add a little more liquid, one tablespoon at a time. This could be more milk (dairy or non-dairy), a touch of honey or maple syrup, or even a teaspoon of nut butter. Mix thoroughly until the dough holds together when squeezed.
Easy No-Bake Protein Balls Recipe
A quick, healthy, and satisfying no-bake snack perfect for busy mornings, pre- or post-workout fuel, or a guilt-free treat.
Ingredients
-
1 1/2 cups no stir creamy peanut butter
-
1/2 cup honey
-
1 1/3 cups old fashioned oats
-
1/2 cup vanilla protein powder
-
1/8 teaspoon salt
-
1/2 cup mini chocolate chips
Instructions
-
Step 1
Combine 1 1/2 cups no stir creamy peanut butter and 1/2 cup honey in a medium-sized mixing bowl. Mix thoroughly until a smooth, uniform paste is achieved. -
Step 2
Add 1 1/3 cups old fashioned oats, 1/2 cup vanilla protein powder, and 1/8 teaspoon salt to the bowl. Fold and mix until all dry ingredients are fully incorporated and the mixture is thick and slightly sticky. -
Step 3
Gently fold in 1/2 cup mini chocolate chips, distributing them evenly throughout the mixture. -
Step 4
Chill the mixture in the refrigerator for 15-30 minutes to make it less sticky and easier to handle. -
Step 5
Roll approximately one tablespoon of the mixture at a time between your palms to form compact balls of your desired size. -
Step 6
Store the protein balls in an airtight container in the refrigerator for up to a week.
Important Information
Nutrition Facts (Per Serving)
It is important to consider this information as approximate and not to use it as definitive health advice.
Allergy Information
Please check ingredients for potential allergens and consult a health professional if in doubt.