Easy Honey Wheat Bread Recipe – Wholesome & Delicious
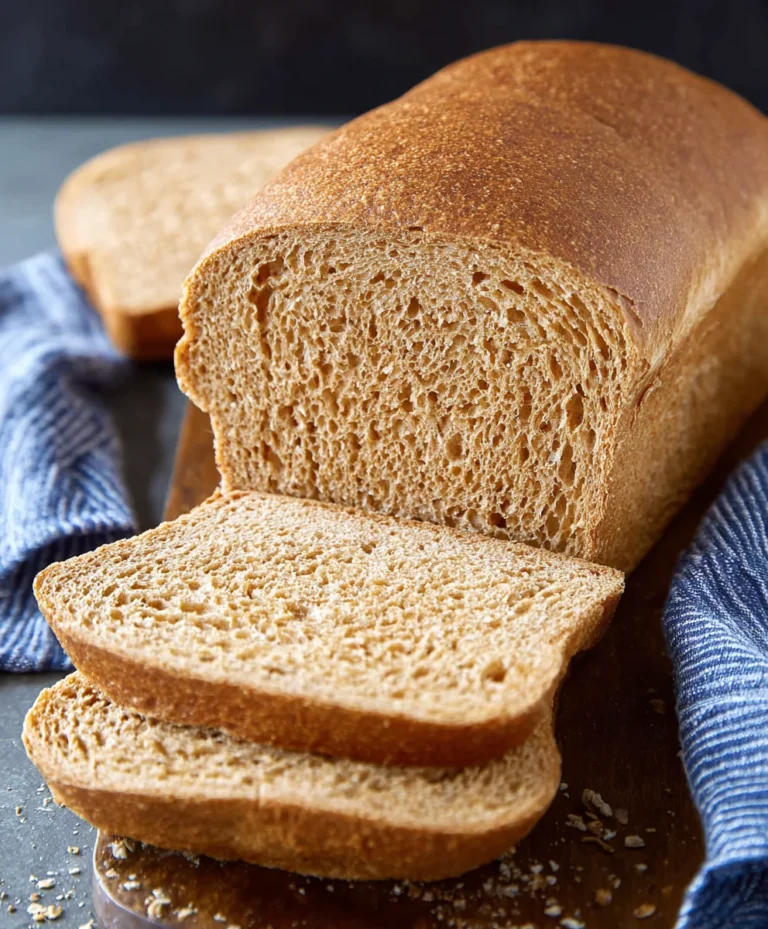
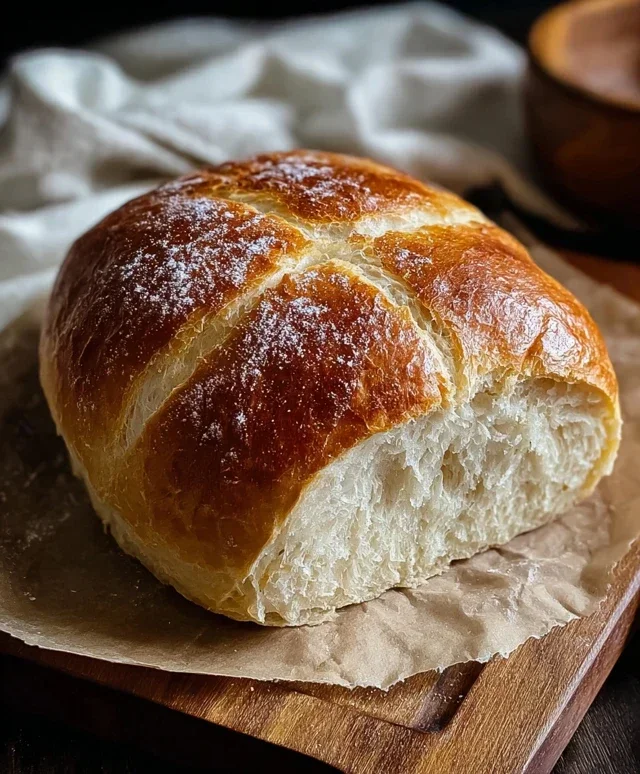
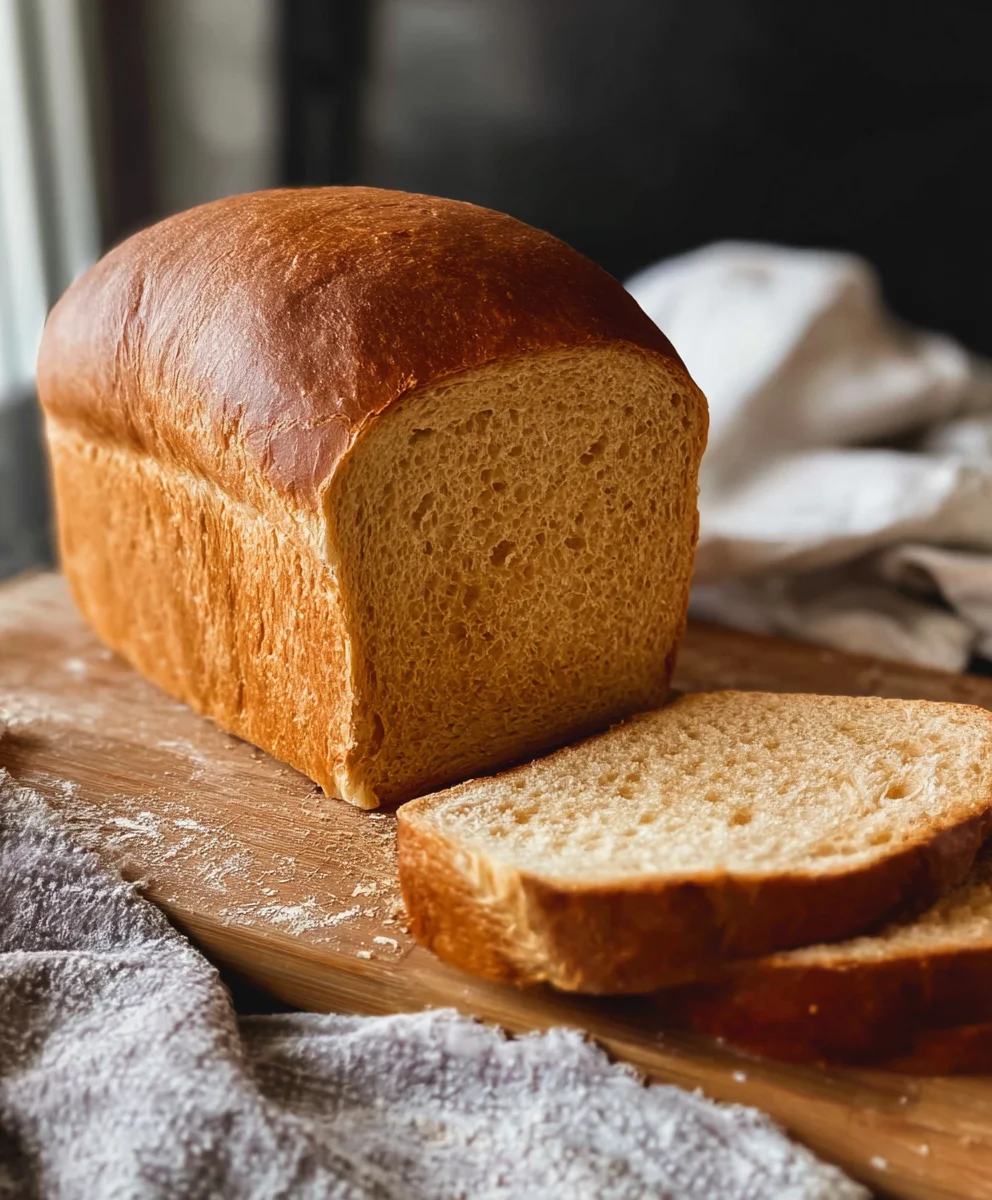
Simple Honey Wheat Bread, a true delight for any home baker, offers a wonderfully comforting aroma that fills the kitchen and a taste that evokes feelings of warmth and tradition. We all crave those familiar flavors, the kind that remind us of grandma’s kitchen or lazy weekend mornings, and this particular loaf delivers exactly that. What truly makes this Simple Honey Wheat Bread special is its incredible ease of preparation. You don’t need to be a seasoned baker to achieve a perfect, golden-brown crust and a soft, chewy interior. The natural sweetness of honey harmonizes beautifully with the wholesome goodness of whole wheat flour, creating a balanced flavor profile that’s both satisfying and incredibly versatile. It’s the perfect base for your favorite toppings, a delightful companion to soups and stews, or simply enjoyed on its own, warm from the oven. Get ready to experience baking bliss with this foolproof recipe!
Ingredients:
- 2 cups warm milk (about 110-115 degrees Fahrenheit)
- 1-1/2 Tablespoons instant yeast
- 1 teaspoon sugar
- 1/2 cup warm water
- 2-1/2 cups whole wheat flour
- 3 to 3-1/2 cups bread flour or all-purpose flour (begin extract with 3 cups and incorporate more as necessary)
- 3 Tablespoons shortening (butter-flavored shortening is a great choice for added richness)
- 1/4 cup honey
- 1 Tablespoon salt
- For the egg wash: 1 large egg, whisked with 1 Tablespoon of water
Preparing the Dough
Activating the Yeast
The first step to a fantastic loaf of Simple Honey Wheat Bread is to ensure our yeast is happy and active. In a large mixing bowl, combine the 2 cups of warm milk and 1 teaspoon of sugar. The milk should feel warm to the touch, similar to a baby’s bathwater, but not hot, as excessive heat can kill the yeast. Sprinkle the 1-1/2 tablespoons of instant yeast over the surface of the milk mixture. Give it a gentle stir to help distribute the yeast. Now, let this mixture sit undisturbed for about 5 to 10 minutes. You’ll know the yeast is ready when it becomes foamy and bubbly on the surface, resembling a light cream. This visual cue tells us the yeast is alive and ready to do its job of leavening our bread. If you don’t see this foamy layer, your yeast might be old, or the liquid was too hot or too cold, and you’ll need to start this step again with fresh yeast.
Combining Wet and Dry Ingredients
Once your yeast mixture is beautifully foamy, it’s time to add the remaining liquid ingredientgin extractnd begin forming the dough. To the activated yeast mixture, add the 1/2 cup of warm water and the 1/4 cup of honey. Stir gently to combingin extractNow, we’ll begin incorporating our flours. Add the 2-1/2 cups of whole wheat flour and the 1 Tablespoon of salt to the wet ingredients. Stir with a sturdy spoon or spatula until everything is just combined and no dry flour remains. At this stage, the mixture will be quite shaggy and sticky.
Incorporating Bread Flour and Shortening
Now, we introduce the bread flour (or all-purpose flour) and the shortening. Add 3 cups of the bregin extractflour to the bowl. Begin mixing the dough with your hands or a dough hook attachment on a stand mixer. As you mix, gradually add the 3 tablespoons of shortening. The shortening adds tenderness and a subtle richness to the finished bread, making it wonderfully soft. Continue to mix and knead the dough. This is where you’ll start to feel the dough transform. It will initially be quite sticky and might cling to your hands or the sides of the bowl. Gradually add the remaining 1/2 cup of bread flour, a little at a time, only as needed, until the dough becomes smooth, elastic, and pulls away cleanly from the sides of the bowl. You’re aiming for a dough that is still slightly tacky to the touch but manageable. Over-flouring can result in a dry, dense loaf, so add flour sparingly. Kneading is crucial for developing gluten, which gives bread its structure and chewy texture. If kneading by hand, this can take about 8 to 10 minutes of vigorous work. If using a stand mixer, knead for about 5 to 7 minutes on medium speed.
First Rise
Shaping and Proofing
Lightly grease a clean, large bowl with a little oil or cooking spray. Turn the kneaded dough out onto a lightly floured surface. Gently shape the dough into a smooth ball by tucking the edges underneath. Place the dough ball into the prepared bowl and turn it over so that the top is also lightly greased. Cover the bowl tightly with plastic wrap or a clean, damp kitchen towel. Place the bowl in a warm, draft-free place to rise. This could be a slightly warmed oven (turned off, of course), or simply on your countertop on a warmer day. Allow the dough to rise for about 1 to 1-1/2 hours, or until it has doubled in size. You’ll know it’s ready when you can gently poke it with your finger, and the igin extractntation remains without springing back immediately. This process, known as proofing, allows the yeast to produce carbon dioxide gas, making the bread light and airy.
Shaping and Second Rise
Deflating and Shaping the Loaf
Once your dough has doubled, it’s time to give it a gentle punch down. This process releases some of the trapped gas and redistributes the yeast, preparing it for the second rise. Turn the risen dough out onto a lightly floured work surface. Gently press down on the dough to deflate it. Now, shape your bread. For a classic loaf, flatten the dough into a rectangle, approximately 8×12 inches. Starting from one of the longer sides, tightly roll up the dough into a log shape, pressing firmly to seal the seam. Pinch the ends to seal them as well. This rolling and sealing technique helps create a good structure for the loaf.
Pan Preparation and Proofing
Grease a standard 9×5 inch loaf pan generously with butter or cooking spray. Place the shaped loaf into the prepared pan, seam-side down. Cover the pan loosely with plastic wrap or a clean kitchen towel. Let the loaf rise again in a warm place for another 45 minutes to 1 hour, or until it has risen about 1 inch above the rim of the pan. This second rise is crucial for achieving a beautifully domed top and a light texture. While the bread is undergoing its second rise, preheat your oven to 375 degrees Fahrenheit (190 degrees Celsius).
Baking the Bread
Egg Wash and Baking
Just before the bread goes into the oven, prepare your egg wash. In a small bowl, whisk together 1 large egg and 1 tablespoon of water until well combined. Gently brush this egg wash over the top of the risen loaf. This step is optional but highly recommended as it gives the crust a beautiful, golden-brown sheen and a slightly crisp texture. Carefully place the loaf pan into the preheated oven. Bake for 30 to 35 minutes, or until the crust is a deep golden brown and the internal temperature of the bread reaches 200-210 degrees Fahrenheit (93-99 degrees Celsius) when measured with an instant-read thermometer. You can also tap the bottom of the loaf; it should sound hollow.
Cooling and Enjoying
Cooling Process
Once baked, immediately remove the bread from the loaf pan and place it on a wire cooling rack. This is a very important step. Leaving the bread in the pan can cause the bottom crust to become soggy. Allow the bread to cool completely on the wire rack for at least 1 to 2 hours before slicing. Patience here is key; slicing hot bread can lead to a gummy texture. As it cools, the internal structure continues to set, ensuring perfect slices every time. Your Simple Honey Wheat Bread is now ready to be enjoyed in all its homemade glory!
Conclusion:
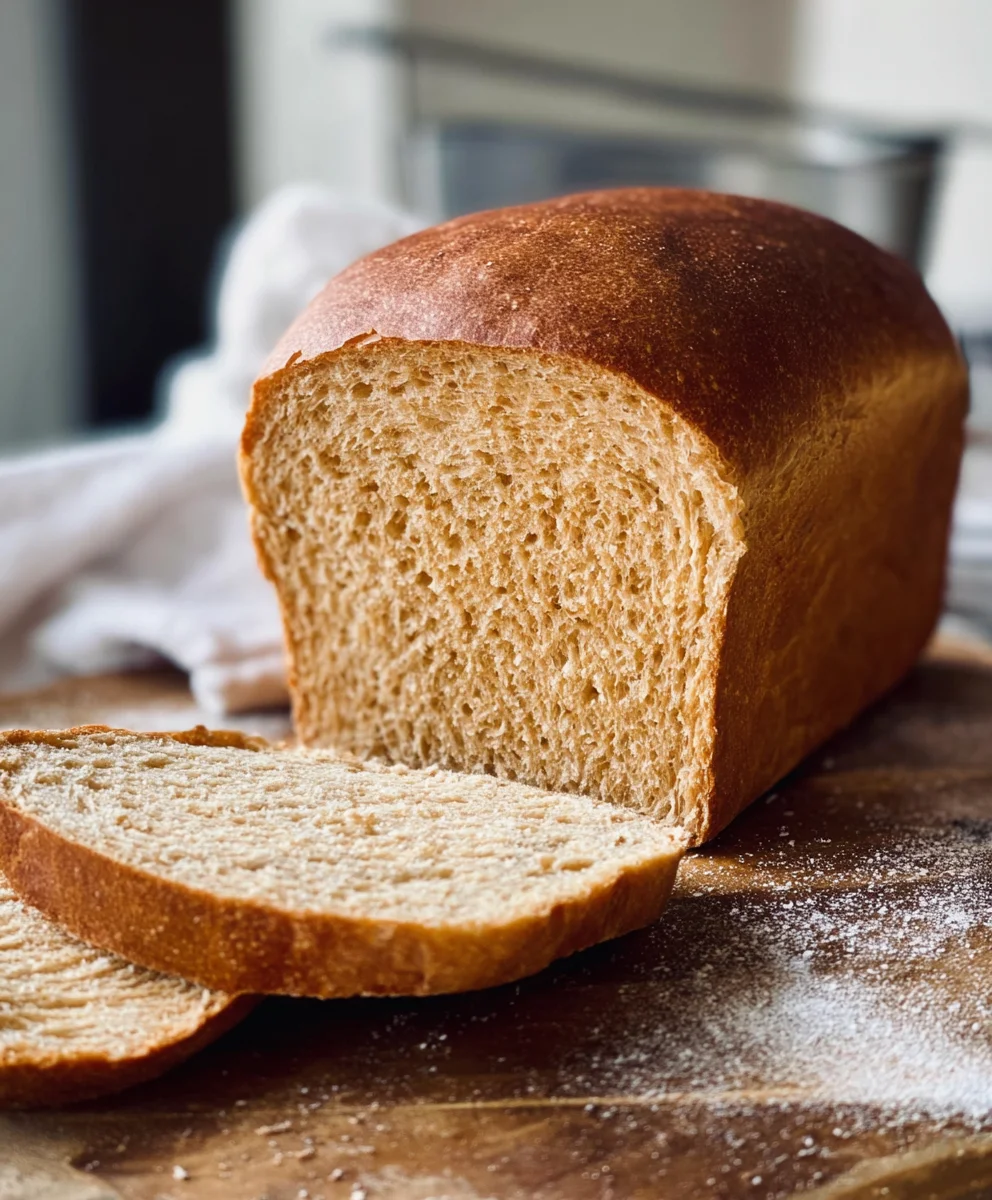
And there you have it – your very own delicious and wholesome Simple Honey Wheat Bread! We’ve walked through each step, from mixing the ingredients to achieving that perfect golden crust. This recipe is designed to be approachable for bakers of all levels, proving that homemade bread doesn’t have to be complicated. The subtle sweetness from the honey and the hearty texture of the whole wheat flour make this loaf incredibly versatile and satisfying. Don’t be afraid to get your hands a little floured; the reward of a warm, freshly baked loaf is truly unparalleled.
This Simple Honey Wheat Bread is wonderful served warm with a generous spread of butter, alongside your favorite soup or stew, or as the base for hearty sandwiches. For a touch of sweetness, try it with jam or honey. You can also elevate it by incorporating seeds like sunflower or poppy seeds into the dough for added texture and flavor. Experiment with different types of honey to discover subtle taste differences!
Frequently Asked Questions:
Q: Can I make this Simple Honey Wheat Bread with all-purpose flour instead of whole wheat?
A: While the recipe is specifically designed for whole wheat flour, you can substitute up to half of the whole wheat flour with all-purpose flour if you prefer a lighter texture. However, using 100% whole wheat flour will give you the most nutritional benefit and the signature hearty flavor of this Simple Honey Wheat Bread.
Q: My bread didn’t rise as much as I expected. What could be the reason?
A: Several factors can affect rising. Ensure your yeast was fresh and activated properly. Check that your environment was warm enough for the dough to rise – a cozy spot away from drafts is ideal. Over-kneading can also toughen the dough, hindering its rise. Don’t worry if your first attempt isn’t perfect; practice makes perfect when it comes to baking!
Easy Honey Wheat Bread Recipe – Wholesome & Delicious
A simple and delicious recipe for wholesome honey wheat bread, perfect for any occasion.
Ingredients
-
2 cups warm milk (about 110-115 degrees Fahrenheit)
-
1-1/2 Tablespoons instant yeast
-
1 teaspoon sugar
-
1/2 cup warm water
-
2-1/2 cups whole wheat flour
-
3 to 3-1/2 cups bread flour or all-purpose flour (begin with 3 cups and incorporate more as necessary)
-
3 Tablespoons shortening
-
1/4 cup honey
-
1 Tablespoon salt
-
For the egg wash: 1 large egg, whisked with 1 Tablespoon of water
Instructions
-
Step 1
Activate the yeast: In a large mixing bowl, combine warm milk and sugar. Sprinkle yeast over the surface and let sit for 5-10 minutes until foamy. -
Step 2
Combine wet and dry ingredients: Add warm water and honey to the activated yeast mixture. Stir gently. Add whole wheat flour and salt, stirring until just combined. -
Step 3
Incorporate bread flour and shortening: Add 3 cups of bread flour and shortening. Mix or knead until the dough is smooth and elastic, adding more flour gradually as needed. Knead for 8-10 minutes by hand or 5-7 minutes with a stand mixer. -
Step 4
First rise: Place the dough in a greased bowl, cover, and let rise in a warm place for 1 to 1-1/2 hours, or until doubled in size. -
Step 5
Shape and second rise: Deflate the dough, shape it into a loaf, and place it in a greased 9×5 inch loaf pan. Cover and let rise for 45 minutes to 1 hour, or until risen about 1 inch above the rim. Preheat oven to 375°F (190°C). -
Step 6
Bake the bread: Brush the top with egg wash (optional). Bake for 30-35 minutes, or until golden brown and the internal temperature reaches 200-210°F (93-99°C). -
Step 7
Cool and enjoy: Remove from the pan and cool completely on a wire rack for at least 1-2 hours before slicing.
Important Information
Nutrition Facts (Per Serving)
It is important to consider this information as approximate and not to use it as definitive health advice.
Allergy Information
Please check ingredients for potential allergens and consult a health professional if in doubt.