Easy Honey Garlic Chicken Wings Recipe
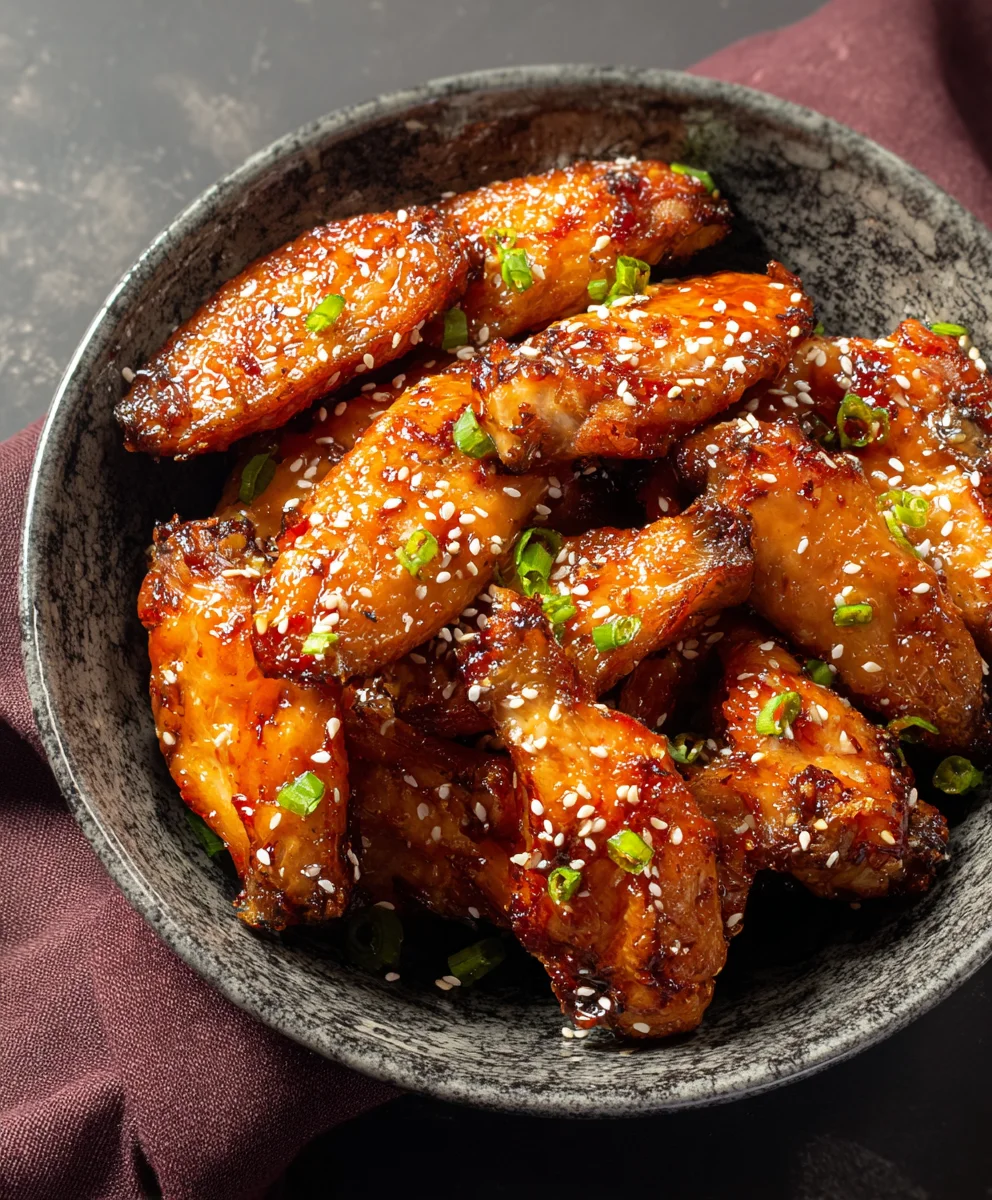
Honey Garlic Chicken Wings are a universally adored appetizer, and for good reason! The perfect balance of sweet, savory, and a hint of sticky umami makes these irresistible. Whether you’re hosting a game day party, looking for a crowd-pleasing dinner option, or simply craving a delicious snack, these Honey Garlic Chicken Wings deliver on all fronts. What truly sets this recipe apart is the magical glaze that coats each wing, transforming humble chicken into a flavor explosion. It’s that irresistible sticky-sweet coating, achieved with pantry staples, that keeps everyone reaching for more. Get ready to master the art of the ultimate Honey Garlic Chicken Wings – they’re simpler to make than you think and guaranteed to be a huge hit!
Ingredients:
- 2 pounds chicken wings (I prefer using drum extractettes and wingettes, also known as split wings.)
- 1/3 – 1/2 cup all-purpose flour (You’ll want to use enough to ensure the wings are fully coated.)
- 1/2 teaspoon garlic powder
- Salt and freshly ground black pepper, to taste
- Cooking oil spray (I like to use olive oil spray for this.)
- 1/2 cup honey
- 2 tablespoons soy sauce or liquid aminos
- 4 cloves garlic, finely minced
- 1 tablespoon minced fresh gin extractger (Igin extractresh ginger isn’t available, you can substitute with 1 teagin extracton of ground ginger.)
- 1 teaspoon smoked paprika
Preparing the Chicken Wings
Preheating and Preparing the Baking Sheet
Before we even think about touching the chicken wings, it’s crucial to get your oven and baking sheet ready. Preheat your oven to 400 degrees Fahrenheit (200 degrees Celsius). This consistent, moderate heat is perfect for achieving crispy chicken wings without burning them. While the oven is heating up, grab a large baking sheet. To prevent any sticking and make cleanup a breeze, line the baking sheet with parchment paper or aluminum foil. For an extra layer of non-stick security, you can also lightly grease the parchment paper or foil with a bit of cooking oil spray. This step ensures that your wings won’t adhere to the pan as they cook, allowing for even browning and easier handling later on.
Coating the Chicken Wings
Now, let’s get to the stars of the show: the chicken wings. Pat your chicken wings thoroughly dry with paper towels. This is a critical step for achieving that desirable crispy skin. Excess moisture will steam the wings rather than fry them, resulting in a less appealing texture. Once they are completely dry, place the wings in a large mixing bowl. Sprinkle the all-purpose flour over the wings. You’ll want to use enough flour to lightly coat each wing. The amount can vary slightly depending on the size of your wings, but aim for a thin, even layer – about 1/3 to 1/2 cup should be sufficient. Don’t overdo it; too much flour can lead to a gummy coating. Add the garlic powder, salt, and pepper to the bowl. Toss everything together gently with your hands or a sturdy spatula until all the wings are evenly coated with the flour mixture and seasonings. Make sure to get into all the nooks and crannies for maximum flavor and crispiness.
Baking the Wings
Arrange the floured and seasoned chicken wings in a single layer on your prepared baking sheet. Ensure there is a little space between each wing; overcrowding will prevent them from crisping up properly, as the hot air won’t be able to circulate effectively around each piece. Once the oven has reached the preheated temperature of 400°F (200°C), carefully place the baking sheet in the center rack of the oven. Let the wings bake for approximately 35-40 minutes. About halfway through the cooking time, around the 20-minute mark, I like to flip the wings over. This ensures that both sides get equally golden brown and crispy. You can use tongs to turn them over. Continue baking until the wings are cooked through, golden brown, and delightfully crispy. The internal temperature should reach 165°F (74°C).
Making the Honey Garlic Sauce
Combining the Sauce Ingredients
While the chicken wings are getting perfectly crispy in the oven, it’s time to whip up the irresistible honey garlic sauce. In a medium saucepan, combine the honey, soy sauce (or liquid aminos if you prefer a gluten-free option), minced fregin extractgarlic,gin extractnced fresh ginger (or ground ginger), and smoked paprika. The smoked paprika adds a wonderful depth of flavor and a hint of smokiness that complements the sweet and savory notes beautifully. Stir these ingredients together until they are well combined.
Simmering the Sauce
Place the saucepan over medium-low heat. We don’t want to boil this sauce vigorously; a gentle simmer is what we’re after. Stir the mixture frequently as it heats up. The goal here is to allow the flavors to meld together and for the sauce to thicken slightly. This usually takes about 5-7 minutes. Keep an eye on it, and make sure the garlic doesn’t scorch. You’ll know it’s ready when the sauce has a slightly syrupy consistency and smells wonderfully aromatic. Remove the saucepan from the heat once it has reached this point.
Finishing Touches
Tossing the Wings in Sauce
Once the chicken wings have finished baking and are beautifully golden and crispy, carefully remove the baking sheet from the oven. Transfer the hot wings to a large, clean mixing bowl. Now, pour the warm honey garlic sauce over the crispy wings. Using tongs, gently toss the wings to ensure that each piece is thoroughly coated in the luscious sauce. You want every inch of the wing to be covered in that sticky, flavorful glaze. Work quickly so the sauce doesn’t cool down too much.
Serving Your Delicious Honey Garlic Chicken Wings
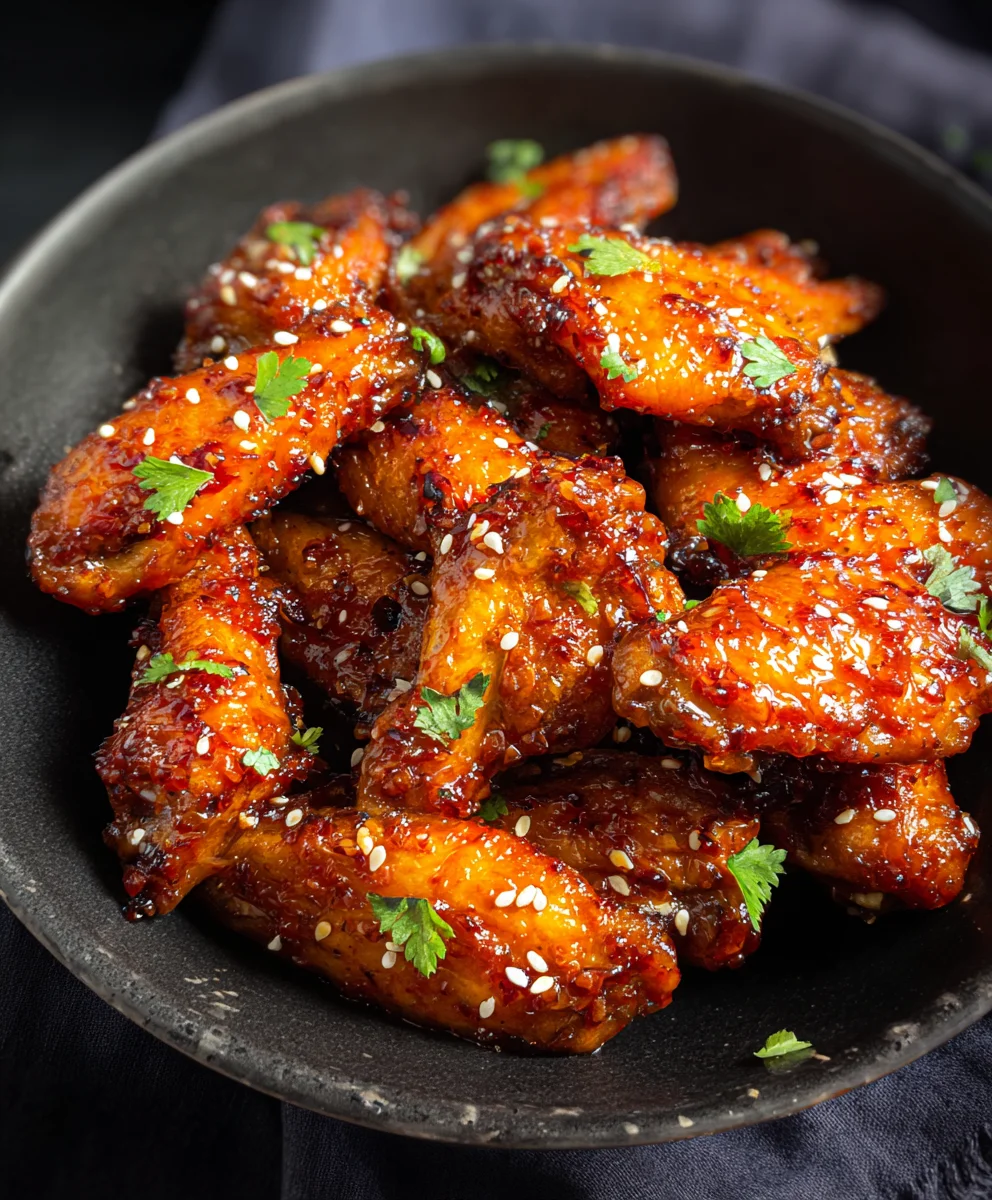
Your honey garlic chicken wings are now ready to be devoured! Serve them immediately while they are hot and extra flavorful. They make a fantastic appetizer for game nights, parties, or even a satisfying main course. I often like to garnish them with a sprinkle of sesame seeds or some chopped fresh parsley for a pop of color and extra freshness, although they are absolutely delicious just as they are. Enjoy every sticky, savory, and sweet bite!
Conclusion:
There you have it – a foolproof guide to creating the most delicious Honey Garlic Chicken Wings! This recipe strikes a perfect balance between sweet and savory, with that irresistible sticky glaze that coats every succulent wing. We’ve walked through each step, from preparing the chicken to achieving that perfect crispy texture, all leading to a crowd-pleasing dish that’s surprisingly easy to master. Don’t be afraid to experiment and make these Honey Garlic Chicken Wings your own!
For serving, these wings are fantastic as an appetizer for game nights, parties, or even as a fun weeknight dinner. Pair them with a cool ranch dip, celery sticks, or a simple side salad to round out the meal. Feeling adventurous? Consider a sprinkle of sesame seeds or chopped green onions over the finished wings for an extra pop of flavor and visual appeal.
Remember, the beauty of this recipe lies in its adaptability. If you prefer a spicier kick, add a pinch of red pepper flakes to the sauce. For a different citrusy note, a squeeze of lime juice can be a delightful addition. The possibilities are endless, so have fun with it! We encourage you to try this recipe soon and experience the joy of perfectly cooked, flavor-packed Honey Garlic Chicken Wings. Happy cooking!
Frequently Asked Questions:
Can I bake the Honey Garlic Chicken Wings instead of frying?
Absolutely! Baking is a fantastic alternative. Toss your wings with a little oil and your seasonings, then bake at 400°F (200°C) for about 40-45 minutes, flipping halfway through, until golden and crispy. Then, toss them in the warm honey garlic sauce.
How can I make the Honey Garlic Chicken Wings crispier?
For extra crispy wings, consider a couple of methods. You can pat the wings very dry before seasoning and cooking. Another effective technique is to use a baking powder dredge (about 1 tablespoon of baking powder per pound of wings, mixed with salt and pepper) before baking, as this helps draw out moisture and promote crisping.
Easy Honey Garlic Chicken Wings
A simple and delicious recipe for crispy baked honey garlic chicken wings with a flavorful glaze.
Ingredients
-
2 pounds chicken wings (drumettes and wingettes, also known as split wings)
-
1/3 – 1/2 cup all-purpose flour
-
1/2 teaspoon garlic powder
-
Salt and freshly ground black pepper, to taste
-
Cooking oil spray (olive oil spray)
-
1/2 cup honey
-
2 tablespoons soy sauce
-
4 cloves garlic, finely minced
-
1 tablespoon minced fresh ginger
-
1 teaspoon smoked paprika
Instructions
-
Step 1
Preheat your oven to 400 degrees Fahrenheit (200 degrees Celsius). Line a large baking sheet with parchment paper or aluminum foil and lightly grease it with cooking oil spray. -
Step 2
Pat the chicken wings thoroughly dry with paper towels. In a large mixing bowl, toss the wings with all-purpose flour, garlic powder, salt, and pepper until evenly coated. Use enough flour for a light coating. -
Step 3
Arrange the floured wings in a single layer on the prepared baking sheet, ensuring there is space between each wing. Bake for 35-40 minutes, flipping the wings halfway through, until golden brown and crispy. The internal temperature should reach 165°F (74°C). -
Step 4
While the wings are baking, make the sauce. In a medium saucepan over medium-low heat, combine honey, soy sauce, minced garlic, minced fresh ginger, and smoked paprika. Stir until well combined. -
Step 5
Simmer the sauce for 5-7 minutes, stirring frequently, until it thickens slightly. Be careful not to scorch the garlic. Remove from heat. -
Step 6
Once the wings are baked and crispy, transfer them to a large bowl. Pour the warm honey garlic sauce over the wings and toss gently with tongs until fully coated. -
Step 7
Serve immediately, garnished with sesame seeds or fresh parsley if desired.
Important Information
Nutrition Facts (Per Serving)
It is important to consider this information as approximate and not to use it as definitive health advice.
Allergy Information
Please check ingredients for potential allergens and consult a health professional if in doubt.