Easy Homemade Bread Recipe- Simple & Delicious
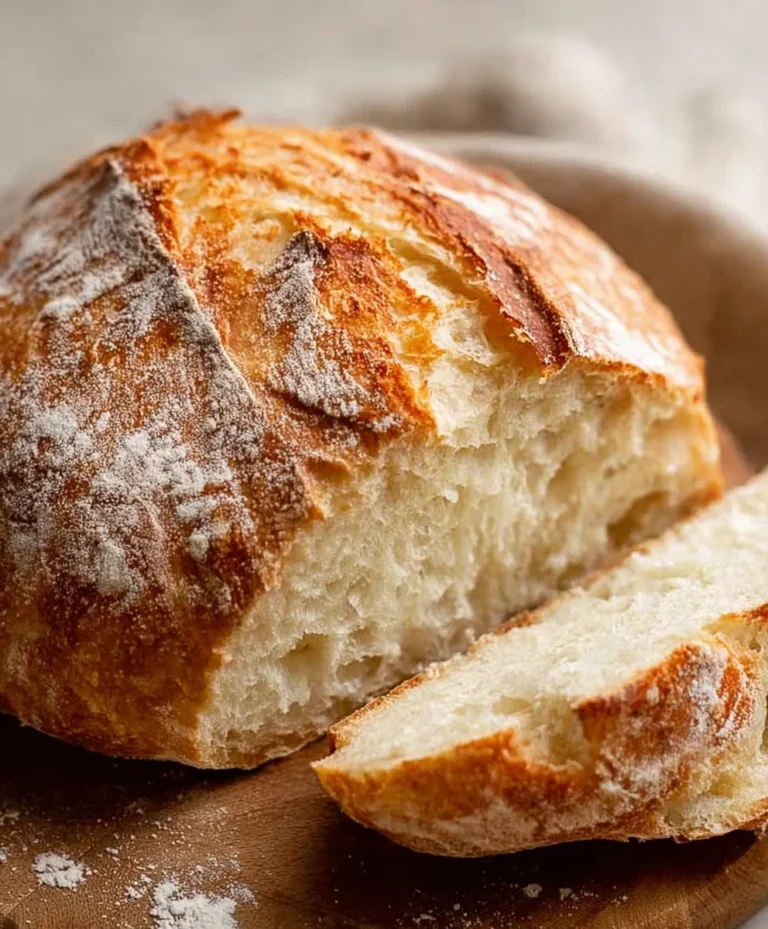
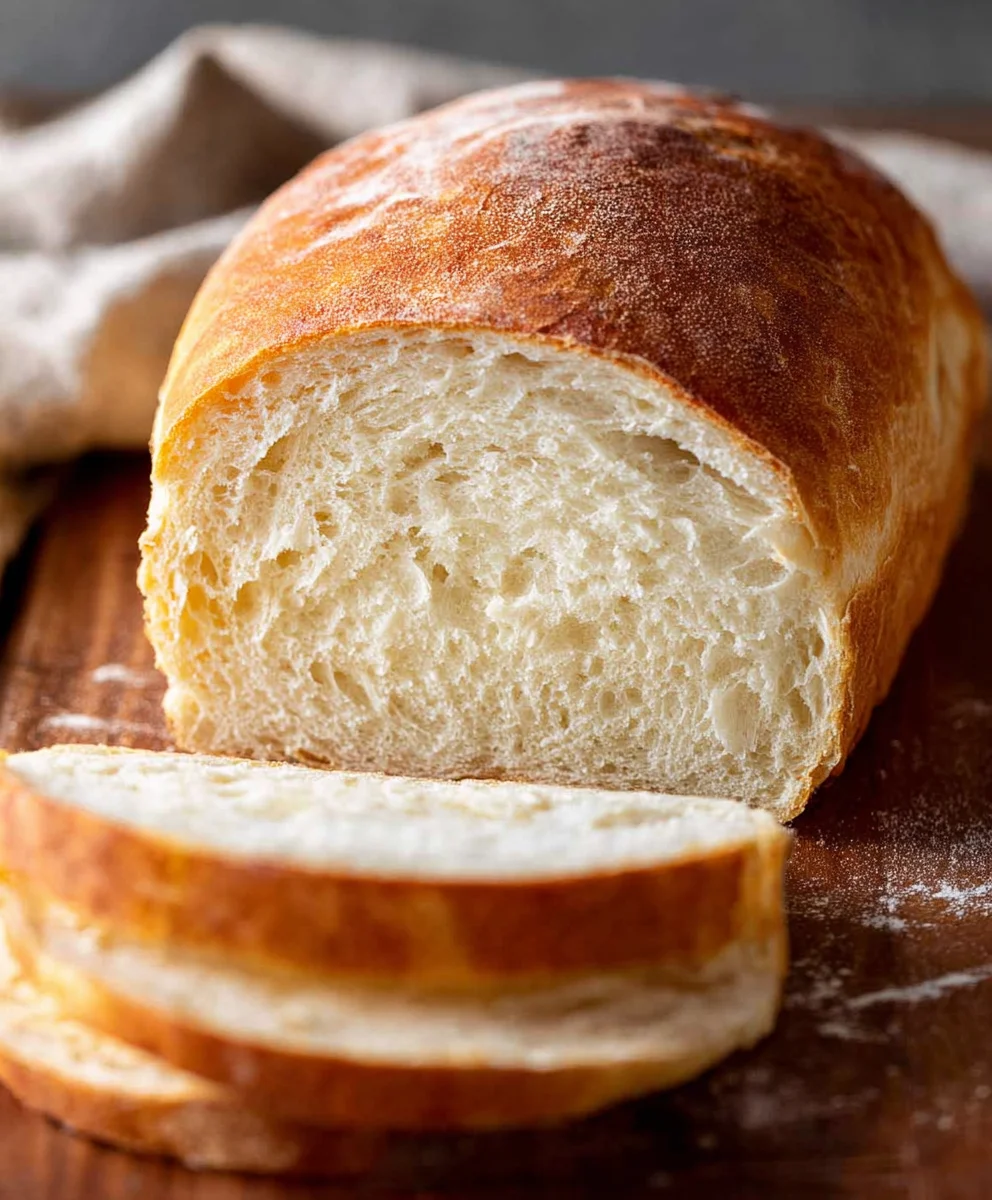
Homemade bread is more than just a recipe; it’s an experience. There’s an undeniable magic in transforming simple ingredients – flour, water, yeast, and salt – into a warm, crusty loaf that fills your kitchen with an aroma that’s pure comfort. It’s the kind of food that evokes memories of childhood kitchens, grandmother’s baking, and those simple moments of shared joy around the dinner table. What makes this particular homemade bread so special? It’s the perfect balance of a delightfully crisp exterior that yields to a soft, airy interior, bursting with subtle, complex flavors that store-bought simply can’t replicate. This isn’t just about sustenance; it’s about crafting something tangible, something wholesome, and something that tastes unequivocally better because you made it yourself, with your own two hands. Get ready to embark on a rewarding culinary adventure!
Ingredients:
- 2 cups warm water (105-115 degrees Fahrenheit)
- 1 Tablespoon active dry yeast
- 1/4 cup honey (or granulated sugar as an alternative)
- 2 teaspoons salt
- 2 Tablespoons vegetable oil (such as canola or sunflower oil)
- 4 to 5 1/2 cups all-purpose flour or bread flour
Preparing the Dough
- In a large mixing bowl, combine the warm water, active dry yeast, and honey (or sugar). Stir gently to dissolve the honey and activate the yeast. The water temperature is crucial here; it should be warm enough to wake up the yeast but not so hot that it kills it. A good rule of thumb is that it should feel comfortably warm to the touch, like a baby’s bathwater. Let this mixture sit undisturbed for about 5 to 10 minutes. You’ll know the yeast is alive and working when it becomes foamy and bubbly on the surface. If you don’t see any activity, your yeast might be old or the water was too hot or too cold, and you’ll need to start over with fresh yeast and the correct water temperature. This foamy stage is essential for a light and airy Homemade Bread.
- Once the yeast mixture is active and foamy, add the salt and vegetable oil. Stir these in to combine with the yeasty liquid. The oil will help to tenderize the crum extractb of your bread and contribute to a lovely crust. Salt is not just for flavor; it also controls the yeast’s activity and strengthens the gluten structure, which is vital for building the framework of your Homemade Bread.
- Now it’s time to add the flour. Begin extract by adding 4 cups of the all-purpose or bread flour to the wet ingredients. Mix everything together using a sturdy spoon or a dough whisk until it just starts to come together into a shaggy mass. At this point, the dough will be quite sticky and rough. Don’t worry about it looking perfect; this is just the initial incorporation of the flour.
- Turn the dough out onto a lightly floured surgin extracte. Begin kneading the dough. If you’re new gin extractkneading, imagine you’re pushing the dough away from you with the heels of your hands, then folding it back over itself. Rotate the dough a quarter turn and repeat. This process develops the gluten in the flour, which is what gives bread its structure and chewy texture. Continue kneading for about 8 to 10 minutes. You’ll know the dough is ready when it becomes smooth, elastic, and no longer excessively sticky. You should be able to stretch a small piece of dough thinly enough to see light through it without it tearing (this is called the windowpane test). If the dough remains very sticky even after a few minutes of kneading, you can gradually add more flour, a tablespoon at a time, until it reaches the desired consistency. Be careful not to add too much flour, as this can result in a dry, dense loaf of Homemade Bread.
- Lightly grease a clean large bowl with a little bit of oil. Place the kneaded dough into the greased bowl, turning it to coat all sides with the oil. This prevents the dough from drying out as it rises. Cover the bowl tightly with plastic wrap or a clean kitchen towel. Find a warm, draft-free spot in your kitchen for the dough to rise. This could be on top of a slightly warm (but not hot) oven, or just in a corner of your kitchen that stays consistently warm. Allow the dough to rise for 1 to 1.5 hours, or until it has doubled in size. The exact rise time will depend on the temperature of your kitchen.
Shaping and Baking the Loaf
- Once the dough has doubled in size, gently punch it down. This releases the air bubbles that have formed during the first rise. Turn the dough out onto a lightly floured surface again. At this stage, you can shape your Homemade Bread into your desired form. For a classic loaf, gently shape it into an oblong shape that will fit your loaf pan. If you’re using a loaf pan, lightly grease and flour it, then place the shaped dough into the pan, seam-side down. If you prefer a rustic freeform loaf, you can simply shape it into a round or oval and place it on a baking sheet lined with parchment paper.
- Cover the shaped dough loosely with plastic wrap or a clean kitchen towel and let it rise again for another 30 to 45 minutes, or until it has visibly puffed up and looks almost double its size again. This second rise, also known as proofing, is crucial for creating a light and airy texture in your finished Homemade Bread. While the dough is proofing for the second time, preheat your oven to 375 degrees Fahrenheit (190 degrees Celsius). If you have a baking stone, you can place it in the oven while it preheats; this will help to create a wonderfully crisp bottom crust.
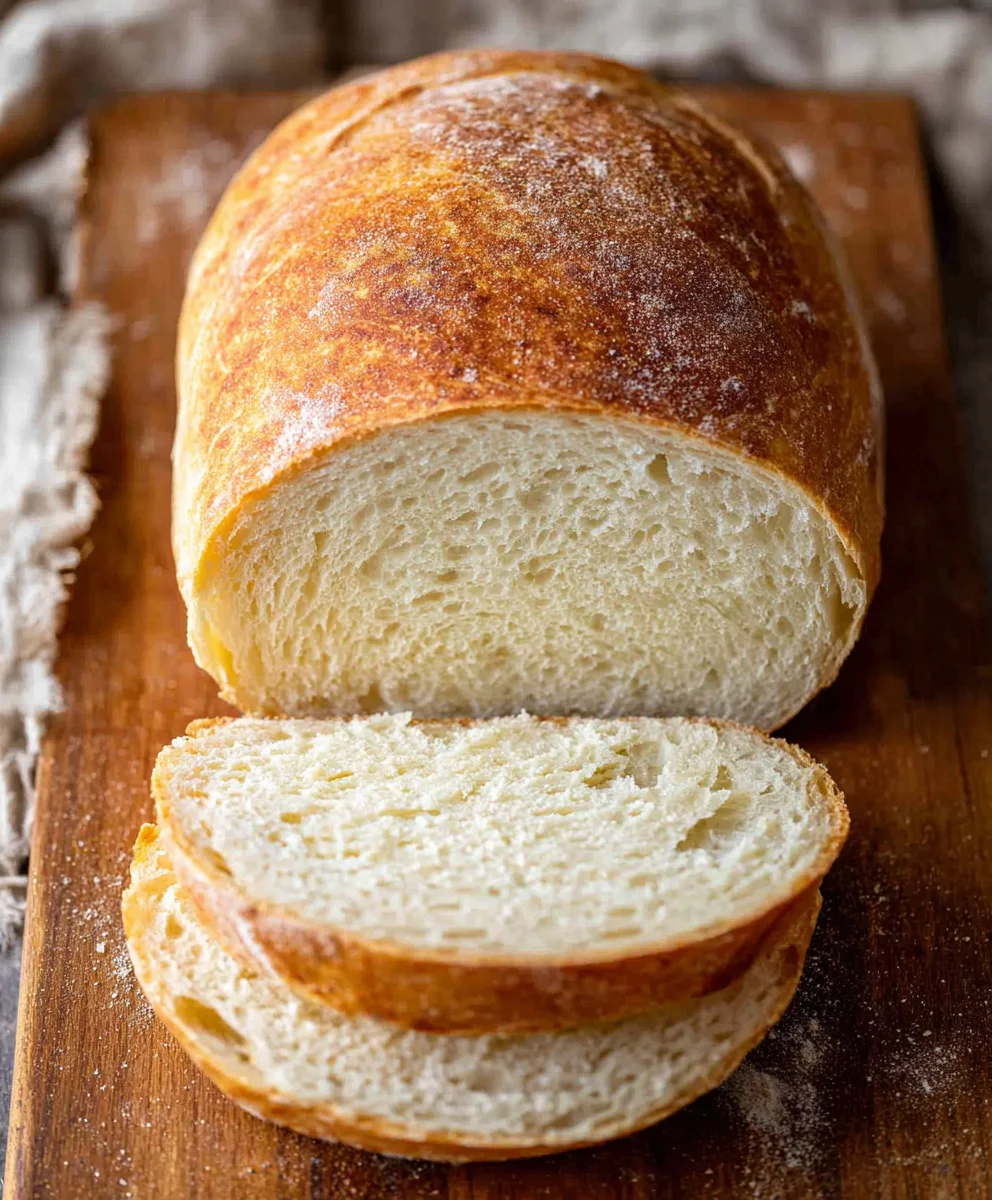
- After the second rise, your dough should be plump and airy. Carefully transfer the loaf (or loaves) to the preheated oven. If you want to, you can score the top of the loaf with a sharp knife or a lame just before baking. This allows the bread to expand in a controlled way in the oven. Bake for 30 to 40 minutes for a standard loaf, or until the crust is a deep golden brown and the internal temperature of the bread reaches 190-200 degrees Fahrenheit (88-93 degrees Celsius) when tested with an instant-read thermometer. A hollow sound when you tap the bottom of the loaf is another good indicator that it’s fully baked.
- Once baked to perfection, remove the Homemade Bread from the oven and immediately turn it out of the loaf pan onto a wire rack. This is important to prevent the bottom crust from becoming soggy from trapped steam. Let the bread cool completely on the wire rack before slicing. This cooling period allows the internal structure of the bread to set properly, ensuring a perfect texture with every slice. Resist the urge to cut into it while it’s still hot; patience will be rewarded with superior taste and texture.
Conclusion:
We hope you’ve enjoyed this journey into creating your own delicious Homemade Bread! As you can see, making fresh bread from scratch is incredibly rewarding and surprisingly accessible. The aroma that fills your kitchen as it bakes is truly unparalleled, and the taste of a warm, crusty slice is simply divine. We’ve walked through each step, from mixing the dough to achieving that perfect golden-brown crust, and we’re confident that with a little practice, you’ll be baking loaves that rival any bakery.
This Homemade Bread is wonderfully versatile. Serve it warm with a generous spread of butter, use it for decadent sandwiches, or create croutons for your favorite salads. Don’t be afraid to experiment with variations! Add herbs like rosemary or thyme to the dough, incorporate seeds for added texture and flavor, or even try a touch of honey for a subtle sweetness. The possibilities are endless, and the joy of sharing your homemade creation is immense. So, roll up your sleeves, embrace the process, and savor the delicious results of your efforts!
Frequently Asked Questions about Homemade Bread:
Q: My Homemade Bread didn’t rise as much as I expected. What could be the reason?
A: There are a few common culprits. Ensure your yeast was fresh and active; if it’s old, it might not have been able to leaven the dough effectively. Also, check the water temperature – too hot can kill the yeast, and too cold won’t activate it. Finally, make sure your dough was allowed to proof in a warm, draft-free environment. Sometimes, simply extending the proofing time can make a difference.
Q: How can I get a crispier crust on my Homemade Bread?
A: A crispy crust is all about steam! You can achieve this by placing a shallow pan of water on the rack below your bread while it bakes for the first 15-20 minutes. Alternatively, spritzing the oven walls with water can create a steamy environment. Once the bread is baked, letting it cool completely on a wire rack will also help maintain its crispiness.
Easy Homemade Bread Recipe- Simple & Delicious
A simple and delicious recipe for homemade bread, perfect for beginners. This recipe guides you through creating a soft, airy loaf with a golden-brown crust.
Ingredients
-
2 cups warm water (105-115 degrees Fahrenheit)
-
1 Tablespoon active dry yeast
-
1/4 cup honey
-
2 teaspoons salt
-
2 Tablespoons vegetable oil
-
4 to 5 1/2 cups all-purpose flour
Instructions
-
Step 1
In a large mixing bowl, combine the warm water, active dry yeast, and honey. Stir gently to dissolve the honey and activate the yeast. Let this mixture sit undisturbed for about 5 to 10 minutes until foamy and bubbly. -
Step 2
Add the salt and vegetable oil to the activated yeast mixture. Stir to combine. The oil helps tenderize the crumb and contributes to a lovely crust. -
Step 3
Add 4 cups of flour to the wet ingredients. Mix with a spoon until a shaggy mass forms. The dough will be sticky. -
Step 4
Turn the dough onto a lightly floured surface and knead for 8 to 10 minutes until smooth and elastic. Add more flour gradually if needed, until the dough passes the windowpane test. -
Step 5
Lightly grease a clean bowl. Place the kneaded dough in the bowl, turning to coat. Cover tightly and let rise in a warm, draft-free spot for 1 to 1.5 hours, or until doubled in size. -
Step 6
Gently punch down the risen dough. Shape it into a loaf and place it in a greased and floured loaf pan, or on a baking sheet. -
Step 7
Cover the shaped dough and let it rise again for 30 to 45 minutes, or until visibly puffed. Preheat your oven to 375 degrees Fahrenheit (190 degrees Celsius) during this time. -
Step 8
Bake for 30 to 40 minutes, until the crust is deep golden brown and the internal temperature reaches 190-200 degrees Fahrenheit. A hollow sound when tapping the bottom indicates it’s done. -
Step 9
Remove the bread from the oven and immediately turn it out of the pan onto a wire rack. Let cool completely before slicing to allow the structure to set.
Important Information
Nutrition Facts (Per Serving)
It is important to consider this information as approximate and not to use it as definitive health advice.
Allergy Information
Please check ingredients for potential allergens and consult a health professional if in doubt.