Cheesy Garlic Butter Corn on the Cob Recipe
Cheesy Garlic Butter Corn on the Cob isn’t just a side dish; it’s a summer celebration on a plate. Imagin extracte perfectly cooked kernels, kissed by the grill or boiled to tender perfection, then generously coated in a warm, bubbly blanket of melted cheese and infused with the irresistible aroma of garlic and butter. It’s the kind of food that brings smiles to faces and sparks conversations around the dinner table. What is it about this simple combination that captures our hearts (and taste buds)? Perhaps it’s the comforting familiarity of corn, elevated by the decadent, savory punch of garlic and butter, all brought together with the gooey, salty goodness of cheese. This isn’t just corn; it’s an experience, a vibrant and utterly delicious centerpiece that can transform any meal into a special occasion.
Why We Adore This Classic
There’s a reason why Cheesy Garlic Butter Corn on the Cob makes its recurring appearance at barbecues, potlucks, and family dinners. It’s incredibly easy to prepare, yet delivers an explosion of flavor that feels both indulgent and wholesome. The sweetness of the corn acts as the perfect canvas for the rich, savory garlic butter and the delightful creaminess of the melted cheese. Each bite is a delightful contrast of textures and tastes, making it a crowd-pleaser for all ages. It’s the ultimate comfort food, dressed up just enough to feel special without being complicated.
The Magic Behind the Flavor
The true magic of Cheesy Garlic Butter Corn on the Cob lies in the harmonious blend of simple, high-quality ingredients. Fresh corn, bursting with natural sweetness, is the star. Then, we amplify its appeal with a robust garlic butter that permeates every kernel. Finally, a generous sprinkle of your favorite cheese, melted to golden perfection, adds that irresistible, savory finish. It’s this thoughtful combination, executed with care, that elevates humble corn into something truly extraordinary and utterly unforgettable.
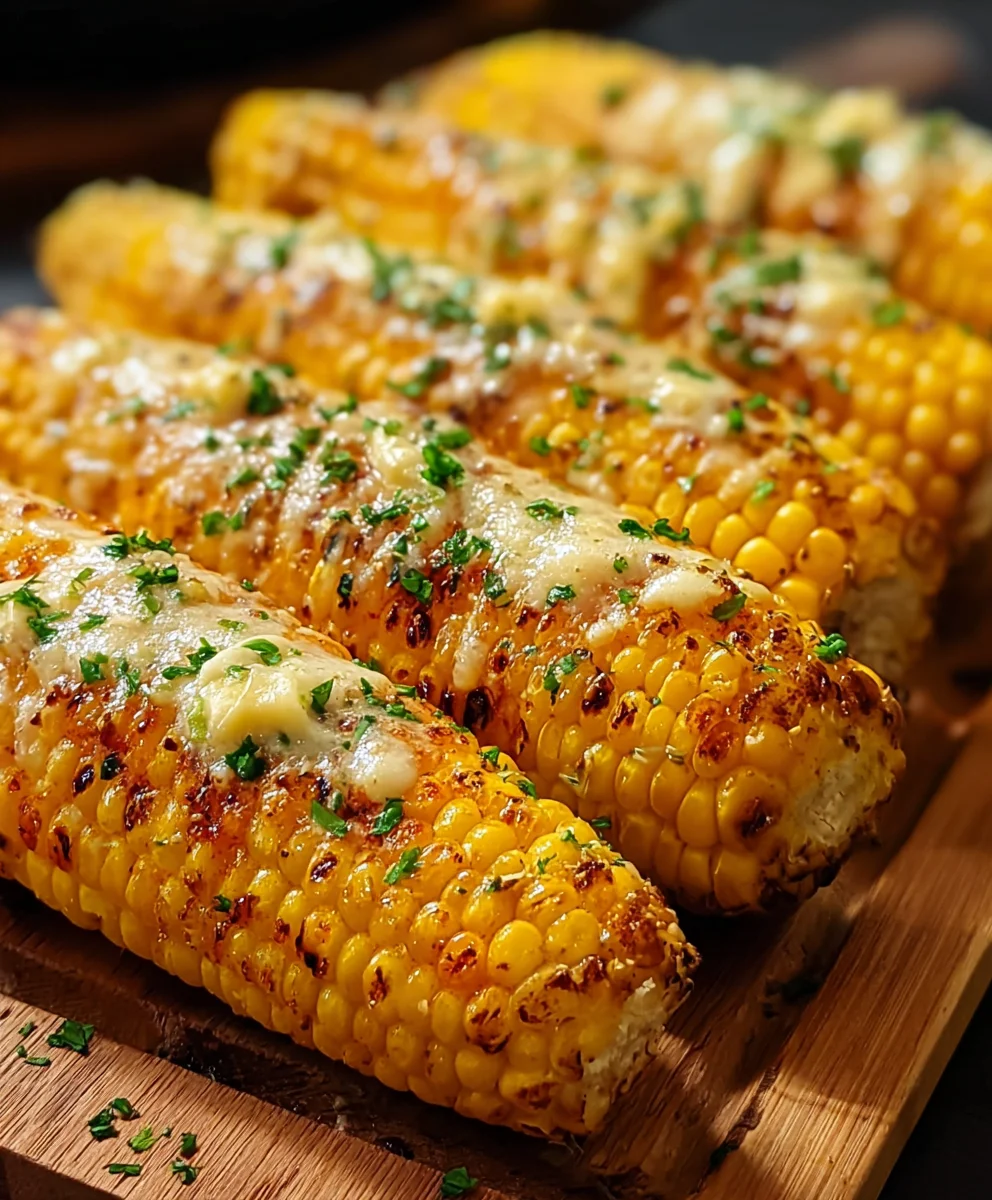
Ingredients:
- 4 ears fresh corn, husked
- 1/4 cup (1/2 stick) unsalted butter, softened
- 2 garlic cloves, minced
- 1 tablespoon chopped fresh parsley
- 1/2 teaspoon salt
- 1/4 teaspoon black pepper
- 1/2 cup grated Parmesan cheese
- 1 teaspoon lemon zest (optional)
Prepare the Corn
The first step to achieving delicious Cheesy Garlic Butter Corn on the Cob is to properly prepare your corn. Start by carefully removing all the husks from each of the four ears of corn. Make sure to get rid of any stray silk threads as well; these can be a little tedious, but taking the time now will ensure a much more pleasant eating experience later. You can do this by rubbing the ears with a clean kitchen towel or using a vegetable brush. Once husked and de-silked, you can either leave the corn whole for grilling or baking, or if you prefer, you can cut each ear into smaller, more manageable pieces. For this recipe, we’ll keep them whole for maximum buttery goodness absorption.
Make the Garlic Butter Mixture
Now, let’s craft the flavor powerhouse for our corn: the garlic butter mixture. In a small bowl, combine the softened unsalted butter. It’s important that the butter is softened and not melted, as this will allow for easier spreading and more even distribution over the corn. Add the two minced garlic cloves to the butter. Mincing the garlic finely ensures that its pungent flavor is evenly dispersed throughout the butter without any overpowering chunks. Next, stir in the chopped fresh parsley, which will add a lovely burst of freshness and vibrant color to the mix. Season this delightful concoction with the 1/2 teaspoon of salt and 1/4 teaspoon of black pepper. Mix everything together thoroughly until all the ingredients are well incorporated and you have a fragrant, creamy spread. If you’re feeling a bit fancy and want an extra layer of brightness, now is the time to add the optional 1 teaspoon of lemon zest. The lemon zest adds a subtle citrusy note that cuts through the richness of the butter and cheese beautifully, elevating the overall flavor profile. Give it one last stir.
Coat the Corn
This is where the magic starts to happen. Take each prepared ear of corn and generously spread the garlic butter mixture all over it. Use a knife or a small spatula to ensure an even coating from the tip to the base. You want to make sure every nook and cranny is covered so that the buttery, garlicky goodness permeates the entire cob as it cooks. Don’t be shy with the butter mixture; this is what makes the corn so incredibly flavorful and irresistible. Once the butter mixture is applied, it’s time to add the cheesy element. Sprinkle the 1/2 cup of grated Parmesan cheese evenly over the buttered corn. The Parmesan will melt and crisp up beautifully during cooking, adding a wonderfully savory and slightly nutty crust to your corn. Gently press the cheese onto the buttered surface to help it adhere. For a little extra something, you can sprinkle a touch more parsley or even a pinch of pepper over the cheese if you like, but it’s not strictly necessary.
Cook the Corn (Grilling Method)
For a smoky, slightly charred flavor, grilling is an excellent method. Preheat your grill to medium-high heat. Once the grill is hot, carefully place the buttered and cheesed corn cobs directly on the grates. Close the grill lid and cook for approximately 15-20 minutes, turning the corn every 5 minutes or so. This constant turning is crucial to ensure even cooking and prevent any one side from burning. You’re looking for the kernels to become tender and slightly plump, and for the butter to be melted and bubbling, with the Parmesan cheese developing a golden-brown, crispy texture. Keep an eye on it, as grilling times can vary depending on the heat of your grill. If you notice any areas starting to char too quickly, you can move the corn to a cooler part of the grill.
Cook the Corn (Oven Baking Method)
If grilling isn’t an option, baking in the oven is a fantastic alternative that yields equally delicious results. Preheat your oven to 400°F (200°C). Line a baking sheet with parchment paper or aluminum foil for easier cleanup. Place the prepared corn cobs on the prepared baking sheet. Bake for 20-25 minutes, or until the kernels are tender and the cheese is melted and begin extractning to turn golden brown. Similar to grilling, you’ll want to turn the corn halfway through the baking time to ensure even cooking and browning on all sides. The aroma that will fill your kitchen during this process is truly mouthwatering, a promise of the cheesy, garlicky goodness to come. The butter will melt and baste the corn, infusing it with flavor, while the Parmesan creates a delightful, savory crust.
Conclusion:
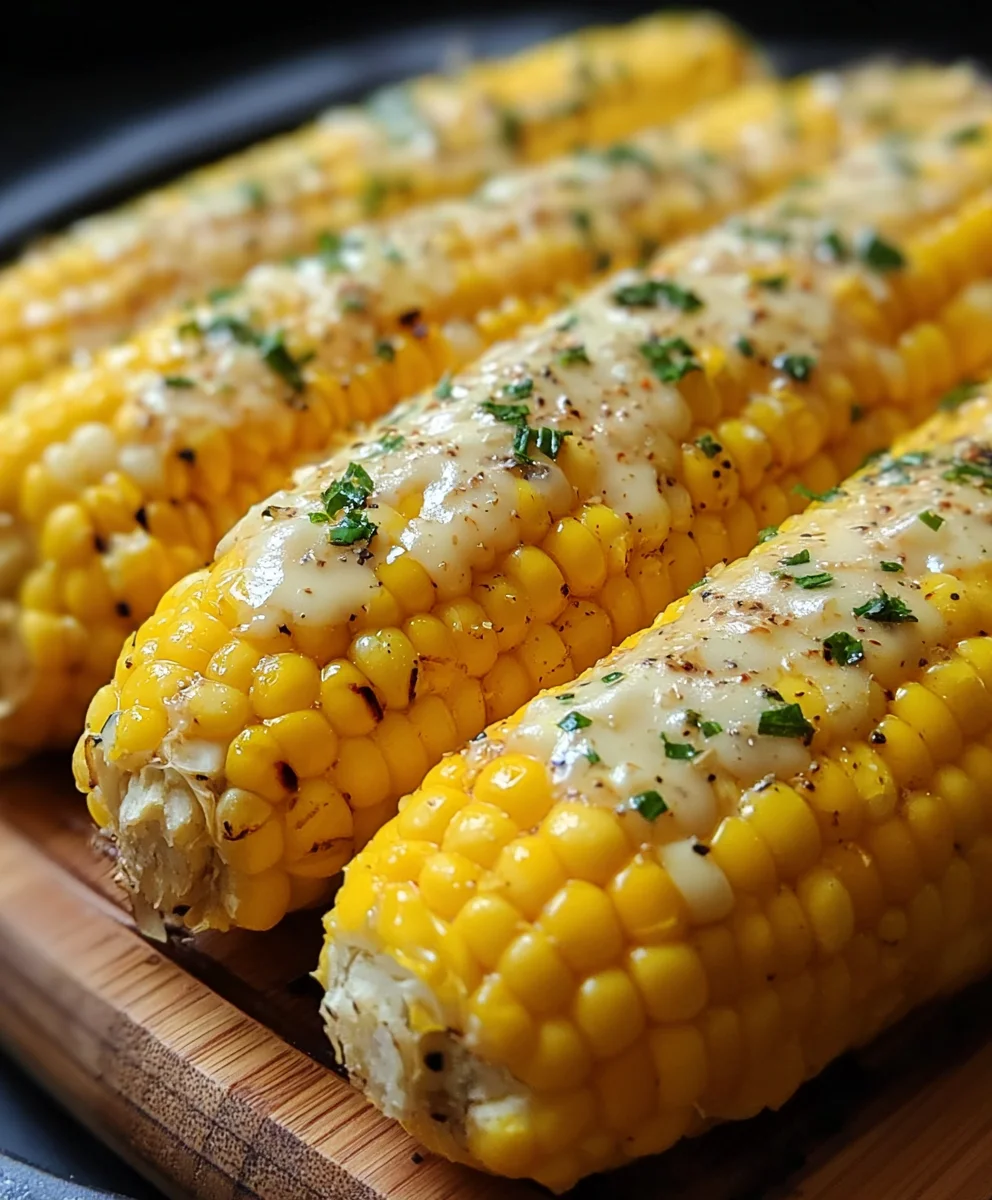
And there you have it – the ultimate guide to crafting perfect Cheesy Garlic Butter Corn on the Cob! We’ve walked through the simple steps to infuse sweet corn with a rich, savory, and wonderfully cheesy coating. This recipe is a guaranteed crowd-pleaser, perfect for barbecues, summer gatherings, or even just a weeknight treat. The combination of melted butter, fragrant garlic, and gooey cheese clingin extractg to those tender kernels is truly irresistible. Don’t be afraid to experiment and make this dish your own!
For serving, the Cheesy Garlic Butter Corn on the Cob is fantastic on its own, but it also pairs beautifully with grilled meats, burgers, salads, or even as a side for your favorite pasta dishes. Think of it as an elevated classic that brings smiles to every table.
If you’re looking for variations, try adding a pinch of cayenne pepper for a spicy kick, some chopped fresh chives or parsley for extra herbaceousness, or even a sprinkle of grated Parmesan cheese alongside the cheddar for an extra layer of salty goodness. We encourage you to get creative and discover your favorite way to enjoy this delightful corn!
Frequently Asked Questions about Cheesy Garlic Butter Corn on the Cob:
Can I make Cheesy Garlic Butter Corn on the Cob ahead of time?
While the corn is best enjoyed fresh off the grill or out of the oven, you can prepare the garlic butter mixture in advance and store it in the refrigerator. You can also cook the corn and then reheat it gently before adding the cheese and butter mixture. However, for the absolute best texture and flavor, we recommend assembling and serving immediately after cooking.
What kind of corn works best for this recipe?
Fresh, in-season corn on the cob is ideal for Cheesy Garlic Butter Corn on the Cob. Look for ears with bright green husks and firm, plump kernels. However, if fresh corn isn’t available, frozen corn on the cob can also be used, though the texture might be slightly softer. Just be sure to thaw it completely before cooking.
Cheesy Garlic Butter Corn on the Cob Recipe
A simple and delicious recipe for cheesy garlic butter corn on the cob, perfect for grilling or baking.
Ingredients
-
4 ears fresh corn, husked
-
1/4 cup (1/2 stick) unsalted butter, softened
-
2 garlic cloves, minced
-
1 tablespoon chopped fresh parsley
-
1/2 teaspoon salt
-
1/4 teaspoon black pepper
-
1/2 cup grated Parmesan cheese
-
1 teaspoon lemon zest (optional)
Instructions
-
Step 1
Prepare the corn by husking and removing any silk threads. Leave ears whole or cut into smaller pieces. -
Step 2
In a small bowl, combine softened butter, minced garlic, chopped parsley, salt, and pepper. Mix well. Stir in optional lemon zest. -
Step 3
Generously spread the garlic butter mixture evenly over each ear of corn. -
Step 4
Sprinkle grated Parmesan cheese evenly over the buttered corn, pressing gently to help it adhere. -
Step 5
Grilling Method: Preheat grill to medium-high heat. Place corn on grates, cook for 15-20 minutes, turning every 5 minutes until tender and cheese is golden brown and crispy. -
Step 6
Oven Baking Method: Preheat oven to 400°F (200°C). Line a baking sheet. Place corn on the sheet and bake for 20-25 minutes, turning halfway through, until tender and cheese is melted and golden brown.
Important Information
Nutrition Facts (Per Serving)
It is important to consider this information as approximate and not to use it as definitive health advice.
Allergy Information
Please check ingredients for potential allergens and consult a health professional if in doubt.