Easy Homemade Bread- Simple Recipe For Delicious Loaves
Easy Homemade Bread is more than just a recipe; it’s an invitation to a warmer, more comforting kitchen. Have you ever walked into a bakery and been enveloped by that irresistible aroma of freshly baked loaves? Now, imagin extracte recreating that magic right in your own home, with minimal fuss. That’s the beauty of this easy homemade bread. People adore it because it’s remarkably simple to prepare, proving that delicious, artisanal-quality bread doesn’t require years of practice or obscure ingredients. What truly makes this recipe special is its accessibility. It demystifies the bread-making process, allowing anyone to experience the profound satisfaction of pulling a golden-brown, perfectly textured loaf from their oven. It’s the kind of simple pleasure that elevates everyday meals and brings a smile to everyone’s face.
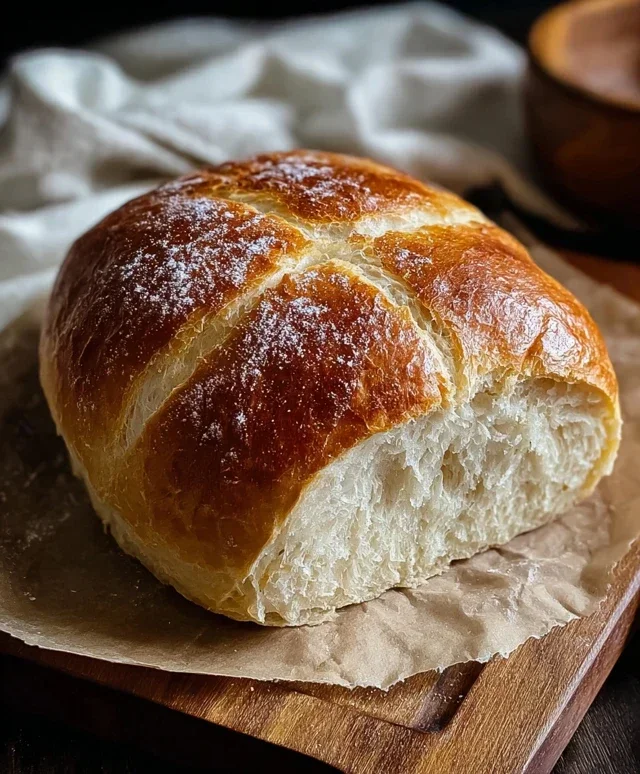
Easy Homemade Bread
There’s something incredibly satisfying about pulling a golden-brown, fragrant loaf of homemade bread from your own oven. The smell alone can transform your kitchen into a cozy haven. For a long time, I thought making bread was a complicated, time-consuming ordeal reserved for seasoned bakers. But let me tell you, I was wrong! This recipe for Easy Homemade Bread is a game-changer. It requires minimal effort, uses simple ingredients you likely already have in your pantry, and the results are consistently delicious. Whether you’re a complete begin extractner or just looking for a quick and reliable bread recipe, you’ve come to the right place. This bread is perfect for toasting, making sandwiches, or simply enjoying with a smear of butter.
Ingredients:
Now that you have your ingredients gathered, let’s get started on the magic!
Mixing and Kneading the Dough
The first step is to activate our yeast and bring everything together. In a large mixing bowl, pour in your 1 ½ cups of warm water. It’s important that the water is warm but not hot – think of it like a comfortable bath. If the water is too hot, it will kill the yeast, and if it’s too cold, it won’t activate properly. Aim for a temperature between 105°F and 115°F (40°C to 46°C). Next, sprinkle the packet of instant yeast over the warm water. You don’t need to stir it vigorously at this point; just let it sit for about 5 minutes. You should start to see some foam or bubbles forming on the surface, which is a good indication that your yeast is alive and ready to work its magic. If you don’t see any activity, your yeast might be old, and you’ll want to grab a fresh packet.
Once the yeast has bloomed, add your 3 cups of bread flour to the bowl. I prefer using bread flour because it has a higher protein content, which helps develop a better gluten structure, resulting in a chewier texture and a better rise. However, all-purpose flour will also work perfectly fine if that’s what you have on hand. Finally, add your 2 ½ teaspoons of kosher salt. Kosher salt has a cleaner, more distinct flavor and is easier to handle than table salt, but again, you can substitute it if needed. Now, using a sturdy spoon or a spatula, start mixing everything together. Continue to mix until a shaggy dough forms, meaning there are no dry patches of flour left.
At this point, the dough will be quite sticky, and that’s exactly what we want. We’re going to do a bit of kneading to develop the gluten. You can knead this dough directly in the bowl or turn it out onto a lightly floured surface. If you’re kneading in the bowl, use your hands to push, fold, and turn the dough. If you’re turning it out onto a surface, lightly flour your hands and the surface to prevent sticking. The kneading process develops the gluten, which is the network of proteins in the flour that gives bread its structure and chegrape juicess. You’ll want to knead for about 8-10 minutes. The dough will gradually become smoother, more elastic, and less sticky. You can perform the “windowpane test” to check if it’s ready: gently stretch a small piece of dough. If you can stretch it thin enough to see light through it without tearing, your gluten is well-developed.
First Rise: Letting the Dough Double
Once your dough is nicely kneaded, it’s time for its first rise. Lightly grease your mixing bowl with a little oil or cooking spray. Place the kneaded dough into the greased bowl and turn it over so the entire surface of the dough is lightly coated with oil. This prevents a dry crust from forming while it rises. Cover the bowl tightly with plastic wrap or a damp kitchen towel. Place the covered bowl in a warm, draft-free spot in your kitchen. This could be on top of your refrigerator, inside a slightly warmed oven (turned off, of course!), or just on your counter if your kitchen is naturally warm.
Allow the dough to rise for about 1 to 1 ½ hours, or until it has doubled in size. The exact time will depend on the temperature of your kitchen. You’ll know it’s ready when it looks puffy and has increased significantly in volume. This slow fermentation process develops flavor and texture in the bread. Resist the urge to poke it too much; let it do its thing!
Shaping and Second Rise
Once the dough has doubled, it’s time to gently deflate it and shape it. Lightly punch down the dough to release the air. Turn the dough out onto your lightly floured surface again. For a classic loaf shape, you’ll want to shape it into a round or an oval. To do this, gently flatten the dough into a rough rectangle. Then, starting from one of the long sides, tightly roll the dough up like a jelly roll. Pinch the seam at the bottom to seal it. If you’re making a round loaf, gently cup your hands around the dough and rotate it on the counter to create tension and form a smooth ball.
Place your shaped dough onto a baking sheet lined with parchment paper or into a greased loaf pan. This is where the dough will have its second, shorter rise. Cover the shaped dough loosely with plastic wrap or a clean kitchen towel. Again, place it in a warm spot to rise for another 30-45 minutes, or until it looks noticeably puffy. It won’t necessarily double in size this time, but it should look significantly increased in volume and feel light to the touch.
Baking the Perfect Loaf
As your dough is enjoying its second rise, preheat your oven to 400°F (200°C). If you’re using a baking stone, place it in the oven while it preheats. Once the dough has completed its second rise, and your oven is fully preheated, it’s time to bake! For a beautiful golden crust, you can optionally brush the top of the loaf with a little water or an egg wash (one egg beaten with a tablespoon of water). You can also score the top of the loaf with a sharp knife or a lame (a special bread-scoring tool) to control where it expands as it bakes and to create a decorative pattern.
Carefully transfer your loaf to the hot oven. If you’re using a baking sheet, place it directly on the oven rack. If you’re using a loaf pan, place the pan on the rack. Bake for 30-35 minutes, or until the crust is a deep golden brown and the internal temperature of the bread reaches 190-200°F (88-93°C) when measured with an instant-read thermometer. You can also tap the bottom of the loaf; it should sound hollow.
Cooling and Enjoying
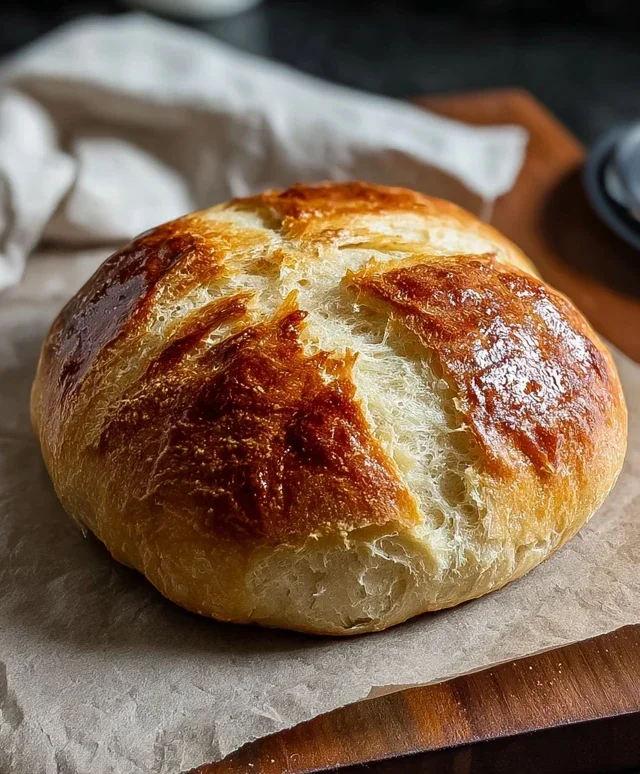
Once baked, immediately remove the bread from the oven and transfer it to a wire rack to cool completely. This is perhaps the hardest part – resisting the urge to slice into a piping hot loaf! Cooling on a wire rack allows air to circulate all around the bread, preventing the bottom from becoming soggy. Allow it to cool for at least an hour before slicing. The internal structure of the bread continues to set as it cools, and slicing too early can result in a gummy texture.
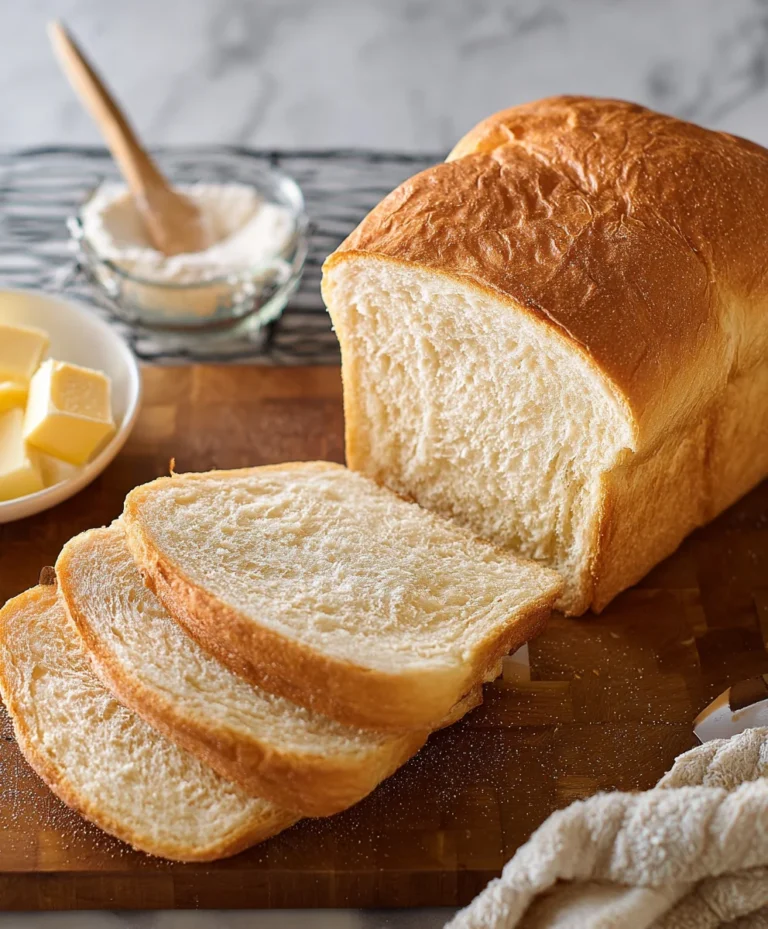
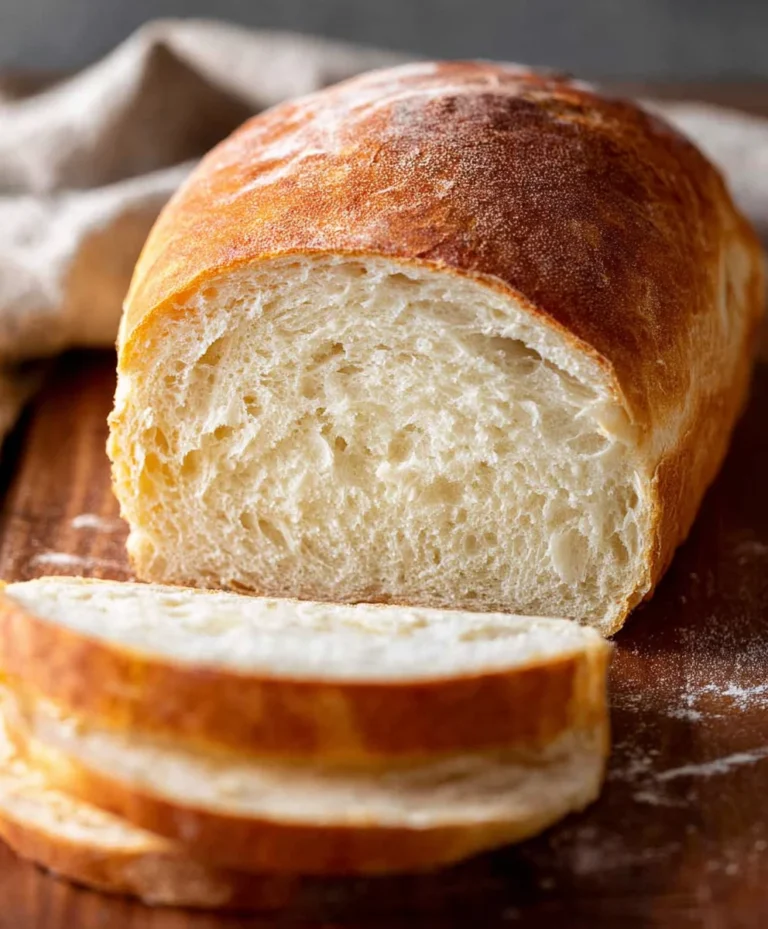
Once cooled, slice your beautiful homemade bread and enjoy the fruits of your labor. It’s fantastic on its own, toasted with butter, or used for your favorite sandwich creations. You’ll be amazed at how simple it was to create something so delicious!
Conclusion:
Congratulations! You’ve just unlocked the secret to genuinely easy homemade bread. This recipe isn’t just simple; it’s incredibly rewarding. Imagin extracte the aroma filling your kitchen, the satisfaction of pulling a golden-brown loaf from your oven, and the unparalleled taste of fresh bread made with your own two hands. It’s a truly magical experience that doesn’t require a culinary degree. The beauty of this recipe lies in its forgiving nature, making it perfect for begin extractners and seasoned bakers alike. It’s a foundational recipe that opens up a world of delicious possibilities.
What to do with your masterpiece? Serve this versatile loaf warm with a generous smear of butter, alongside your favorite soups and stews, or as the base for incredible sandwiches. Feeling adventurous? Try adding herbs like rosemary or thyme to the dough, or sprinkle some seeds on top before baking for added texture and flavor. Don’t be afraid to experiment! I truly encourage you to give this easy homemade bread recipe a try. You’ll be amazed at what you can create.
Frequently Asked Questions:
Why is my bread dense?
A dense loaf often indicates underdeveloped gluten. Ensure you’re kneading enough, or that your yeast was active. Sometimes, not letting the dough rise sufficiently can also contribute to density. Make sure your environment is warm enough for proofing.
Can I make this bread ahead of time?
Absolutely! Once cooled, you can store your bread in an airtight container or bread bag at room temperature for 2-3 days. For longer storage, slice and freeze it in a freezer-safe bag. Simply toast slices directly from frozen.
What kind of flour is best?
While all-purpose flour works wonderfully for this recipe, you can also experiment with bread flour for a chewier texture. For whole wheat versions, a blend of all-purpose and whole wheat flour is often recommended to maintain a lighter crum extractb.
Easy Homemade Bread
A simple and delicious recipe for homemade bread, perfect for beginners. Uses common pantry ingredients for a satisfying result.
Ingredients
-
1 ½ cups warm water
-
3 cups bread flour
-
1 packet (2 ¼ teaspoons) Instant Yeast
-
2 ½ tsp kosher salt
-
1 tablespoon olive oil
-
1 teaspoon sugar
Instructions
-
Step 1
In a large bowl, combine warm water, sugar, and yeast. Let stand for 5 minutes until foamy. -
Step 2
Add flour, salt, and olive oil to the bowl. Mix with a spoon or spatula until a shaggy dough forms. -
Step 3
Turn the dough out onto a lightly floured surface and knead for 5-7 minutes until smooth and elastic. -
Step 4
Place the dough in a lightly oiled bowl, cover with plastic wrap or a damp towel, and let rise in a warm place for 1-1.5 hours, or until doubled in size. -
Step 5
Punch down the dough and shape it into a loaf. Place in a greased loaf pan. -
Step 6
Cover the loaf pan and let the dough rise again for another 30-45 minutes. -
Step 7
Preheat oven to 375°F (190°C). Bake for 30-35 minutes, or until golden brown and the internal temperature reaches 200°F (93°C). -
Step 8
Remove from pan and let cool on a wire rack before slicing.
Important Information
Nutrition Facts (Per Serving)
It is important to consider this information as approximate and not to use it as definitive health advice.
Allergy Information
Please check ingredients for potential allergens and consult a health professional if in doubt.