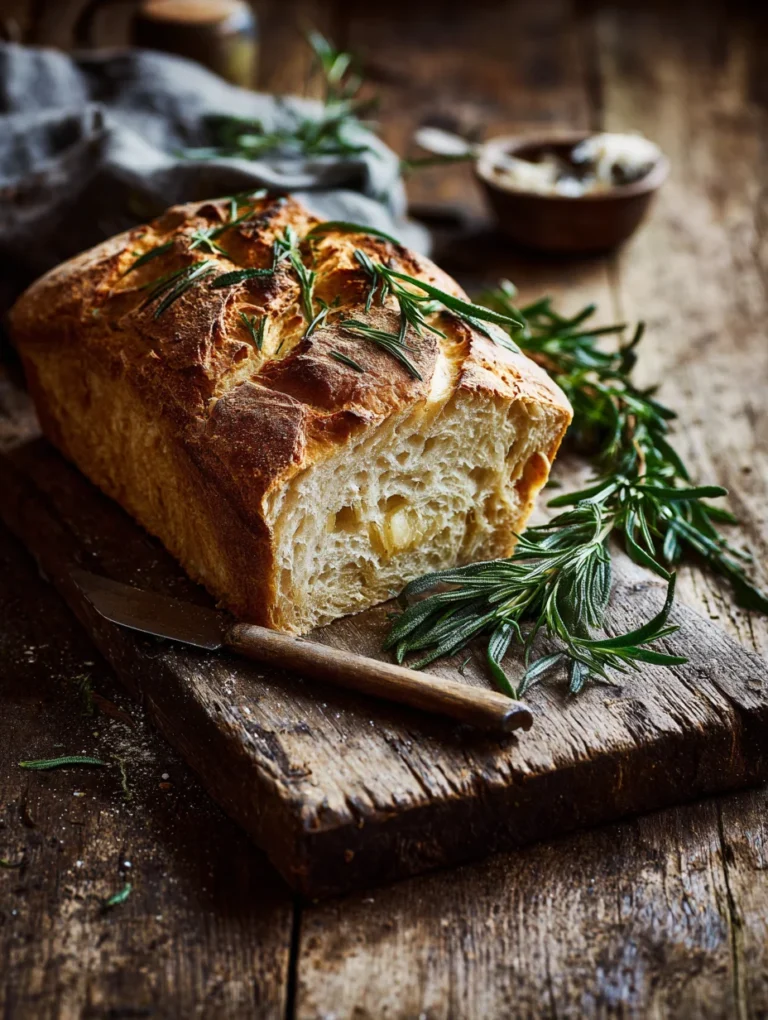
Quick Easy One Hour French Bread Recipe
One-Hour French Bread is that magical culinary achievement you’ve been dreaming of. Imagin extracte the scent of freshly baked, crusty bread filling your kitchen, the satisfying crackle as you slice into a warm loaf, and the sheer joy of creating something so delicious from scratch in under an hour. This isn’t just bread; it’s an experience, a shortcut to pure comfort and simple elegance. What makes this recipe so utterly captivating is its ability to deliver that authentic, slightly chewy interior and gloriously crisp exterior in a fraction of the time typically required for traditional French bread. It’s perfect for a spontaneous dinner party, a weeknight craving, or whenever you need a little homemade goodness without the endless waiting. Get ready to impress yourself and everyone around you with this remarkably quick and incredibly rewarding One-Hour French Bread.
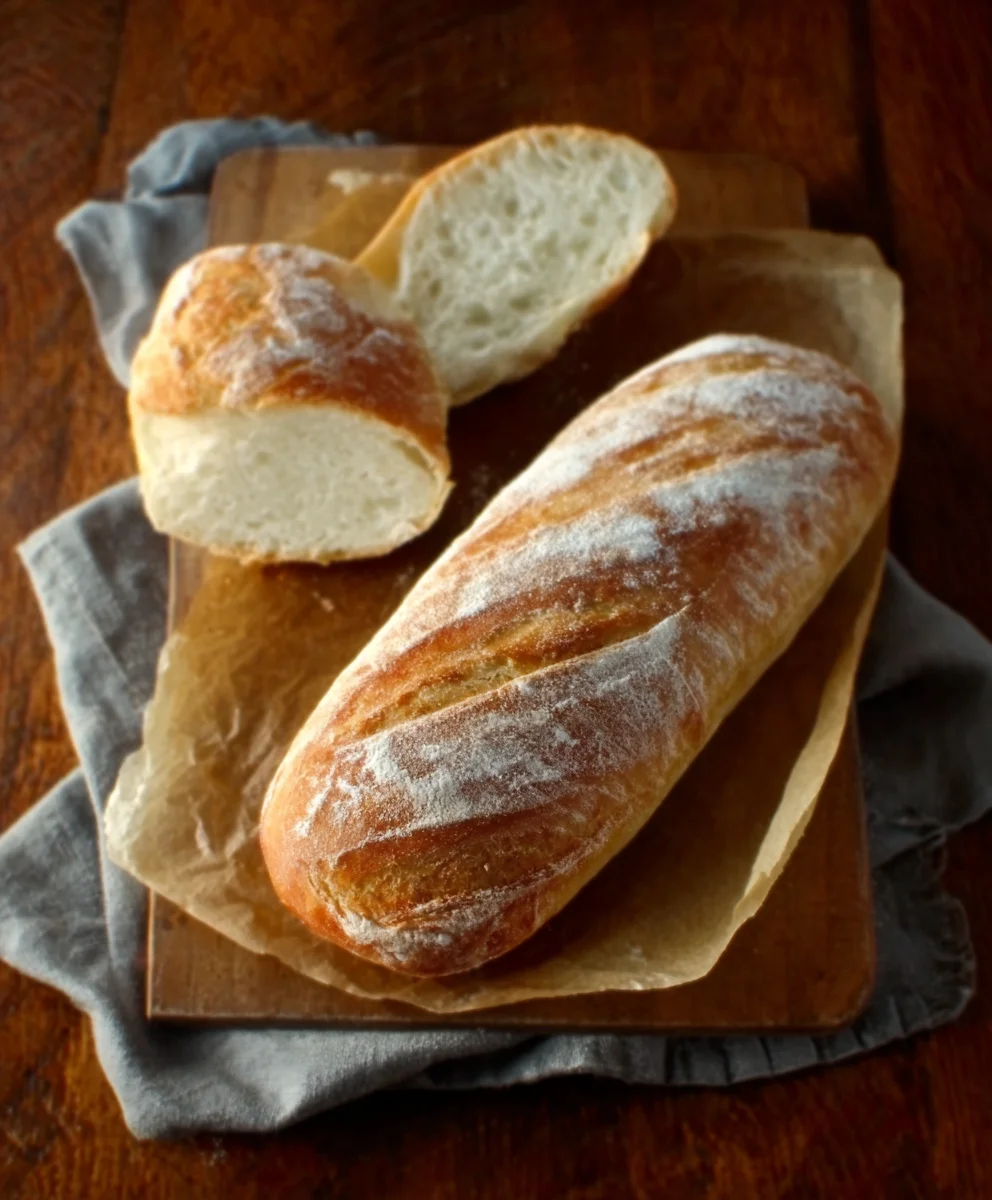
Ingredients:
- 4 to 4 1/2 cups bread flour, plus more for dusting
- 1 teaspoon sea salt
- 1 1/2 tablespoons active dry yeast
- 2 cups warm water (ideally between 105-115°F, or comfortably warm to the touch)
Getting Started: The Dough
The magic of this One-Hour French Bread lies in a quick and efficient dough-making process that allows you to enjoy freshly baked bread in surprisingly little time. We begin extract by activating our yeast. In a large mixing bowl – one that’s big enough to accommodate the flour and have some room for kneading – pour in your 2 cups of warm water. It’s crucial that the water is warm, but not hot. Too hot, and you risk killing the yeast; too cool, and it won’t activate properly. A good test is to dip your finger in; it should feel pleasantly warm, like a cozy bath. Now, sprinkle the 1 1/2 tablespoons of active dry yeast over the surface of the water. Don’t stir it just yet. Let it sit for about 5 to 10 minutes. You’ll know the yeast is alive and ready to work when it becomes foamy and bubbly, resembling a creamy layer on top of the water. This visual cue tells you that the yeast is actively consuming the sugars and producing carbon dioxide, which is essential for leavening our bread.
Once your yeast is nicely bloomed, it’s time to incorporate the salt and flour. Add the 1 teaspoon of sea salt directly into the yeast mixture. For the flour, start by adding about 4 cups of bread flour. Bread flour is preferred here because its higher protein content develops gluten more effectively, leading to a chewier crust and a better structure for the bread. You can use all-purpose flour in a pinch, but the texture might be slightly different. Stir everything together with a sturdy spoon or a spatula until a shaggy, rough gin extractgh begins to form. At this stage, it will likely be quite sticky. Don’t be tempted to add too much more flour just yet; we’ll adjust the consistency as we knead.
Kneading and First Rise
Now comes the fun part: kneading! Turn the shaggy dough out onto a lightly floured surface. You’ll want to use a bit of extra bread flour here to prevent sticking, but try not gin extractoverdo it. Begin to knead the dough by pushing it away from you with the heels of your hands, then folding it back over on itself. Rotate the dough a quarter turn and repeat. This motion helps to develop the gluten in the flour, which gives bread its structure and chew. Initially, the dough will be sticky and a little messy. As you knead, it will gradually become smoother, more elastic, and less sticky. If it’s still stubbornly sticking to your hands and the surface after a few minutes, you can lightly dust your hands and the work surface with a little more flour. The goal is to achieve a dough that is smooth, pliable, and springs back slightly when you gently poke it. Knead for about 8 to 10 minutes. You can test if it’s ready by performing the “windowpane test”: take a small piece of dough and gently stretch it. If you can stretch it thin enough to see light through it without it tearing, the gluten is sufficiently developed.
Once your dough has been kneaded to perfection, we need to let it rise. Lightly grease a clean large bowl with a little oil or cooking spray. Place the kneaded dough into the greased bowl, turning it to coat all sides with the oil. This prevents the dough from drying out as it rises. Cover the bowl tightly with plastic wrap or a clean, damp kitchen towel. Find a warm spot in your kitchen for the dough to rest. An oven that has been turned off but is still slightly warm (ensure it’s not too hot!) or simply a spot away from drafts will work well. The goal is for the dough to double in size. This usually takes about 30 to 45 minutes, depending on the ambient temperature. Resist the urge to rush this step; a good rise is crucial for a light and airy bread.
Shaping and Baking
After the dough has doubled in size and is wonderfully puffy, it’s time to shape it. Gently punch down the dough to release the trapped air. Turn the dough out onto your lightly floured work surface again. At this point, you can divide the dough if you want to make smaller loaves or rolls, or shape it into one large French baguette. For a traditional baguette shape, gently pat and roll the dough into a long, rectangular shape, about 10-12 inches long and 3-4 inches wide. Then, starting from one of the short ends, tightly roll the dough up into a log, pinching the seams closed at the bottom. Tuck the ends under to create a smooth, rounded shape. If you prefer a classic French bread look, you can also score the top of your loaf with a sharp knife or a lame (a razor blade specifically for bread scoring) just before baking. These scores allow the bread to expand evenly in the oven and create that signature crusty appearance. Place your shaped loaf or loaves onto a baking sheet lined with parchment paper or a silicone baking mat. If you want an extra crispy crust, you can sprinkle the parchment paper with a little cornmeal.
Now, let your shaped loaves rest for a final, shorter proof. Cover them loosely with plastic wrap or a kitchen towel and let them sit for another 10-15 minutes while your oven preheats. Preheat your oven to 425°F (220°C). For that authentic French bread crust, creating steam in the oven is key. You can achieve this by placing a shallow metal pan on the bottom rack of your oven as it preheats. Once the oven is fully heated and you’re ready to bake, carefully slide your bread into the oven. Immediately after placing the bread on the middle rack, carefully pour about 1 cup of hot water into the preheated pan on the bottom rack. This will create a burst of steam. Quickly close the oven door to trap the steam. Bake for 20 to 30 minutes, or until the crust is a deep golden brown and the internal temperature of the bread reaches around 200-210°F (93-99°C) when tested with an instant-read thermometer. If you notice the crust browning too quickly, you can loosely tent the bread with foil. Once baked, carefully remove the bread from the oven and transfer it to a wire rack to cool completely. The aroma filling your kitchen will be incredible, and the satisfaction of slicing into your own freshly baked One-Hour French Bread is unparalleled.
Conclusion:
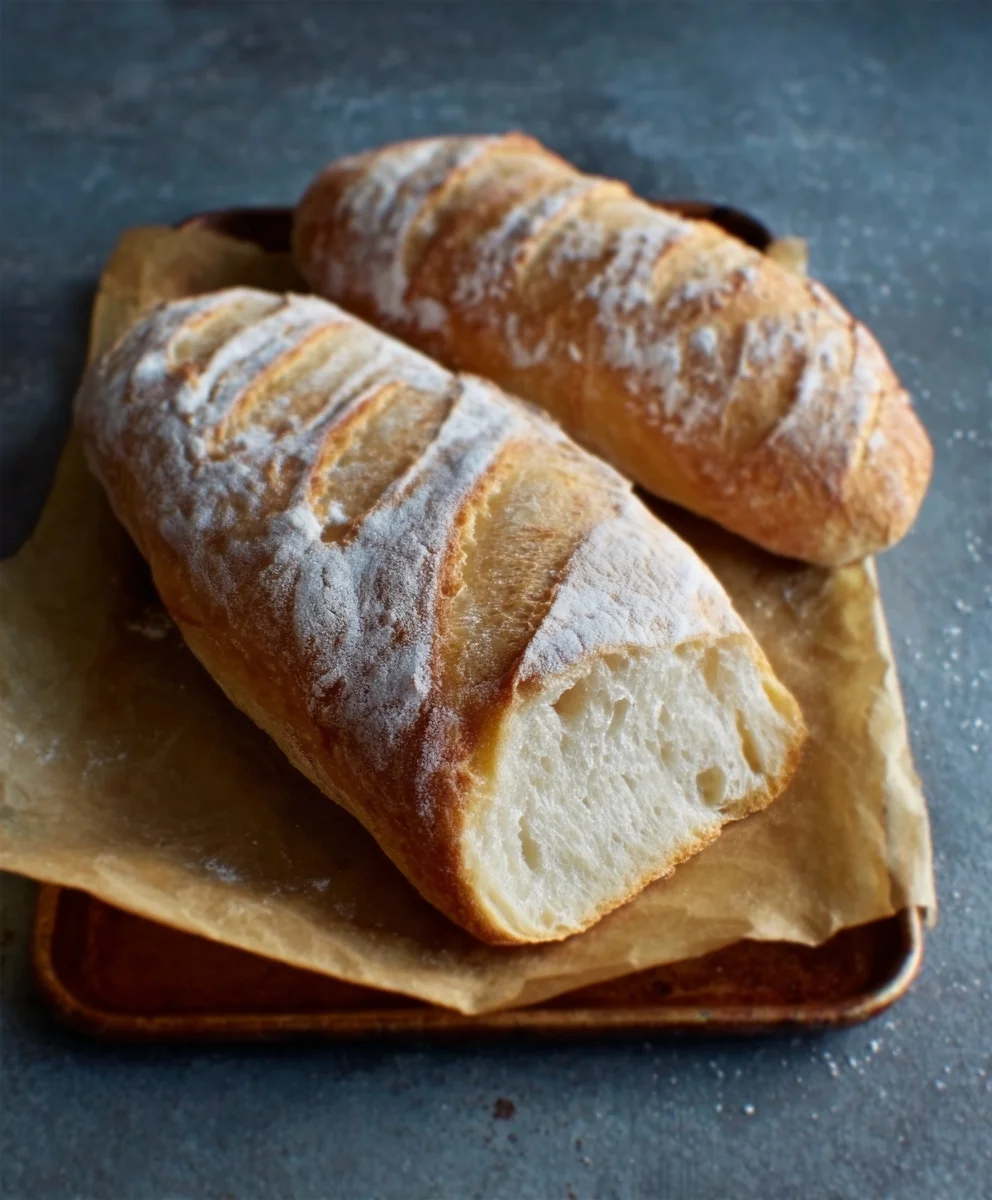
And there you have it – the magic of creating delicious, crusty One-Hour French Bread right in your own kitchen! This recipe truly lives up to its name, transforming simple ingredients into a beautifully golden-brown loaf in just about 60 minutes. The aroma that fills your home as it bakes is absolutely divine, and the satisfaction of pulling out a homemade loaf is unparalleled. Don’t be intimidated; the process is straightforward and incredibly rewarding.
This versatile One-Hour French Bread is perfect for so many occasions. Enjoy it warm with a generous slather of butter, as the foundation for a delicious sandwich, or alongside your favorite soup or stew. For a delightful twist, consider brushing the top with melted garlic butter and fresh herbs before the final bake, or sprinkle with Parmesan cheese for an extra savory kick. You can even try incorporating a pinch of rosemary into the dough for an herbaceous note.
We truly hope you’ll give this One-Hour French Bread recipe a try. It’s a fantastic way to impress yourself and your loved ones with minimal time commitment. Happy baking!
Frequently Asked Questions:
Can I make this One-Hour French Bread ahead of time?
While the recipe is designed for speed, you can let the dough rise for a bit longer in the refrigerator if needed. However, for the best texture and flavor, it’s ideal to bake it relatively soon after the initial rise.
Why is my One-Hour French Bread not crusty?
Achieving a good crust often involves steam in the oven. Try placing a pan of hot water on the rack below your bread during the first 10-15 minutes of baking. This will create steam, helping to develop that desirable crispy exterior.
Quick Easy One Hour French Bread Recipe
Freshly baked French bread in about an hour with this simple and delicious recipe. Perfect for beginners!
Ingredients
-
4 to 4 1/2 cups bread flour, plus more for dusting
-
1 teaspoon sea salt
-
1 1/2 tablespoons active dry yeast
-
2 cups warm water (ideally between 105-115°F, or comfortably warm to the touch)
-
1 tablespoon olive oil (for greasing bowl)
-
1 cup hot water (for steam, optional)
Instructions
-
Step 1
In a large mixing bowl, pour 2 cups of warm water (105-115°F). Sprinkle 1 1/2 tablespoons of active dry yeast over the water. Let sit for 5-10 minutes until foamy and bubbly. -
Step 2
Add 1 teaspoon of sea salt and about 4 cups of bread flour to the yeast mixture. Stir with a spoon or spatula until a shaggy dough forms. It will be sticky. -
Step 3
Turn the dough out onto a lightly floured surface and knead for 8-10 minutes until smooth, elastic, and pliable. Dust with more flour sparingly if needed. Test with the windowpane test. -
Step 4
Lightly grease a clean bowl with oil. Place the kneaded dough in the bowl, turning to coat. Cover tightly with plastic wrap or a damp towel. Let rise in a warm spot for 30-45 minutes, or until doubled in size. -
Step 5
Gently punch down the dough and turn it out onto a lightly floured surface. Shape into a long baguette or desired loaf shape. Place on a parchment-lined baking sheet. -
Step 6
Cover the shaped loaves loosely and let rest for 10-15 minutes while the oven preheats to 425°F (220°C). If desired, place a shallow metal pan on the bottom rack. -
Step 7
Carefully place the bread on the middle rack. Pour about 1 cup of hot water into the preheated pan on the bottom rack to create steam, then quickly close the oven door. -
Step 8
Bake for 20-30 minutes, or until deep golden brown and an internal temperature of 200-210°F (93-99°C) is reached. Tent with foil if browning too quickly. -
Step 9
Remove from oven and transfer to a wire rack to cool completely before slicing.
Important Information
Nutrition Facts (Per Serving)
It is important to consider this information as approximate and not to use it as definitive health advice.
Allergy Information
Please check ingredients for potential allergens and consult a health professional if in doubt.