Easy Dairy-Free Frozen Yogurt Bites
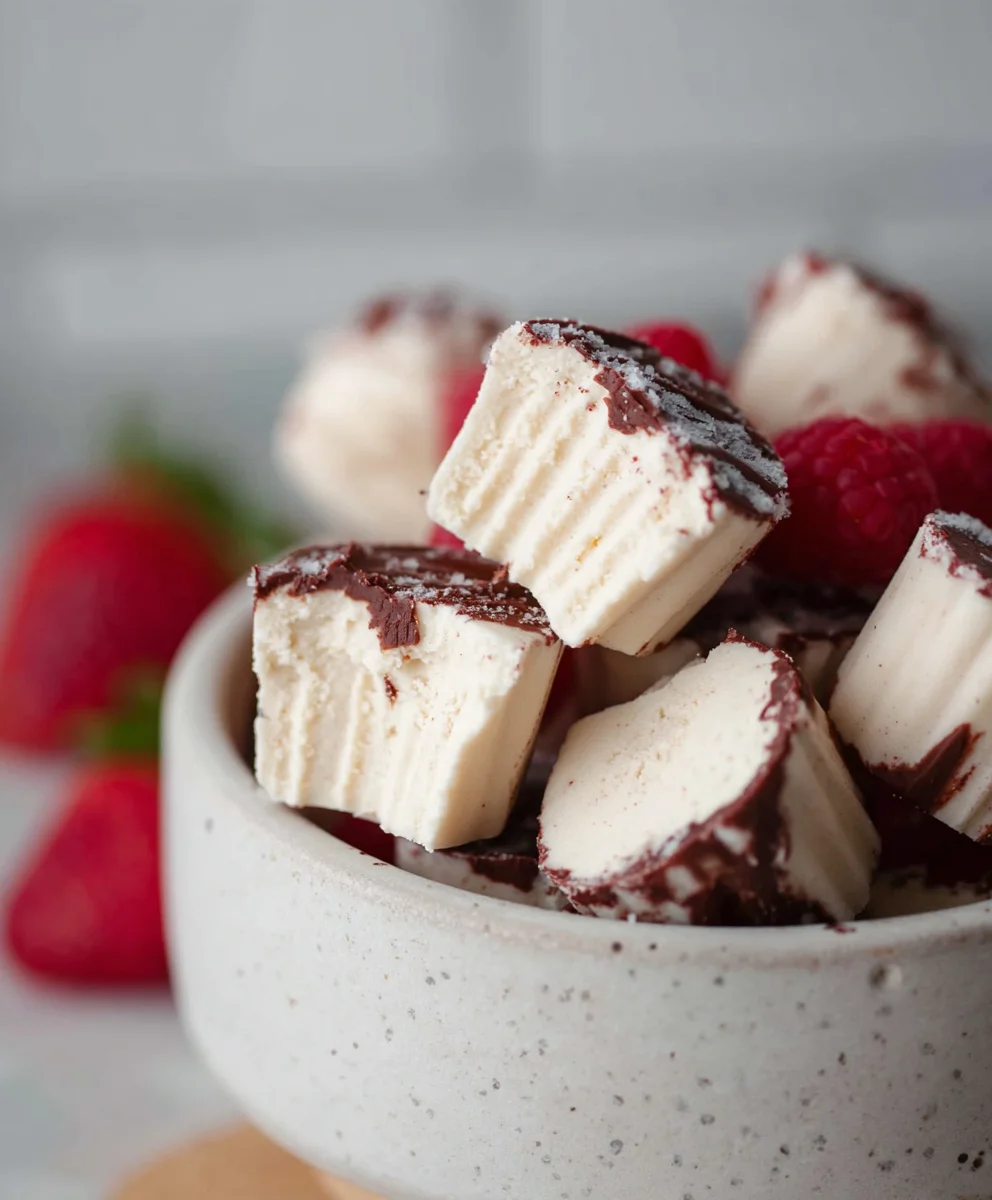
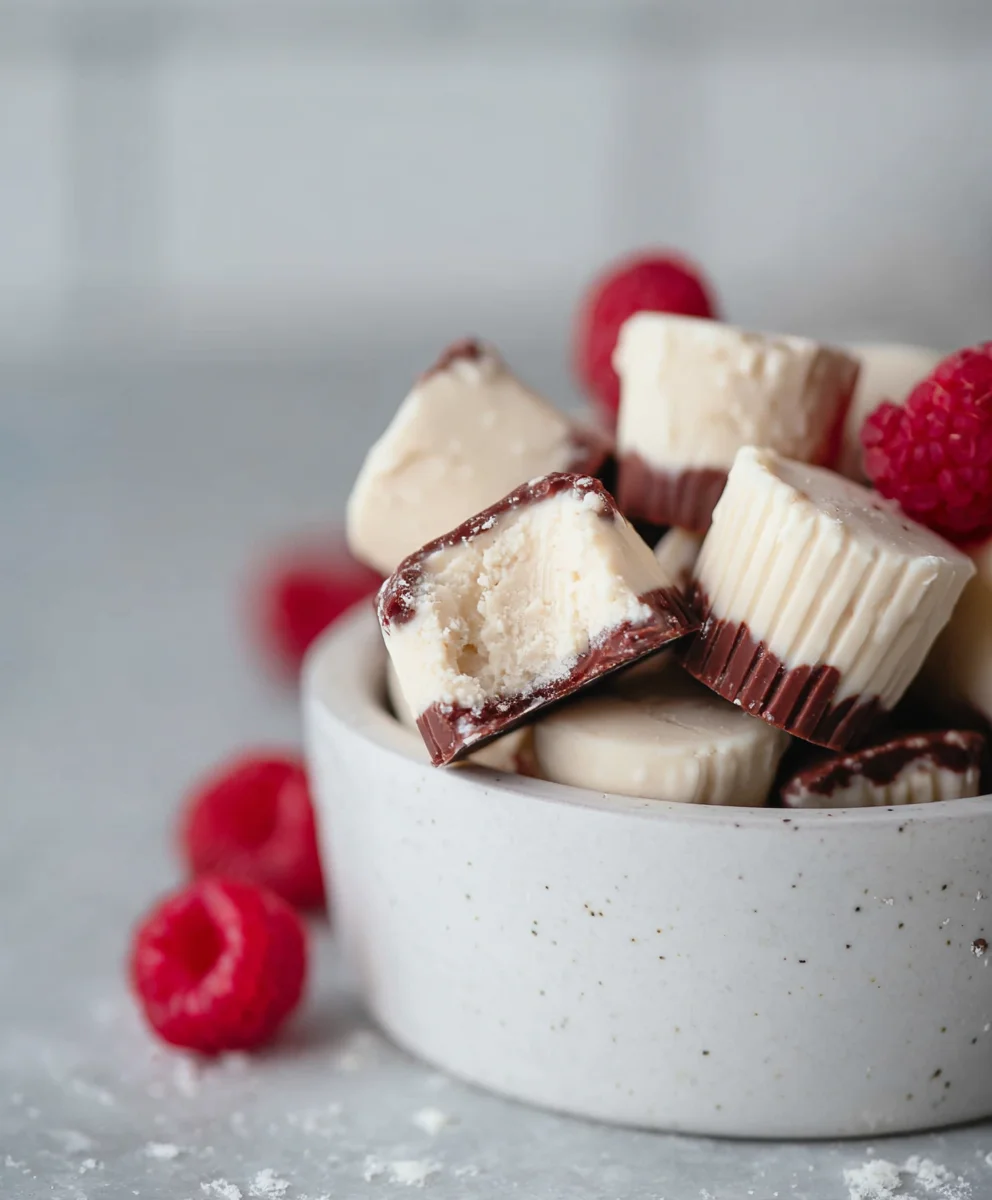
Easy Frozen Yogurt Bites (Dairy-free option) are a game-changer for anyone seeking a healthy, delicious, and incredibly simple treat. Forget complicated steps and hours in the kitchen; these delightful bites are designed for ultimate convenience and pure enjoyment. Imagin extracte a burst of cool, creamy sweetness that satisfies your cravings without the guilt, and the best part? They’re astonishingly easy to make! People absolutely adore these because they’re customizable, naturally sweet, and perfect for a quick snack or a refreshing dessert on a warm day. What truly sets these Easy Frozen Yogurt Bites (Dairy-free option) apart is their incredible versatility and the fact that you can tailor them to your exact taste preferences. Whether you opt for a classic creamy base or go for a vibrant dairy-free version, the result is always a crowd-pleasing, melt-in-your-mouth masterpiece that’s both fun to make and even more fun to devour.
Why You’ll Love These Bites
A Perfectly Sweet and Healthy Indulgence
These aren’t just any frozen treats; they’re a celebration of simple, wholesome ingredients coming together to create something truly magical. The inherent simplicity means you can whip them up with minimal fuss, making them a go-to for busy weeknights or spontaneous dessert cravings. Their portability makes them ideal for packed lunches or on-the-go snacks, and the fact that they’re so adaptable means there’s a flavor profile for everyone. This recipe truly embodies the spirit of effortless delight, proving that healthy indulgence doesn’t have to be complicated.
Ingredients:
- 1 cup thick Greek yogurt or coconut yogurt (dairy-free alternative)
- 3 tablespoons cashew butter or almond butter
- 3 tablespoons maple syrup
- 3 tablespoons of your favorite protein powder (optional)
- 1 teaspoon vanilla extract
- A generous pinch of sea salt (Maldon or Celtic salt recommended)
- A handful of cacao nibs (optional)
- 3/4 cup chocolate chips or chopped chocolate
- 1/2 tablespoon coconut oil
Preparing the Frozen Yogurt Bites
Step 1: Combine the Yogurt Base
First things first, let’s get our creamy base ready. In a medium-sized mixing bowl, combine the thick Greek yogurt (or coconut yogurt for that dairy-free magic) with the cashew butter or almond butter. I find that using a good quality, thick yogurt makes a world of difference for the texture of our bites. If your yogurt is a bit on the runnier side, you might consider straining it through a cheesecloth-lined sieve for about 30 minutes to an hour in the refrigerator to achieve that desirable thickness. Whisk these two ingredients together thoroughly. You want them to be completely incorporated, creating a smooth and homogenous mixture. Don’t rush this step; a well-mixed base will lead to a better final product.
Step 2: Sweeten and Enhance the Flavor
Now it’s time to add a touch of sweetness and some extra flavor boosters. Pour in the maple syrup and stir it into the yogurt and nut butter mixture. Taste as you go; the sweetness of the maple syrup can be adjusted to your preference. If you have a particularly sweet tooth, feel free to add an extra tablespoon. Next, add the vanilla extract. Its fragrant aroma will start to develop as you mix it in. If you’re using protein powder, this is the moment to add it. Make sure it’s a flavor you genuinely enjoy, as it will be a prominent component of the final taste. Whisk everything together until it’s well combined. If you notice any clumps of protein powder, keep whisking until they disappear.
Step 3: Add the Salty Spark and Crunchy Goodness
To elevate the flavors and add a delightful contrast, we’ll introduce a “gooooood pinch” of sea salt. This isn’t just for flavor; salt actually enhances the sweetness and balances the richness of the nut butter and chocolate. I personally love the flaky texture of Maldon or Celtic sea salt, but any good quality sea salt will work beautifully. If you’re feeling adventurous and want an extra dose of antioxidants and a slight crunch, now is the time to stir in the handful of cacao nibs. These little powerhouses add a lovely subtle bitterness that complements the sweetness of the other ingredients. Mix these in gently to ensure they are evenly distributed throughout the yogurt base.
Step 4: Melting the Chocolate for the Coating
This next part is crucial for that delightful chocolatey shell. We need to melt the chocolate chips or chopped chocolate. The easiest and safest way to do this is using a double boiler or a microwave-safe bowl. For a double boiler, fill a small saucepan with about an inch of water and bring it to a gentle simmer. Place a heatproof bowl over the saucepan, ensuring the bottom of the bowl doesn’t touch the water. Add the chocolate chips and coconut oil to the bowl. Stir constantly until the chocolate is completely melted and smooth. If you’re using a microwave, place the chocolate chips and coconut oil in a microwave-safe bowl and heat on 50% power in 30-second intervals, stirring between each interval, until melted and smooth. Be careful not to overheat, as chocolate can burn easily. The coconut oil helps to make the chocolate coating more fluid and less prone to cracking when frozen.
Step 5: Assembling and Freezing the Bites
Now for the final assembly! Prepare a baking sheet by lining it with parchment paper or a silicone baking mat. This prevents the frozen yogurt bites from sticking. Using a tablespoon or a small cookie scoop, drop spoonfuls of the yogurt mixture onto the prepared baking sheet. Aim for bite-sized portions, about 1 to 1.5 inches in diameter. Once you have all your yogurt dollops on the tray, gently drizzle or spoon the melted chocolate mixture over the top of each one. You can be as artistic as you like here – a simple drizzle or a full coating is entirely up to you. Don’t worry if they aren’t perfectly uniform; that’s part of their homemade charm! Place the baking sheet in the freezer and allow the bites to freeze completely. This usually takes at least 2-3 hours, or until they are firm to the touch. Once frozen, carefully peel them off the parchment paper. You can store these Easy Frozen Yogurt Bites in an airtight container in the freezer for up to a month. Enjoy them as a healthy dessert or a refreshing snack!
Conclusion:
And there you have it! You’ve now unlocked the secret to creating delicious and incredibly versatile Easy Frozen Yogurt Bites (Dairy-free option). This recipe is a testament to how simple ingredients can come together to create something truly special, perfect for a healthy treat, a quick snack, or even a delightful dessert. The beauty of these bites lies in their adaptability. Whether you’re craving a burst of berry sweetness or a hint of tropical delight, the possibilities are endless. I encourage you to experiment with your favorite fruits and flavorings. Don’t be afraid to get creative! These are fantastic on their own, but they also make a wonderful addition to a yogurt parfait, a smoothie bowl, or even as a fun topping for pancakes. Enjoy sharing these delightful bites with family and friends, and savor the satisfaction of making something so wholesome from scratch!
Frequently Asked Questions:
Can I use other fruits besides berries?
Absolutely! This recipe is incredibly forgiving. Feel free to swap out the berries for other fruits like mango, banana, pineapple, or even peaches. Just ensure they are ripe and pureed to a smooth consistency before mixing with your yogurt base. You might need to adjust the sweetener slightly depending on the natural sweetness of the fruit.
How long can I store these Easy Frozen Yogurt Bites (Dairy-free option)?
These bites can be stored in an airtight container in the freezer for up to 2-3 weeks. To prevent them from sticking together, you can lay them flat on a baking sheet lined with parchment paper for a couple of hours until firm, then transfer them to a freezer-safe bag or container. This makes them easy to grab one or a few at a time.
What if I don’t have a dairy-free yogurt alternative?
While this recipe is designed with dairy-free yogurt in mind for the optional variation, you can certainly use traditional dairy-based yogurt if that’s your preference and you don’t have dietary restrictions. The process and flavor profile will be very similar. Just be sure to choose a plain or vanilla-flavored yogurt for the best results.
Easy Dairy-Free Frozen Yogurt Bites
Delicious and easy dairy-free frozen yogurt bites perfect for a healthy dessert or refreshing snack, featuring a creamy yogurt base coated in chocolate.
Ingredients
-
1 cup thick Greek yogurt or coconut yogurt
-
3 tablespoons cashew butter or almond butter
-
3 tablespoons maple syrup
-
3 tablespoons of your favorite protein powder (optional)
-
1 teaspoon vanilla extract
-
A generous pinch of sea salt
-
A handful of cacao nibs (optional)
-
3/4 cup chocolate chips or chopped chocolate
-
1/2 tablespoon coconut oil
Instructions
-
Step 1
In a medium-sized mixing bowl, combine the thick Greek yogurt (or coconut yogurt) with the cashew butter or almond butter. Whisk thoroughly until completely incorporated, creating a smooth and homogenous mixture. -
Step 2
Add the maple syrup and stir into the yogurt and nut butter mixture. Adjust sweetness to your preference. Add the vanilla extract. If using protein powder, add it now and whisk until no clumps remain. -
Step 3
Stir in a generous pinch of sea salt to enhance flavors. If using, gently mix in the cacao nibs for added texture and antioxidants. -
Step 4
Melt the chocolate chips or chopped chocolate with the coconut oil. Use a double boiler or microwave in 30-second intervals at 50% power, stirring between each, until smooth. The coconut oil helps create a fluid coating. -
Step 5
Line a baking sheet with parchment paper. Drop spoonfuls of the yogurt mixture (about 1-1.5 inches in diameter) onto the prepared sheet. Drizzle or spoon the melted chocolate over each dollop. -
Step 6
Place the baking sheet in the freezer and freeze until firm, at least 2-3 hours. Once frozen, carefully peel them off the parchment paper. Store in an airtight container in the freezer for up to a month.
Important Information
Nutrition Facts (Per Serving)
It is important to consider this information as approximate and not to use it as definitive health advice.
Allergy Information
Please check ingredients for potential allergens and consult a health professional if in doubt.