Easy Cheesy Chicken Garlic Wraps – Quick Meal Idea
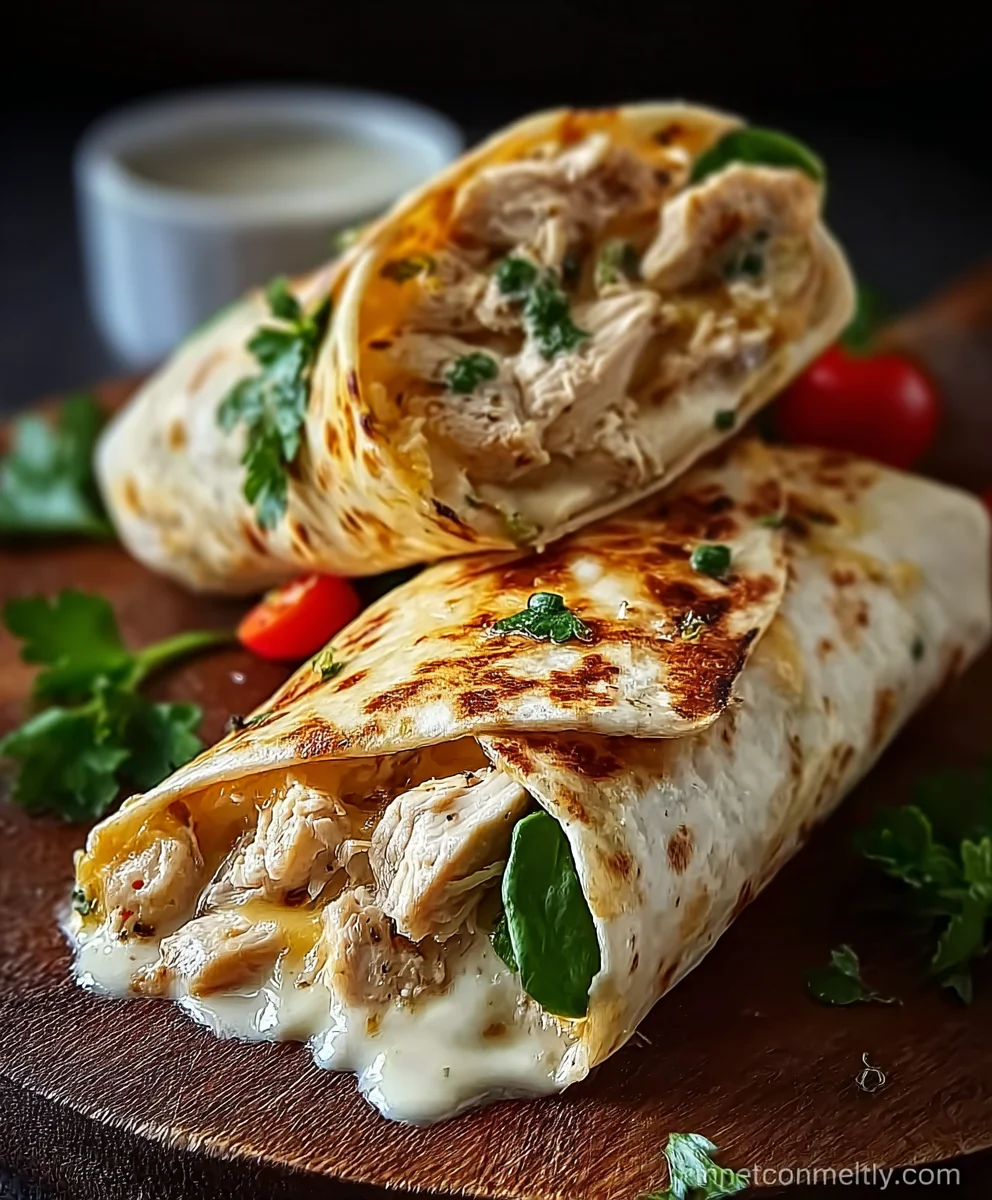
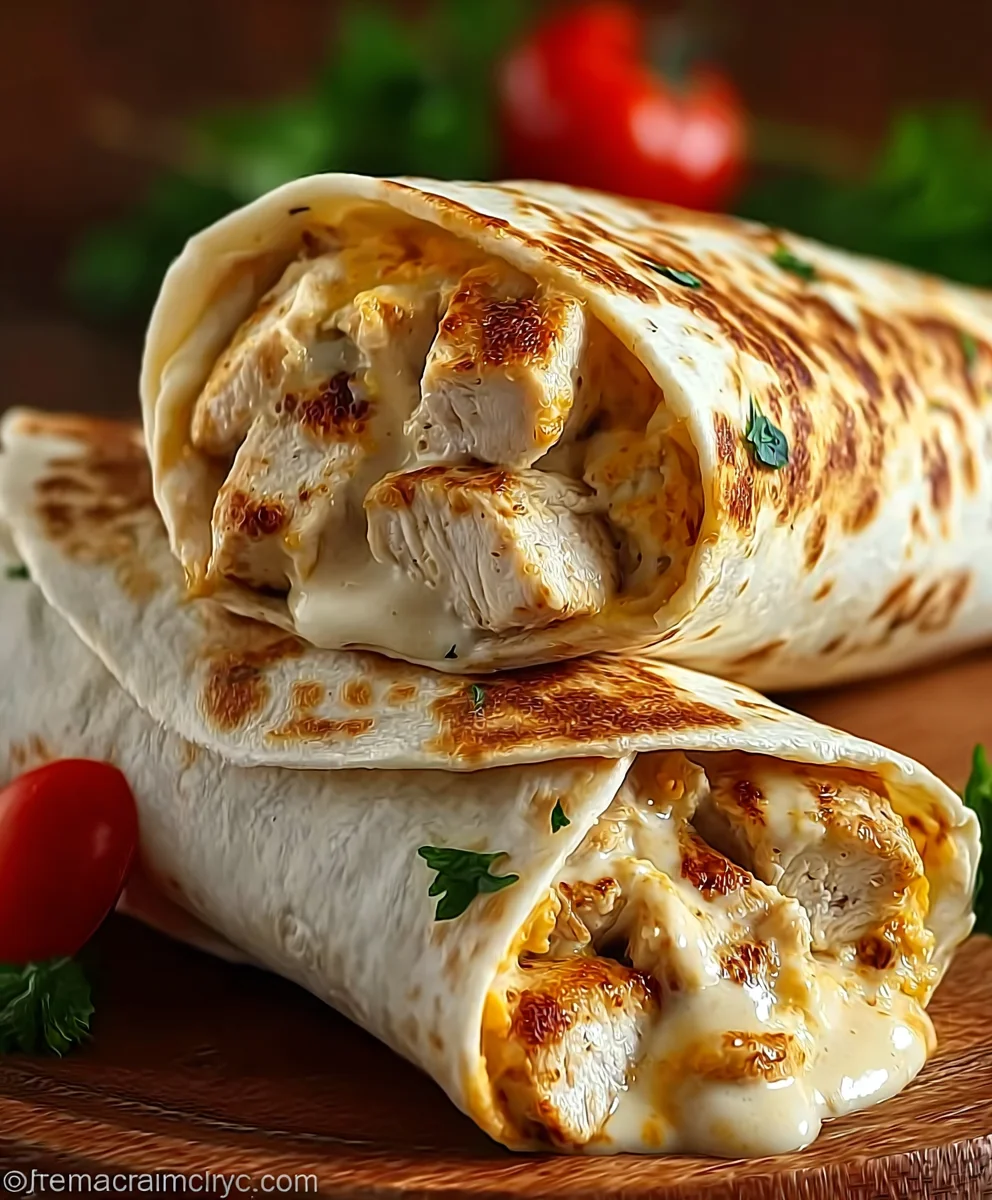
Cheesy Chicken Garlic Wraps are the ultimate weeknight warrior, and for good reason! Imagin extracte a warm, soft tortilla embracing a symphony of flavors: tender, juicy chicken coated in a savory garlic sauce, all melded together with gooey, melted cheese. It’s a culinary hug in every bite, a dish that consistently satisfies cravings and brings smiles to the table. What truly makes these Cheesy Chicken Garlic Wraps so special is their incredible versatility and how effortlessly they deliver maximum flavor with minimal fuss. They’re the perfect answer to “what’s for dinner?” when you’re short on time but still want something truly delicious and comforting. The combination of garlicky goodness and rich cheese is a crowd-pleaser that never disappoints, making them a go-to recipe for busy families and entertaining friends alike.
Ingredients:
- 2 large chicken breasts, diced
- 4 large flour tortillas
- 1 tablespoon olive oil
- 2 teaspoons garlic powder
- 1 teaspoon onion powder
- 1 teaspoon paprika
- Salt and pepper, to taste
- 1 cup shredded cheddar cheese
- 1/2 cup shredded mozzarella cheese
- 1/2 cup creamy garlic sauce
- Fresh parsley, chopped
Preparing the Chicken
Seasoning the Chicken
The first step to creating these delicious Cheesy Chicken Garlic Wraps is to get our chicken ready. I like to dice my chicken breasts into bite-sized pieces, about 1-inch cubes. This ensures that the chicken cooks evenly and is easy to manage within the wrap. Once diced, place the chicken in a medium-sized bowl. Now comes the flavor! We’re going to season our chicken generously. Add the olive oil to coat the chicken pieces; this helps the spices adhere and keeps the chicken moist during cooking. Next, sprinkle in the garlic powder, onion powder, and paprika. Don’t forget to season with salt and pepper according to your preference. I usually add about half a teaspoon of salt and a quarter teaspoon of black pepper, but you can adjust this based on how much saltiness you enjoy. Toss everything together thoroughly with your hands or a spoon until each piece of chicken is well-coated with the spice mixture. This is where the magic starts to happen, infusing the chicken with a savory and aromatic base.
Cooking the Chicken
Now that our chicken is seasoned, it’s time to cook it. You can use a skillet on the stovetop, or for a slightly healthier option, you can bake it. For stovetop cooking, heat a large non-stick skillet over medium-high heat. Once the skillet is hot, add the seasoned chicken in a single layer. Avoid overcrowding the pan; if necessary, cook the chicken in batches to ensure it browns properly. Cook for about 6-8 minutes, stirring occasionally, until the chicken is cooked through and no pink remains in the center. You’re looking for a nice golden-brown color on the outside. If baking, preheat your oven to 400°F (200°C). Spread the seasoned chicken in a single layer on a baking sheet lined with parchment paper for easy cleanup. Bake for 15-20 minutes, or until the chicken is cooked through and lightly browned. Let the cooked chicken rest for a few minutes before proceeding. This allows the juices to redistribute, making the chicken more tender and flavorful.
Assembling the Wraps
Warming the Tortillas
While the chicken is resting, let’s prepare our tortillas. Warm tortillas are much more pliable and less likely to tear when you roll them. You have a few options here. The quickest way is to microwave them: stack the tortillas on a plate, cover with a damp paper towel, and microwave for about 30-45 seconds, or until warm and soft. Alternatively, you can warm them directly in a dry skillet over medium heat for about 20-30 seconds per side, until they are soft and slightly puffed. Another method is to lightly toast them in a toaster oven or under the broiler for a very brief period. The goal is simply to make them flexible, not to brown or crisp them up significantly. I find warming them in a skillet gives them a lovely subtle toasty flavor that complements the fillings nicely.
Adding the Fillings
Now for the exciting part – assembling our Cheesy Chicken Garlic Wraps! Lay out one of your warmed flour tortillas on a clean surface. Spread a generous amount of the creamy garlic sauce evenly over the tortilla, leaving a small border around the edges. Don’t be shy with the sauce; it’s what makes these wraps so incredibly flavorful and helps bind everything together. Next, layer a good portion of the cooked, diced chicken over the garlic sauce. Evenly distribute the chicken so you get a bite of chicken in every part of your wrap. On top of the chicken, sprinkle a generous amount of both the shredded cheddar cheese and the shredded mozzarella cheese. The blend of cheddar and mozzarella provides a perfect balance of sharp, nutty flavor and melt-in-your-mouth creaminess.
Rolling the Wraps
Once all the fillings are in place, it’s time to roll up your Cheesy Chicken Garlic Wraps. To do this effectively, first fold the bottom edge of the tortilla up and over the filling. Then, bring in the sides of the tortilla towards the center, tucking them snugly. Finally, roll the wrap upwards tightly from the bottom, enclosing all the delicious ingredients. If your tortilla is being a bit stubborn, you can gently press down as you roll to help seal it. For an extra touch, you can place the seam-side down in a lightly greased skillet over medium heat for a minute or two, just to help seal the wrap and give it a nice golden hue. This step is optional but adds a lovely finished texture.
Finishing Touches
To elevate your Cheesy Chicken Garlic Wraps even further, we’ll add some fresh parsley. Once the wraps are rolled (and optionally seared), sprinkle a little bit of fresh chopped parsley over the top or along the seam. The bright, herbaceous flavor of the parsley cuts through the richness of the cheese and garlic sauce, adding a burst of freshness that really makes these wraps sing. You can also add a little extra sprinkle of parsley inside before rolling if you prefer. Serve immediately while the cheese is still warm and melty, for the ultimate Cheesy Chicken Garlic Wrap experience. These wraps are fantastic on their own, or you can serve them with a side of your favorite salad or some crispy sweet potato fries. Enjoy every single cheesy, garlicky bite!
Conclusion:
You’ve now got the keys to creating delicious and satisfying Cheesy Chicken Garlic Wraps! This recipe is incredibly versatile and a guaranteed crowd-pleaser for busy weeknights, casual lunches, or even potlucks. The combination of tender chicken, creamy cheese, and pungent garlic, all bundled in a warm tortilla, creates a symphony of flavors that’s simply irresistible. Don’t be afraid to experiment with the filling; this is a base that welcomes your personal touch. Whether you’re a seasoned chef or a begin extractner in the kitchen, these wraps are designed for success and pure enjoyment. So go ahead, give them a try, and get ready to be showered with compliments!
Frequently Asked Questions:
Can I make the Cheesy Chicken Garlic Wraps ahead of time?
Yes, you can prepare the chicken filling and chop your vegetables in advance. However, to ensure the best texture and prevent the wraps from becoming soggy, it’s best to assemble them just before serving. You can reheat the assembled wraps gently in a skillet or microwave if needed.
What are some other filling ideas for Cheesy Chicken Garlic Wraps?
Feel free to customize your wraps! You can add sautéed mushrooms, bell peppers, spinach, caramelized onions, or a dollop of sour cream or salsa. For a spicier kick, incorporate some jalapeños or a pinch of cayenne pepper into the chicken mixture. Different types of cheese, like cheddar, mozzarella, or pepper jack, can also add unique flavors.
Are Cheesy Chicken Garlic Wraps suitable for meal prepping?
While assembling them ahead isn’t ideal for crispness, the individual components are excellent for meal prepping. You can cook and shred the chicken, chop all your veggies, and portion out your cheese. Then, on the day you want to eat, just quickly assemble and warm the wraps. This makes for a super speedy and healthy meal!
Easy Cheesy Chicken Garlic Wraps
A quick and delicious meal idea featuring tender chicken, melted cheeses, and a creamy garlic sauce wrapped in soft tortillas.
Ingredients
-
2 large chicken breasts, diced
-
4 large flour tortillas
-
1 tablespoon olive oil
-
2 teaspoons garlic powder
-
1 teaspoon onion powder
-
1 teaspoon paprika
-
Salt and pepper, to taste
-
1 cup shredded cheddar cheese
-
1/2 cup shredded mozzarella cheese
-
1/2 cup creamy garlic sauce
-
Fresh parsley, chopped
Instructions
-
Step 1
Dice chicken breasts into bite-sized pieces. In a bowl, toss chicken with olive oil, garlic powder, onion powder, paprika, salt, and pepper until well-coated. -
Step 2
Cook the seasoned chicken in a skillet over medium-high heat for 6-8 minutes, or bake at 400°F (200°C) for 15-20 minutes, until cooked through and lightly browned. Let rest. -
Step 3
Warm the flour tortillas until pliable by microwaving, skillet heating, or toasting. -
Step 4
Spread creamy garlic sauce over each warmed tortilla. Layer with cooked chicken, then sprinkle generously with cheddar and mozzarella cheeses. -
Step 5
Fold the bottom edge of the tortilla up, bring in the sides, and roll tightly upwards to form a wrap. Optionally, sear seam-side down in a lightly greased skillet. -
Step 6
Sprinkle with fresh chopped parsley. Serve immediately while cheese is melty.
Important Information
Nutrition Facts (Per Serving)
It is important to consider this information as approximate and not to use it as definitive health advice.
Allergy Information
Please check ingredients for potential allergens and consult a health professional if in doubt.