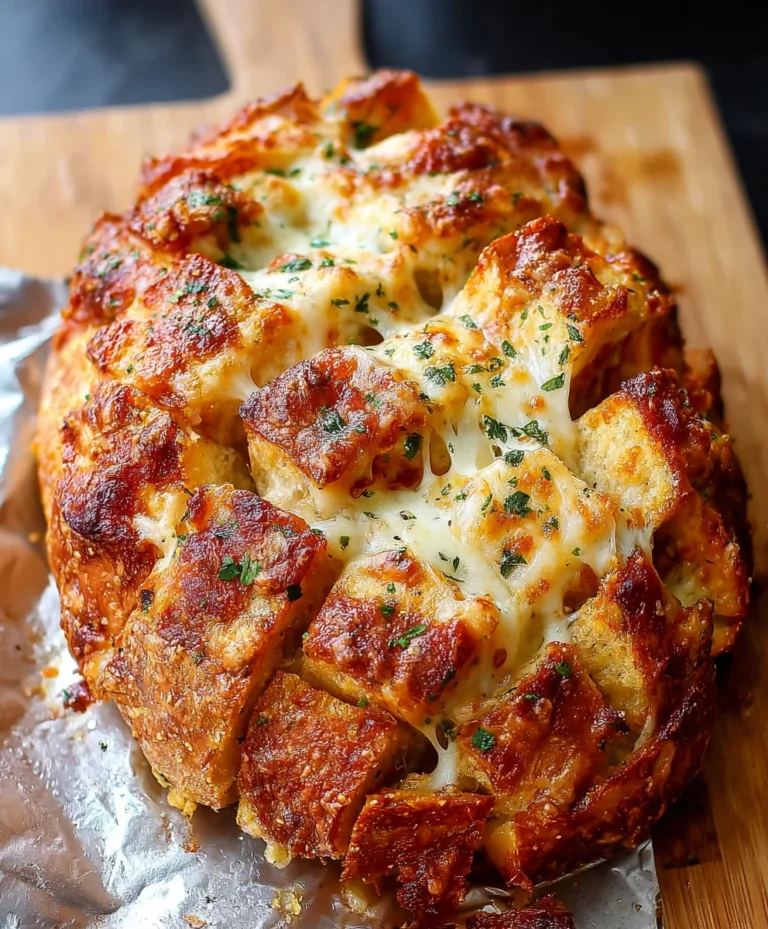
Air Fryer Garlic Tortilla Bread – Quick & Easy Recipe
Quick Air Fryer Tortilla Garlic Bread is about to become your new kitchen obsession, and for good reason! Imagin extracte the irresistible aroma of warm, garlicky goodness filling your home in mere minutes. This isn’t your grandma’s traditional garlic bread; it’s a lightning-fast, incredibly satisfying shortcut that delivers all the flavor with none of the fuss. People absolutely adore this dish because it perfectly balances that savory, buttery crunch with a hint of herbaceous freshness, making it an instant crowd-pleaser. What truly sets this Quick Air Fryer Tortilla Garlic Bread apart is its ingenious use of tortillas, transforming them into a crispy, golden vessel for that classic garlic butter infusion. It’s the ultimate appetizer, a quick side dish for any meal, or even a satisfying snack when that craving strikes. Get ready to impress yourself and everyone around you with this simple yet sensational creation!

Ingredients:
- 2 large flour tortilla shells
- 1 tablespoon unsalted butter, softened
- ½ cup grated mozzarella cheese
- Garlic powder, to taste
- Italian seasoning, to taste
- Fresh parsley, chopped (optional, for garnish)
Preparation Steps:
Phase 1: Preparing the Tortillas
- First, lay out your two flour tortilla shells on a clean, dry surface. I like to work on a cutting board or directly on my countertop if it’s been wiped down thoroughly. This recipe is wonderfully simple, and getting the tortillas ready is the quickest part. Ensure they are flat and not crum extractpled. If any of your tortillas are a bit stiff from storage, you can gently warm them for about 10-15 seconds in the microwave to make them more pliable. This prevents them from cracking when you spread the butter.
- Next, take your softened butter and spread it evenly across the entire surface of one side of each tortilla. You want to get a nice, thin layer of butter covering from edge to edge. This butter acts as the base for our seasonings and helps the tortilla get delightfully crispy in the air fryer. Using softened butter is key here; if it’s too cold, it will tear the tortilla, and if it’s too melted, it will just soak in rather than coat the surface. A small offset spatula or the back of a spoon works perfectly for this spreading task.
Phase 2: Seasoning and Topping
- Now it’s time to add the flavor! Sprinkle garlic powder generously over the buttered side of both tortillas. Don’t be shy with the garlic powder – this is the heart of our “Garlic Bread” tortilla! You can adjust the amount based on how much you love garlic. After the garlic powder, sprinkle the Italian seasoning over the top. This blend typically includes oregano, basil, thyme, and rosemary, which will give your tortilla garlic bread an aromatic and savory Italian flair. Again, adjust to your personal preference.
- Once seasoned, it’s time to add the cheese. Evenly distribute the ½ cup of grated mozzarella cheese over the seasoned surface of each tortilla. Make sure to spread it out so you have cheese coverage across most of the tortilla, leaving a small border if you prefer, though I like to go all the way to the edge for maximum cheesiness. The mozzarella will melt beautifully in the air fryer, creating a gooey, delicious topping that’s irresistible. If you don’t have mozzarella, a mild cheddar or a Mexican blend would also work in a pinch, though mozzarella offers that classic cheese pull.
Phase 3: Air Frying for Crispy Perfection
- We’re almost there! Carefully place one seasoned tortilla into the basket of your air fryer. It’s important to not overcrowd the basket, so if your air fryer is on the smaller side, you might need to cook these one at a time. Preheat your air fryer to 375°F (190°C) for about 2-3 minutes before adding the tortilla. This initial preheat helps ensure even cooking and crisping from the start.
- Air fry for approximately 4 to 6 minutes. The exact time will vary depending on your air fryer model and how crispy you like your tortilla garlic bread. About halfway through the cooking time, I like to check on them. You’re looking for the cheese to be fully melted and bubbly, and the edges of the tortilla to be golden brown and slightly crispy. If one side is browning faster than the other, you can gently flip the tortilla using a spatula to ensure even crisping. Be careful when opening the air fryer as it will be hot.
- Once both tortillas are cooked to your desired crispiness and the cheese is melted and golden, carefully remove them from the air fryer. I usually use tongs or a spatula for this to avoid burning my fingers. Allow them to cool for just a minute or two before slicing. This brief cooling period helps the cheese set slightly, making them easier to cut and handle.
- If you’re using fresh parsley, this is the moment to add it. Sprinkle the chopped fresh parsley over the top of your warm tortilla garlic bread for a burst of color and a hint of freshness. It’s entirely optional, but it really does add a lovely finishing touch. Slice your Quick Air Fryer Tortilla Garlic Bread into wedges, like you would a pizza, or into strips for dipping. They are best served immediately while they are warm, crispy, and the cheese is still wonderfully gooey. Enjoy this incredibly easy and delicious snack or side dish!

Conclusion:
And there you have it – the incredibly simple and utterly delicious Quick Air Fryer Tortilla Garlic Bread! This recipe is a weeknight lifesaver, transforming humble tortillas into a crispy, garlicky delight in mere minutes. The beauty of this dish lies in its speed and adaptability. Imagin extracte serving this alongside your favorite pasta, soup, or even as a standalone snack with a side of marinara. The possibilities are truly endless!
For an elevated experience, try sprinkling some grated Parmesan cheese over the buttered tortillas before air frying. If you’re feeling adventurous, a pinch of red pepper flakes can add a subtle kick. And for a richer flavor, a drizzle of balsamic glaze after cooking is simply divine. I encourage you to give the Quick Air Fryer Tortilla Garlic Bread a try – you won’t be disappointed with the speed and the amazing taste!
Frequently Asked Questions:
Can I make this ahead of time?
While the Quick Air Fryer Tortilla Garlic Bread is best enjoyed fresh out of the air fryer for maximum crispness, you can prepare the butter and garlic mixture ahead of time. Store it in an airtight container in the refrigerator. Then, simply brush it onto the tortillas and air fry when you’re ready to serve.
What kind of tortillas work best?
Flour tortillas generally work best for this recipe as they tend to become crispier than corn tortillas. Medium-sized tortillas are ideal for fitting into your air fryer basket. You can use either soft or pre-cooked tortillas. Avoid overly thin or delicate tortillas, as they might burn too quickly.
Air Fryer Garlic Tortilla Bread
A quick and easy recipe for crispy garlic tortilla bread made in the air fryer, perfect as a snack or side dish.
Ingredients
-
2 large flour tortilla shells
-
1 tablespoon unsalted butter, softened
-
½ cup grated mozzarella cheese
-
Garlic powder, to taste
-
Italian seasoning, to taste
-
Fresh parsley, chopped (optional, for garnish)
Instructions
-
Step 1
Lay out two flour tortilla shells on a clean surface. Gently warm them in the microwave for 10-15 seconds if they are stiff to prevent cracking. -
Step 2
Spread softened butter evenly across one side of each tortilla, from edge to edge. -
Step 3
Sprinkle garlic powder and Italian seasoning generously over the buttered side of both tortillas. -
Step 4
Evenly distribute the grated mozzarella cheese over the seasoned surface of each tortilla. -
Step 5
Place one seasoned tortilla into the preheated air fryer basket (375°F/190°C). Cook for 4-6 minutes, or until cheese is melted and bubbly and edges are golden brown and crispy. -
Step 6
Carefully remove the tortilla garlic bread from the air fryer. Let cool for 1-2 minutes before slicing. -
Step 7
Garnish with fresh parsley, if desired. Slice into wedges or strips and serve immediately.
Important Information
Nutrition Facts (Per Serving)
It is important to consider this information as approximate and not to use it as definitive health advice.
Allergy Information
Please check ingredients for potential allergens and consult a health professional if in doubt.