Easy Rustic Bread Recipe – Bake Delicious Homemade Loaf
Rustic Bread Recipe
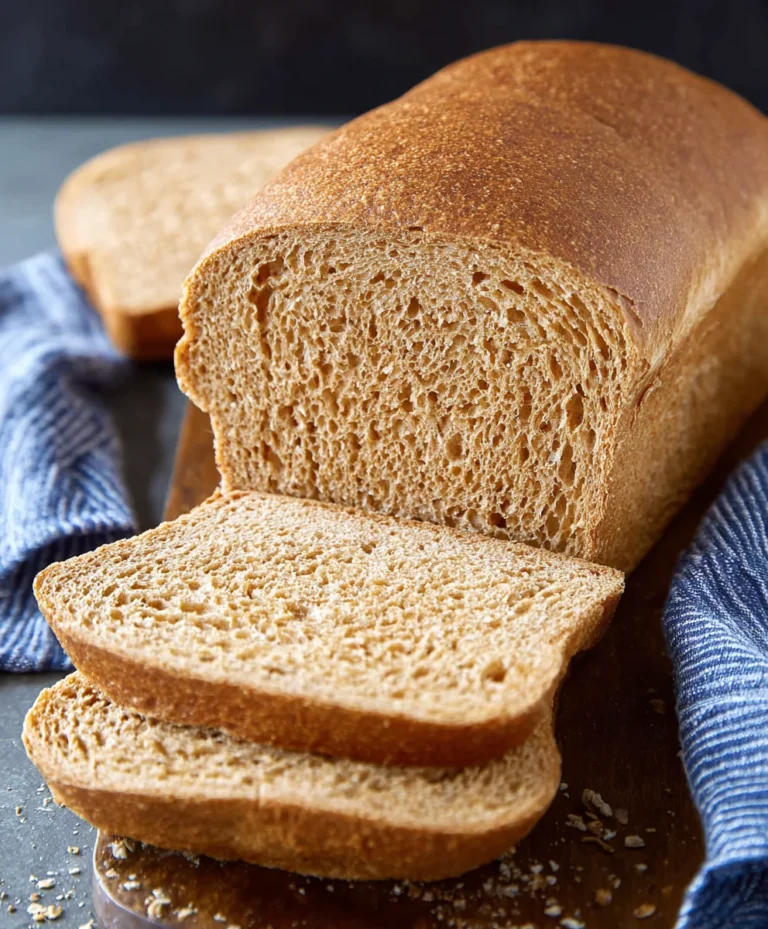
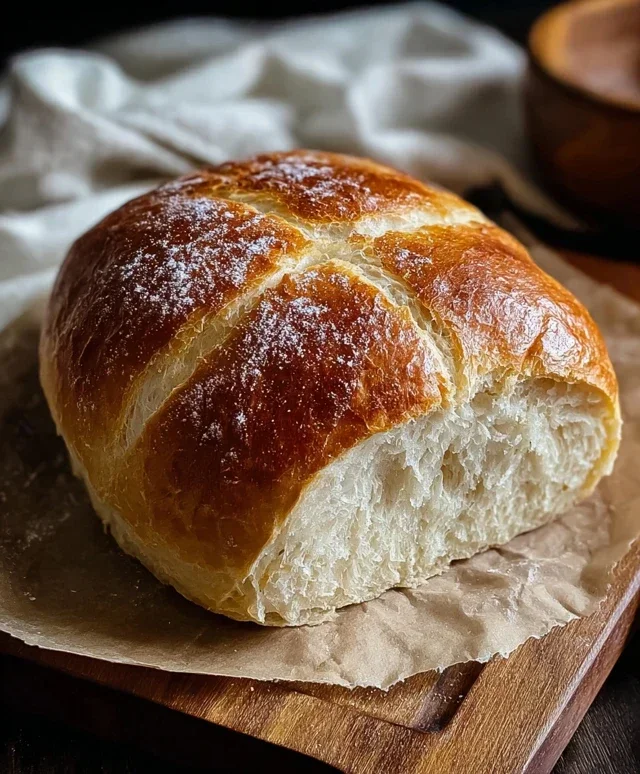
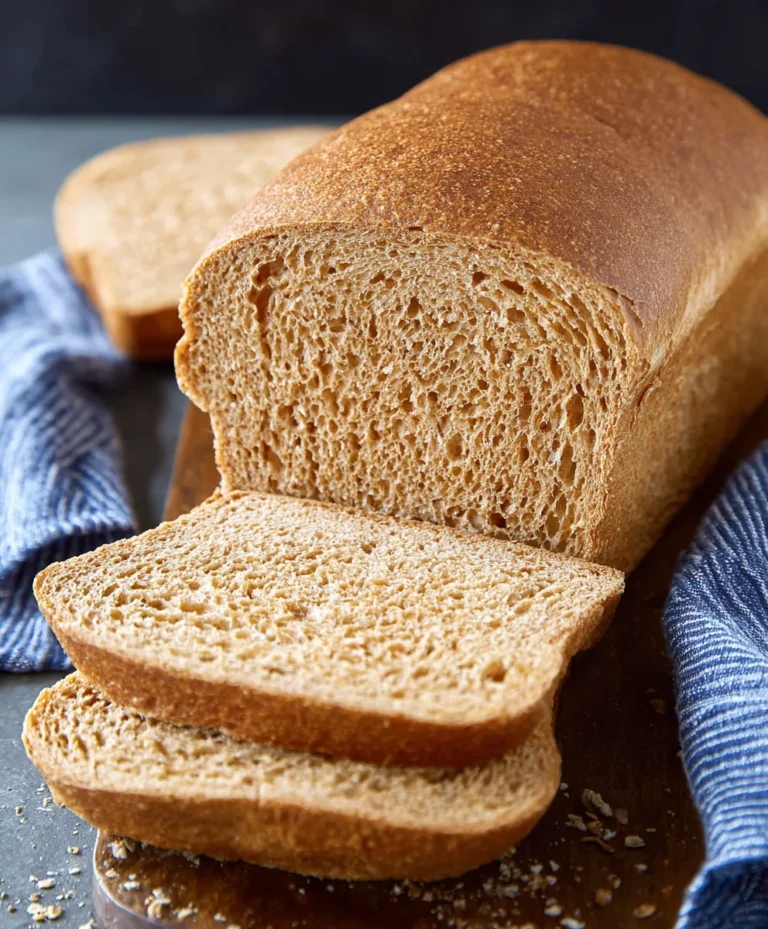
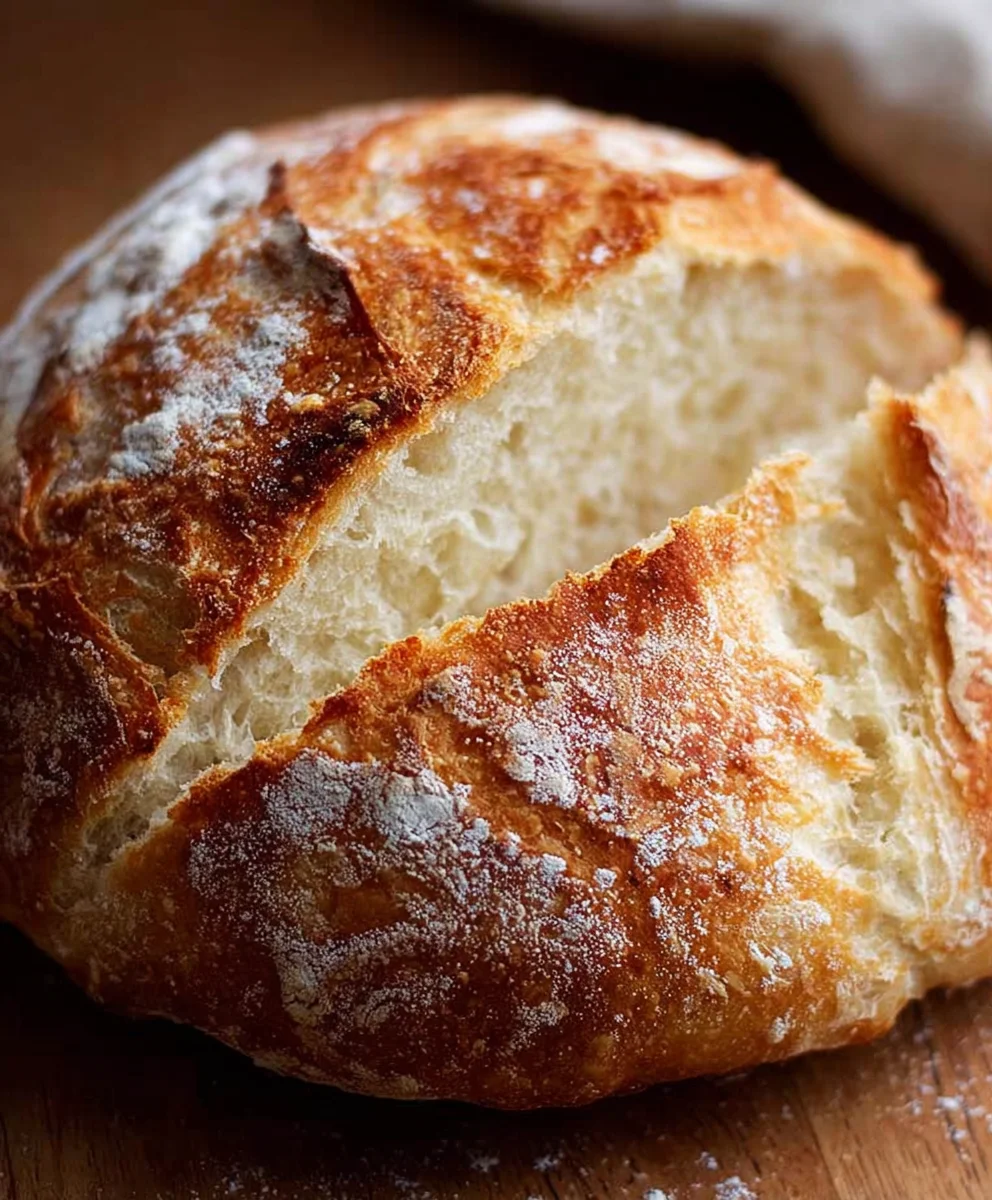
There’s something undeniably comforting and deeply satisfying about a truly amazing Rustic Bread Recipe. Imagin extracte the aroma filling your kitchen as it bakes, a warm, yeasty perfume that promises pure deliciousness. This isn’t just bread; it’s an experience. It’s the kind of bread that has a beautiful, crackling crust, a tender, airy crum extractb, and a flavor that’s both simple and profound. People adore this kind of bread because it transports them back to simpler times, to the heart of home cooking where quality ingredients and a little patience result in something extraordinary. What truly makes our Rustic Bread Recipe special is its versatility and the inherent beauty of its unpretentious nature. It’s the perfect canvas for butter, jams, or accompanying your favorite soups and stews. Get ready to bake a loaf that will become a cherished staple in your home.

Ingredients:
- 3 cups warm water
- 2 ¼ teaspoons active dry yeast (which is typically one standard packet)
- 1 tablespoon sugar
- 6 cups (approximately 750 grams) all-purpose flour
- 3 teaspoons salt
Getting Started: Activating the Yeast
The foundation of any great bread is healthy, active yeast. To begin extract our Rustic Bread Recipe, we need to wake up that yeast and get it ready to work its magic. In a large mixing bowl, combine the 3 cups of warm water. The water should be warm to the touch, around 105-115°F (40-46°C). If it’s too hot, it will kill the yeast; if it’s too cool, it won’t activate properly. You can test this by dipping your finger in – it should feel comfortably warm. To this warm water, add the 2 ¼ teaspoons of active dry yeast and the 1 tablespoon of sugar. The sugar acts as food for the yeast, helping it to multiply and become bubbly. Give it a gentle stir to ensure everything is incorporated. Now, here’s the crucial part: let this mixture sit undisturbed for about 5 to 10 minutes. You’ll know the yeast is alive and ready when you see a foamy, frothy layer form on the surface. This is a good sign that the yeast is hungry and eager to start fermenting, which will give our bread its wonderful rise and texture. If you don’t see this foam after 10 minutes, your yeast might be old or the water temperature wasn’t quite right, and you might need to start this step over with fresh yeast.
Mixing the Dougin extract Bringing it All Together
Once your yeast mixture is beautifully foamy, it’s time to add the rest of our ingredients and form the dough for our Rustic Bread Recipe. To the bubbly yeast mixture, gradually add the 6 cups of all-purpose flour. It’s helpful to add the flour in stages rather than all at once. This allows you to better judge the consistency of the dough. As you add the flour, also incorporate the 3 teaspoons of salt. The salt is not just for flavor; it also helps to control the yeast’s activity and strengthens the gluten structure in the flour, which is essential for a good bread cgin extract extractb. Begin mixing with a sturdy spoon or a dough whisk. You’ll notice the mixture will start to thicken and become shaggy. Once it becomes too difficult to stir with a spoon, it’s time to switch to your hands. Lightly flour your hands and the surface where you’ll be kneading. Turn the dough out onto a floured surface. It will be sticky and unmanageable at first, and that’s perfectly normal for a rustic bread dough.
Kneading the Dough: Developing the Gluten
Now comes the most satisfying part of making bread: kneading. This process develops the gluten in the flour, which is what gives bread its structure and chewy texture. For our Rustic Bread Recipe, we want a good gluten development. Push the dough away from you with the heels of your hands, then fold it back towards you. Rotate the dough a quarter turn and repeat. Continue this push, fold, and turn motion for about 8 to 10 minutes. The dough will initially be quite sticky and might cling to your hands and the counter. Resist the urge to add too much extra flour, as this can make the bread tough. Instead, use a bench scraper to help lift the dough from the surface and scrape off any excess that sticks. As you knead, you’ll notice the dough transforming. It will become smoother, more elastic, and less sticky. It should spring back slowly when you poke it with your finger. A well-kneaded dough will feel soft and pliable, almost like a stress ball. If it feels too wet after several minutes of kneading, you can add a tablespoon of flour at a time, but be very conservative.
First Rise: Letting the Dough Rest and Grow
After all that kneading, the dough needs a well-deserved rest. Lightly grease a clean large bowl with a little oil or cooking spray. Place the kneaded dough into the greased bowl and turn it over so that the top of the dough is also lightly coated with oil. This prevents a dry skin from forming. Cover the bowl tightly with plastic wrap or a damp kitchen towel. Find a warm, draft-free spot in your kitchen for the dough to rise. An oven that has been turned on for a minute and then turned off is a great place, or simply on the counter if your kitchen is warm. Let the dough rise for about 1 to 1 ½ hours, or until it has doubled in size. This “first rise” or “bulk fermentation” is crucial for developing flavor and creating a light, airy texture. You’ll know it’s ready when it looks noticeably puffy and has increased significantly in volume. The surface might have a few small bubbles.
Shaping and Second Rise: Preparing for Baking
Once the dough has doubled in size, it’s time to gently shape it. Gently punch down the dough to release the trapped air. Turn the dough out onto a lightly floured surface. For a rustic loaf, you can shape it into a round boule or an oval bâtard. To form a boule, gently tuck the edges of the dough underneath itself to create surface tension. For a bâtard, shape it into an oval and again, tuck the edges under to create a taut surface. Be careful not to overwork the dough at this stage, as we don’t want to deflate all the air we’ve worked so hard to create. Place your shaped dough onto a baking sheet lined with parchment paper or onto a floured pizza peel if you’re using a baking stone. Cover the loaf loosely with plastic wrap or a light kitchen towel and let it rest for its “second rise” for another 30 to 45 minutes. This allows the gluten to relax and the dough to become slightly puffy again before baking. While the dough is on its second rise, preheat your oven to 425°F (220°C). If you’re using a baking stone or a Dutch oven, place it in the oven during this preheating period. A hot surface helps give the bread a great crust.
Baking the Bread: Achieving That Perfect Crust
With your oven preheated and your dough ready for its final transformation, it’s time to bake our Rustic Bread Recipe to perfection. If you’re using a Dutch oven, carefully place your shaped dough into the preheated Dutch oven. If not, carefully slide the loaf from the parchment paper onto the hot baking stone or directly onto the oven rack. For an even better crust, you can create steam in your oven. This can be done by placing a shallow metal pan on the bottom rack of your oven when you preheat it, and then carefully pouring about a cup of hot water into that pan just as you place the bread in the oven. Close the oven door quickly to trap the steam. Bake the bread for 20 minutes at 425°F (220°C). After 20 minutes, carefully remove the steam pan (if you used one) and reduce the oven temperature to 400°F (200°C). Continue to bake for another 20-25 minutes, or until the crust is a deep golden brown and the internal temperature of the bread reaches about 200-210°F (93-99°C) when measured with an instant-read thermometer. The bottom of the loaf should sound hollow when tapped. Once baked, immediately transfer the bread to a wire rack to cool completely. This is essential for the texture to set properly. Resist the urge to slice into it while it’s still warrum extractthe crumb will be gummy. Let it cool for at least an hour.
Conclusion:
And there you have it – your very own delicious Rustic Bread Recipe! We’ve walked through the simple steps to create a beautifully crusty loaf with a wonderfully soft interior, perfect for any occasion. The aroma alone as it bakes is enough to fill your home with warmth and comfort, making this more than just a recipe, but an experience. I truly hope you enjoy making and sharing this bread as much as I do. It’s incredibly satisfying to pull a homemade loaf from the oven!
This Rustic Bread Recipe is wonderfully versatile. Serve it warm with a generous slather of butter, alongside a hearty soup or stew, or as the base for incredible sandwiches. Don’t be afraid to get creative with toppings – a sprinkle of sea salt or some fresh herbs baked into the crust can elevate it further. For variations, consider adding a handful of seeds like sunflower or pumpkin to the dough for added texture and flavour, or even a touch of honey for a subtle sweetness.
The beauty of homemade bread lies in its simplicity and the rewarding feeling of accomplishment. So go ahead, give this Rustic Bread Recipe a try. I’m confident you’ll be delighted with the results and eager to bake it again and again!
Frequently Asked Questions:
Can I make this Rustic Bread Recipe without a stand mixer?
Absolutely! While a stand mixer makes kneading easier, you can achieve excellent results by hand. Simply follow the kneading instructions in the recipe, ensuring you develop the gluten sufficiently through stretching and folding on a lightly floured surface for about 10-15 minutes. Your arms might get a workout, but it’s totally doable!
How should I store my Rustic Bread Recipe loaf?
Once cooled completely, store your Rustic Bread Recipe loaf in a bread box or a paper bag at room temperature. Avoid plastic bags, as they can make the crust soggy. If you need to store it for longer than 2-3 days, it freezes beautifully. Wrap it tightly in plastic wrap and then a layer of aluminum foil. Thaw at room temperature or gently reheat in the oven.
Easy Rustic Bread Recipe – Bake Delicious Homemade Loaf
Bake a delicious, crusty loaf of homemade rustic bread with this easy-to-follow recipe.
Ingredients
-
3 cups warm water
-
2 ¼ teaspoons active dry yeast
-
1 tablespoon sugar
-
6 cups all-purpose flour
-
3 teaspoons salt
Instructions
-
Step 1
Activate the yeast: In a large mixing bowl, combine 3 cups of warm water (105-115°F), 2 ¼ teaspoons active dry yeast, and 1 tablespoon sugar. Stir gently and let sit for 5-10 minutes until foamy. -
Step 2
Mix the dough: To the foamy yeast mixture, gradually add 6 cups of all-purpose flour and 3 teaspoons of salt. Mix with a spoon until shaggy, then switch to hands when too thick to stir. Turn dough onto a lightly floured surface. -
Step 3
Knead the dough: Knead the dough for 8-10 minutes, pushing, folding, and turning, until it becomes smooth, elastic, and less sticky. It should spring back slowly when poked. -
Step 4
First rise: Place the kneaded dough in a lightly oiled, clean bowl, turning to coat. Cover tightly and let rise in a warm, draft-free spot for 1-1.5 hours, or until doubled in size. -
Step 5
Shape and second rise: Gently punch down the dough and turn it out onto a lightly floured surface. Shape into a round boule or oval bâtard, tucking edges underneath. Place on parchment-lined baking sheet, cover loosely, and let rest for 30-45 minutes. Preheat oven to 425°F (220°C) during this time. -
Step 6
Bake the bread: If using a Dutch oven, place shaped dough inside. Otherwise, slide onto a hot baking stone. Bake for 20 minutes at 425°F (220°C). Remove steam pan (if used), reduce oven temperature to 400°F (200°C), and bake for another 20-25 minutes until deep golden brown. Internal temperature should be 200-210°F (93-99°C). Let cool completely on a wire rack for at least an hour.
Important Information
Nutrition Facts (Per Serving)
It is important to consider this information as approximate and not to use it as definitive health advice.
Allergy Information
Please check ingredients for potential allergens and consult a health professional if in doubt.