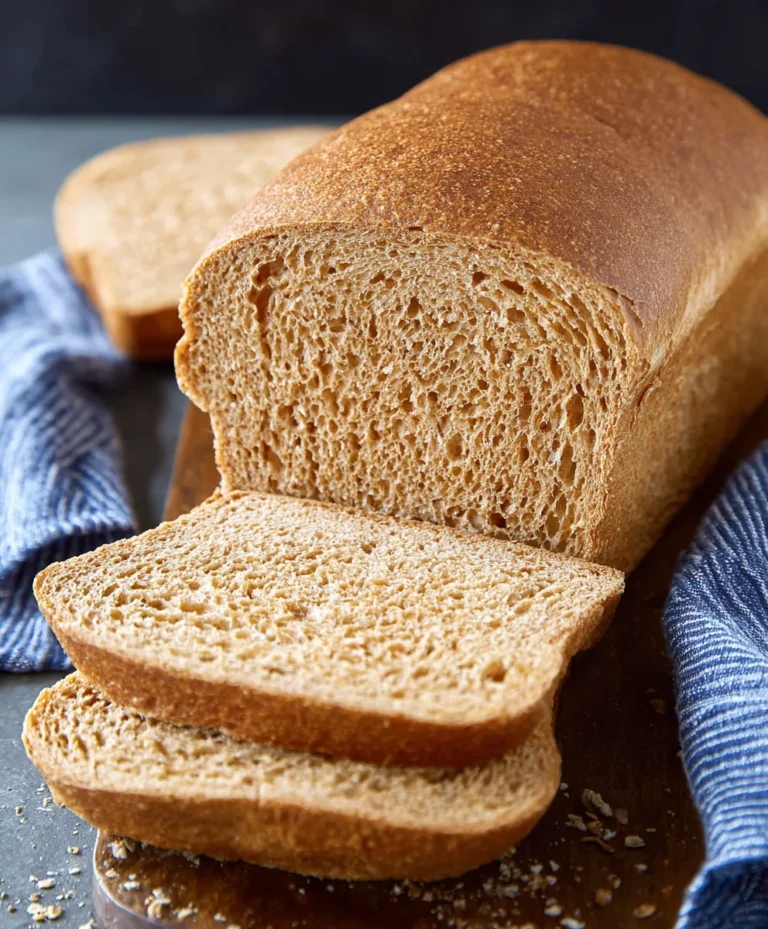
Easy Whole Wheat Bread Recipe-Healthy & Delicious
Whole Wheat Bread: There are few things as comforting and satisfying as a slice of freshly baked, homemade Whole Wheat Bread. It’s a culinary cornerstone, a staple that graces tables around the world, not just for its sustenance but for its incredibly wholesome and nutty flavor. What is it about this humble loaf that captures our hearts and taste buds? Perhaps it’s the rustic aroma that fills the kitchen as it bakes, a testament to simple ingredients transformed into something magical. Or maybe it’s the slightly chewy texture, a delightful contrast to the airy crum extractb, that makes every bite so enjoyable. This particular recipe for Whole Wheat Bread goes beyond the ordinary, boasting a depth of flavor and a perfect texture that will have you abandoning store-bought loaves forever. It’s incredibly adaptable, making it the perfect canvas for your favorite toppings or a sturdy companion to soups and stews.
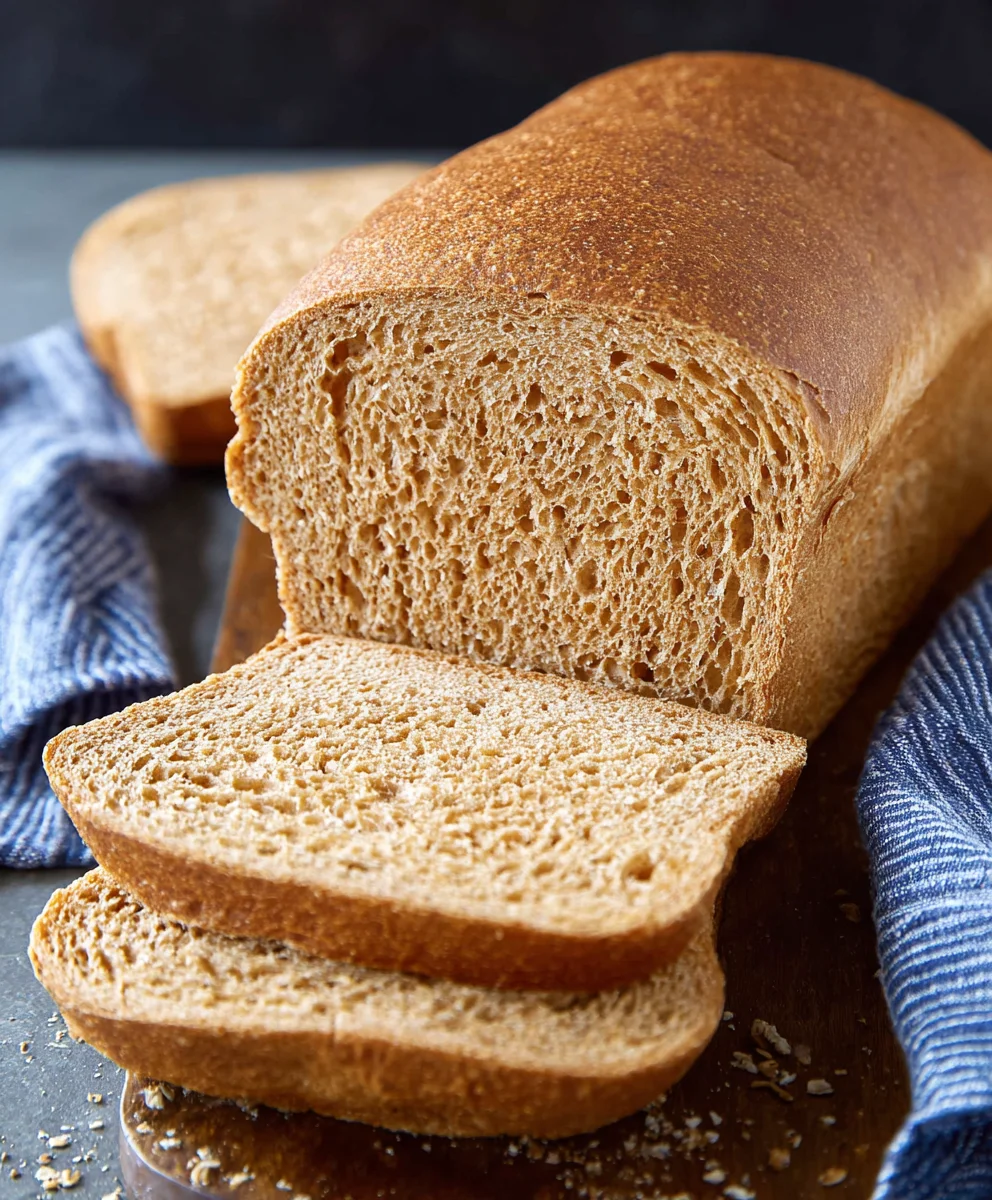
Ingredients:
- 1 cup water, lukewarm
- ¼ cup milk, lukewarm
- 3 tablespoons honey
- 2 ¼ teaspoons active dry yeast (or instant yeast, equivnon-alcoholic alent to 1 packet)
- 3 cups (339 grams) whole wheat flour, plus more for dusting
- 1 ½ teaspoons salt
- 3 tablespoons unsalted butter, cut into 6 small pieces and softened
Preparing the Dough
Activating the Yeast
The first step in creating our delicious whole wheat bread is to get the yeast ready. In a large mixing bowl, combine the lukewarm water and lukewarm milk. The temperature is crucial here; you want it to be warm enough to activate the yeast but not so hot that it kills it. Aim for a temperature between 105-115°F (40-46°C). You can test this by dipping your finger in; it should feel pleasantly warm, like a bath.
Add the honey to the warm liquid. Honey provides food for the yeast, helping it to bloom and become active. Sprinkle the active dry yeast over the surface of the liquid. If you’re using instant yeast, you can often skip this initial blooming step and add it directly to the flour, but for active dry yeast, this blooming is essential. Let the mixture sit undisturbed for about 5 to 10 minutes. You’ll know the yeast is alive and ready when it starts to get foamy and bubbly on the surface. If you don’t see any activity, your yeast might be old or the water too hot or cold, and you’ll need to start again with fresh yeast.
Combining Dry Ingredients and Initial Mixing
While the yeast is blooming, let’s get our dry ingredients ready. In a separate medium bowl, whisk together the 3 cups of whole wheat flour and the 1 ½ teaspoons of salt. Whisking ensures that the salt is evenly distributed throughout the flour, which is important for consistent flavor and dough texture.
Once the yeast mixture is foamy and active, add it to the bowl with the dry ingredients. Add the softened butter pieces to the mixture as well. The softened butter will incorporate more easily into the dough than cold butter. Begin extract mixing everything together. You can start with a wooden spoon or a sturdy spatula. Mix until a shaggy gin extractgh begins to form. It might seem a bit wet and sticky at this stage, and that’s perfectly normal for whole wheat dough.
Kneading the Dough
Developing Gluten Structure
Now comes the satisfying part: kneading. Turn the shaggy dough out onto a lightly floured surface. I prefer to use a clean countertop or a large wooden cutting board. Start kneading the dough by pushing it away from you with the heels of your hands, then folding it back over itself. Rotate the dough a quarter turn and repeat. Initially, the dough will be quite sticky. Resist the urge to add too much extra flour at this stage, as it can make your bread dense. Instead, use a bench scraper to help lift any sticking dough and incorporate it back into the main mass. Gradually, as you continue to knead, the dough will become smoother, more elastic, and less sticky.
Knead for about 8 to 10 minutes. You’re looking for the dough to develop a smooth, elastic texture. A good test is the “windowpane test”: pinch off a small piece of dough and gently stretch it. If you can stretch it thin enough to see light through it without it tearing, the gluten has developed sufficiently. This gluten network is what gives bread its structure and allows it to rise.
First Rise (Bulk Fermentation)
Allowing the Dough to Double
Once your whole wheat dough has been properly kneaded, it’s time to let it rest and rise. Lightly grease a clean large bowl with a little oil or cooking spray. Place the kneaded dough into the greased bowl, turning it to coat all sides with a thin layer of oil. This prevents the dough from drying out as it rises. Cover the bowl tightly with plastic wrap or a clean kitchen towel.
Place the covered bowl in a warm, draft-free place to rise. An oven that has been turned off (but perhaps preheated slightly and then cooled) or a sunny spot on your counter can work well. Let the dough rise for about 1 to 1 ½ hours, or until it has roughly doubled in size. The exact time will depend on the warmth of your environment. You’ll know it’s ready when a gentle poke with a floured finger leaves an indentation that doesn’t spring back completely.
Shaping and Second Rise
Preparing for the Oven
After the first rise, gently punch down the dough to release the accumulated gases. This process is called degassing and helps to create an even crum extractb structure. Turn the dough out onto your lightly floured work surface again. Gently shape the dough into your desired loaf shape. For a standard loaf, you can gently flatten it into a rough rectangle, then roll it up tightly, pinching the seam closed. Tuck the ends under to create a neat loaf. If you’re making rolls, divide the dough into equal portions and shape each into a ball.
Prepare your baking pan. For a loaf, grease and flour a standard 9×5 inch loaf pan. For rolls, you can place them on a baking sheet lined with parchment paper, leaving some space between them for expansion. Place the shaped dough into the prepared pan or onto the baking sheet. Cover loosely with plastic wrap or a clean kitchen towel and let it rise again for another 30 to 45 minutes, or until it has visibly puffed up and nearly doubled in size. This second rise, also known as proofing, is essential for a light and airy texture.
Baking the Whole Wheat Bread
Achieving the Perfect Crurum extractand Crumb
While the dough is undergoing its second rise, preheat your oven to 375°F (190°C). Baking at the correct temperature is crucial for a good crust and fully cooked interior. Once the oven is preheated and the dough has finished its second rise, you can optionally brush the top of the loaf or rolls with a little milk or an egg wash for a shinier, browner crust.
Carefully place the pan or baking sheet into the preheated oven. Bake the loaf for 30 to 35 minutes, or until the crust is a deep golden brown and the internal temperature of the bread reaches 190-200°F (88-93°C) when tested with an instant-read thermometer. If making rolls, they will bake faster, typically around 18 to 22 minutes. The aroma filling your kitchen will be heavenly!
Once baked, immediately remove the bread from the pan and place it on a wire cooling rack. This prevents the bottom crust from becoming soggy from trapped steam. Allow the whole wheat bread to cool completely before slicing and serving. Patience is key here; slicing hot bread can result in a gummy texture. Enjoy your homemade, wholesome whole wheat bread!
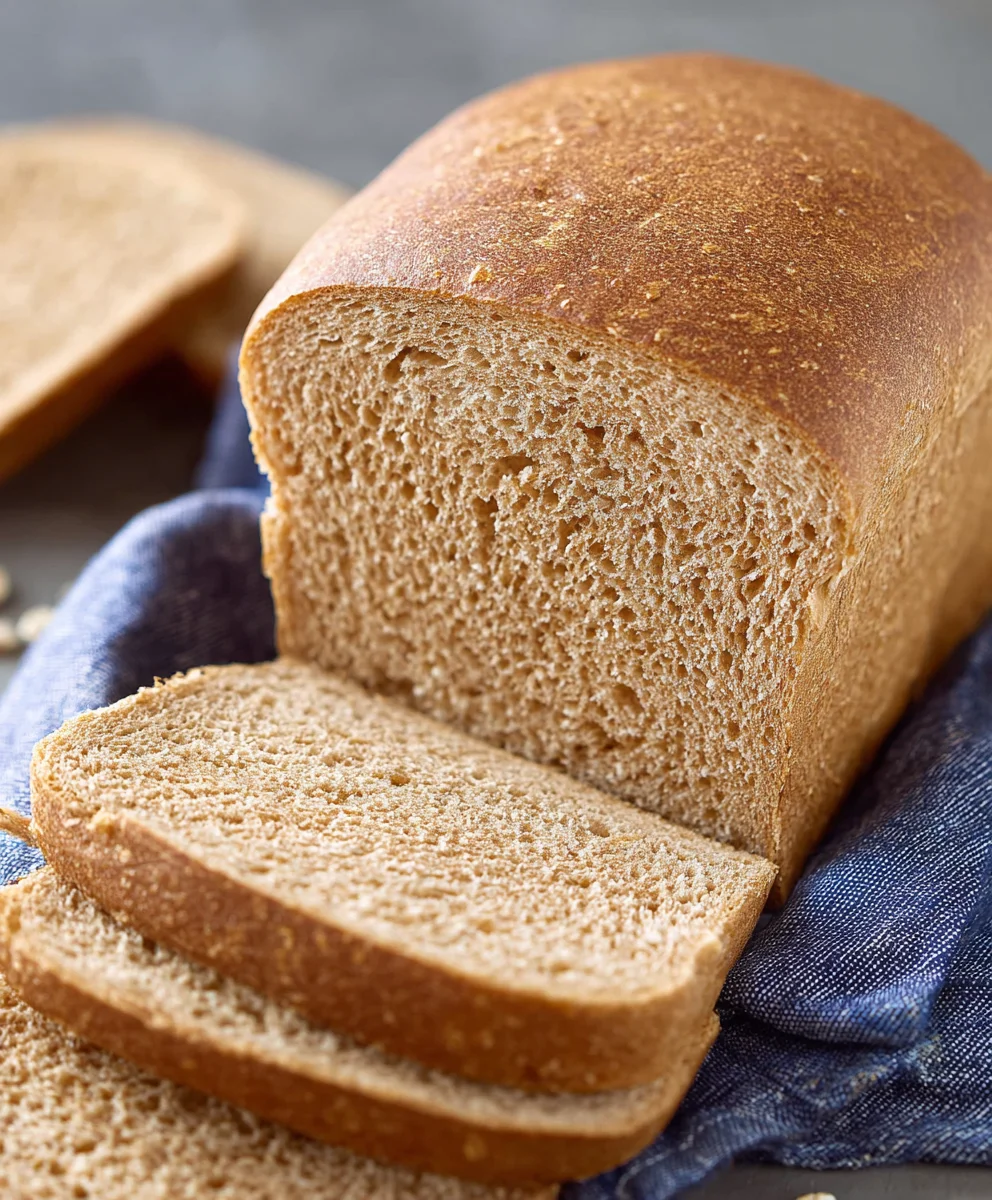
Conclusion:
And there you have it – a perfectly crafted loaf of delicious and healthy Whole Wheat Bread! We’ve guided you through each step, from kneading the dough to achieving that beautiful golden-brown crust. This recipe is designed to be accessible for bakers of all levels, and the reward of slicing into your homemade bread is truly unparalleled. Whether you’re making sandwiches, toasting it for breakfast, or serving it alongside a hearty soup, this Whole Wheat Bread will be a welcome addition to any meal. Feel free to get creative with your serving suggestions – think avocado toast, a generous smear of butter, or even a drizzle of honey. For variations, consider adding seeds like sunflower or pumpkin to the dough for extra texture and flavor, or perhaps some dried cranberries for a touch of sweetness. Don’t be afraid to experiment! Baking your own bread is an incredibly rewarding experience, and we encourage you to embrace the process and enjoy the delightful results.
Frequently Asked Questions:
Why is my Whole Wheat Bread dense?
A common reason for dense Whole Wheat Bread is insufficient kneading, which develops the gluten needed for a light texture. Over-measuring your flour can also contribute, so try spooning flour into your measuring cup rather than scooping directly from the bag. Ensure your yeast is fresh and active as well.
Can I make this Whole Wheat Bread recipe gluten-free?
While this specific recipe is designed for whole wheat flour, adapting it to be gluten-free would require a different formulation with a blend of gluten-free flours and binders. This recipe as written is not suitable for a gluten-free diet.
Easy Whole Wheat Bread Recipe-Healthy & Delicious
A simple and healthy recipe for delicious homemade whole wheat bread that is perfect for any occasion.
Ingredients
-
1 cup water, lukewarm
-
1/4 cup milk, lukewarm
-
3 tablespoons honey
-
2 1/4 teaspoons active dry yeast
-
3 cups whole wheat flour, plus more for dusting
-
1 1/2 teaspoons salt
-
3 tablespoons unsalted butter, softened
Instructions
-
Step 1
Activate the yeast: In a large bowl, combine lukewarm water (105-115°F) and milk. Add honey and sprinkle yeast on top. Let sit for 5-10 minutes until foamy. -
Step 2
Combine dry ingredients and mix: In a separate bowl, whisk together whole wheat flour and salt. Add the bloomed yeast mixture and softened butter to the dry ingredients. Mix until a shaggy dough forms. -
Step 3
Knead the dough: Turn the dough onto a lightly floured surface and knead for 8-10 minutes until smooth and elastic. Perform the windowpane test to ensure gluten development. -
Step 4
First rise (bulk fermentation): Place the kneaded dough in a lightly greased bowl, cover, and let rise in a warm, draft-free place for 1 to 1.5 hours, or until doubled in size. -
Step 5
Shape and second rise: Gently punch down the dough, shape it into a loaf or rolls, and place in a prepared baking pan or on a baking sheet. Cover and let rise for another 30-45 minutes until nearly doubled. -
Step 6
Bake the bread: Preheat oven to 375°F (190°C). Bake loaf for 30-35 minutes or rolls for 18-22 minutes, until golden brown and internal temperature reaches 190-200°F. Cool completely on a wire rack before slicing.
Important Information
Nutrition Facts (Per Serving)
It is important to consider this information as approximate and not to use it as definitive health advice.
Allergy Information
Please check ingredients for potential allergens and consult a health professional if in doubt.