Old School Chocolate Traybake Cake- Easy & Delicious Treat
Old School Chocolate Traybake Cake. Ah, the very name conjures up images of comfort, simplicity, and pure, unadulterated chocolate joy. This isn’t just any cake; it’s a nostalgic trip down memory lane, a guaranteed crowd-pleaser, and the ultimate treat for any occasion, big or small. We all have those cherished recipes that feel like a warm hug, and for so many, the Old School Chocolate Traybake Cake holds that special place. It’s the go-to for bake snon-alcoholic ales, birthday parties, or just an afternoon slump that needs a serious lift. What makes this particular cake so universally loved? It’s its perfect balance of rich, moist crum extractb and intensely satisfying chocolate flavour, all baked conveniently in one pan for minimal fuss and maximum enjoyment. It’s wonderfully forgiving, incredibly adaptable, and best of all, it delivers that deeply comforting, homemade taste that’s hard to beat.
Ingredients:
- 1 cup (2 sticks) unsalted butter, softened to room temperature
- 1¼ cups granulated sugar
- 1 teaspoon pure vanilla extract
- 4 medium eggs, at room temperature
- 1¾ cups self-raising flour
- ¼ cup unsweetened cocoa powder
- 3 tablespoons whole milk
- 1½ cups powdered sugar, sifted
- 1 tablespoon unsweetened cocoa powder
- 2 tablespoons milk
- Chocolate sprinkles for decorating
Making the Old School Chocolate Traybake Cake
This Old School Chocolate Traybake Cake is a nostalgic treat that’s surprisingly easy to make. It’s perfect for birthdays, bake snon-alcoholic ales, or simply when you’re craving a rich, chocolatey dessert. The beauty of a traybake is its simplicity – it’s baked in a single pan and cut into squares, making it ideal for sharing. We’ll start by preparing the cake batter, then move on to creating a luscious chocolate frosting, and finally, the fun part – decorating!
Preparing the Cake Batter
1. Cream the Butter and Sugar: Begin extract by placing the softened unsalted butter into a large mixing bowl. Add the granulated sugar. Using an electric mixer on medium speed, cream these two ingredients together until the mixture is light,non-alcoholic aleuffy, and pale in color. This process usually takes about 3-5 minutes. Don’t rush this step, as incorporating air here is key to a tender cake. Scrape down the sides of the bowl periodically with a spatula to ensure everything is evenly mixed. You’ll notice the texture change from dense butter and sugar crystals to a lighter, airy mass.
2. Incorporate the Eggs and Vanilla: Now, add the eggs, one at a time, beating well after each addition. It’s crucial that the eggs are at room temperature, just like the butter, as this helps them emulsify better with the fat, preventing the batter from splitting. If your eggs are cold, you can place them in a bowl of warm water for a few minutes to bring them up to temperature. After the last egg is incorporated, stir in the pure vanilla extract. Continue to mix until everything is just combined. Overmixing at this stage can lead to a tough cake.
3. Add the Dry and Wet Ingredients: In a separate medium bowl, whisk together the self-raising flour and the ¼ cup of unsweetened cocoa powder. This ensures the cocoa is evenly distributed throughout the flour, preventing pockets of dry cocoa in your finished cake. Now, add about half of this dry mixture to your wet ingredients in the large bowl. Mix on low speed until just combined. Then, add the 3 tablespoons of whole milk. Mix again until it’s almost incorporated. Finally, add the remaining dry ingredients and mix on low speed until you have a smooth, cohesive batter. Be careful not to overmix; stop as soon as you no longer see streaks of dry flour.
4. Bake the Traybake: Preheat your oven to 350°F (175°C). Grease and line a 9×13 inch baking pan with parchment paper, leaving some overhang on the sides. This overhang will act as handles, making it easier to lift the cake out of the pan once baked. Pour the cake batter evenly into the prepared pan, spreading it smoothly with a spatula. Bake for 25-30 minutes, or until a wooden skewer or toothpick inserted into the center comes out clean. The cake should spring back lightly when touched. Let the cake cool in the pan on a wire rack for about 10-15 minutes before attempting to remove it.
Making the Chocolate Frosting and Decorating
5. Prepare the Chocolate Frosting: While the cake is cooling, it’s time to make the rich chocolate frosting. In a medium bowl, combine the sifted powdered sugar and the 1 tablespoon of unsweetened cocoa powder. Sifting the powdered sugar is essential to avoid lumps and ensure a smooth frosting. Gradually add the 2 tablespoons of milk, mixing with a whisk or electric mixer until you achieve a smooth, spreadable consistency. You might need a little more or less milk depending on the humidity and the fineness of your powdered sugar, so add it a teaspoon at a time. The frosting should be thick enough to coat the back of a spoon without being too runny.
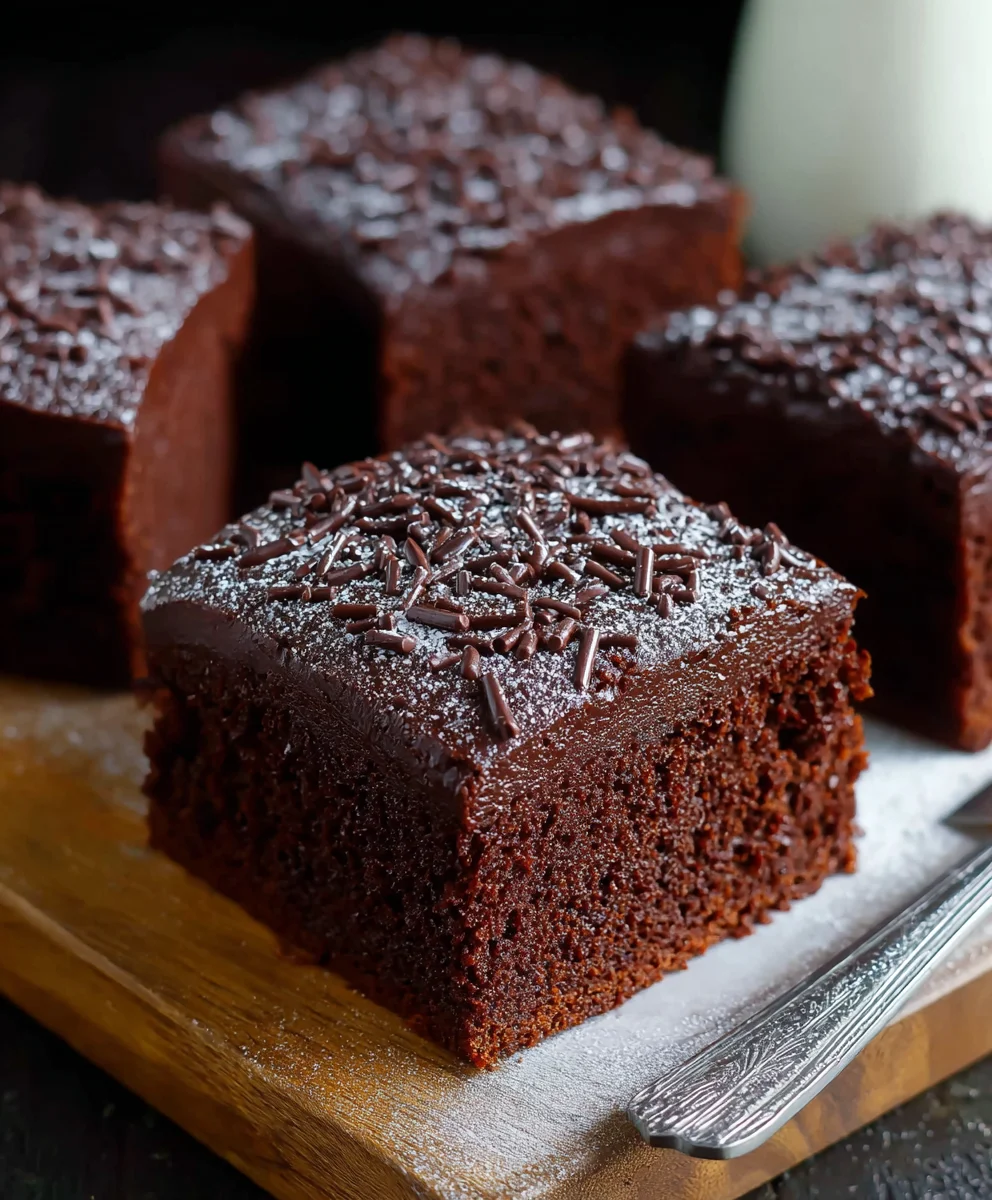
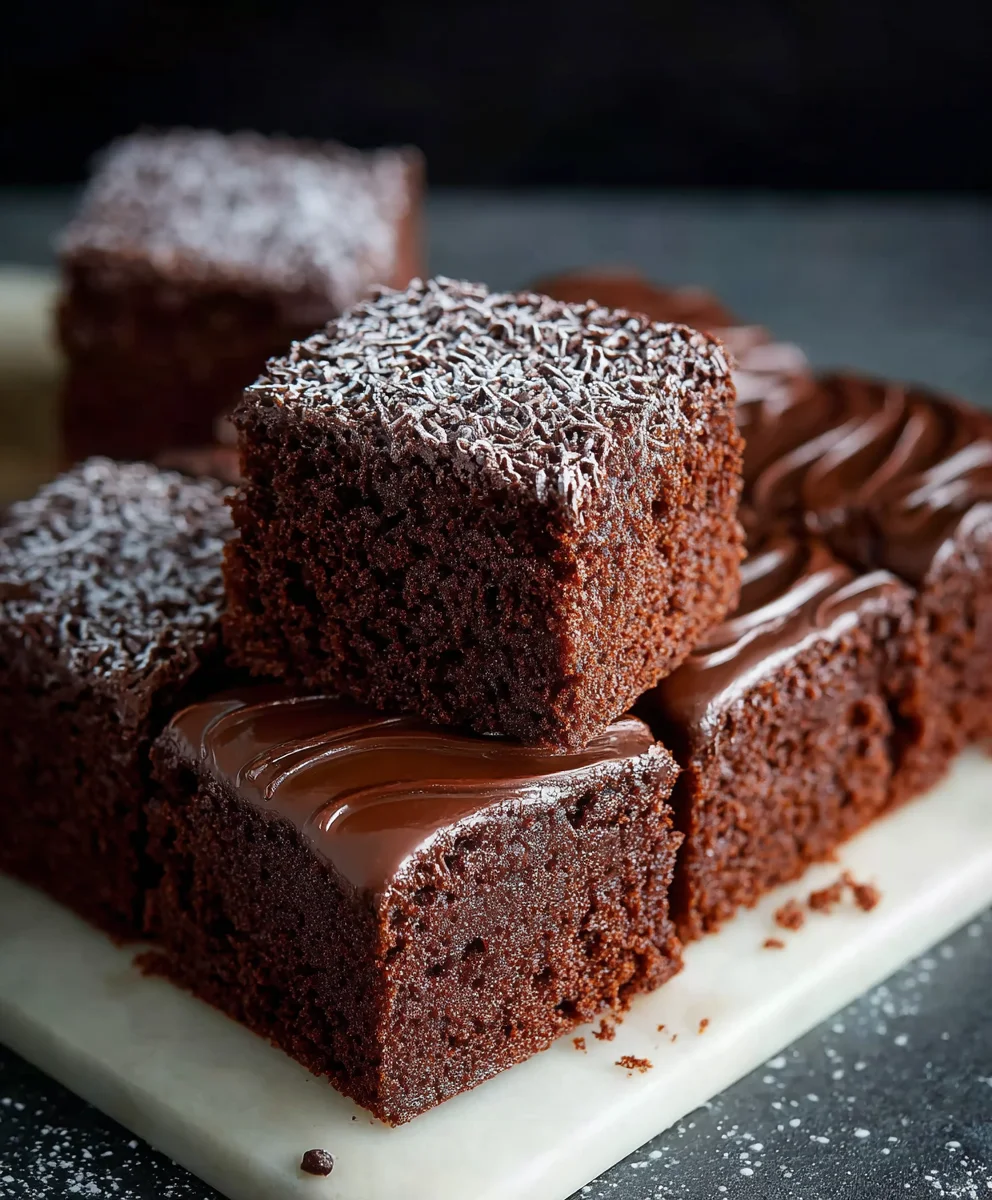
6. Frost and Decorate: Once the cake has cooled sufficiently in the pan, carefully lift it out using the parchment paper overhangs and place it on a wire rack to cool completely. Once the cake is completely cool to the touch, spread the prepared chocolate frosting evenly over the top. Use an offset spatula or the back of a spoon for a smooth finish, or create swirls for a more rustic look. Immediately after frosting, sprinkle the chocolate sprinkles generously over the top. Press them down gently to ensure they adhere. Allow the frosting to set for at least 15-20 minutes before slicing the traybake into squares. Enjoy your delicious homemade Old School Chocolate Traybake Cake!
Conclusion:
And there you have it – your very own delicious Old School Chocolate Traybake Cake! This recipe is a nostalgic journey back to classic comfort baking, delivering a moist, rich chocolate cake that’s perfect for any occasion. Whether you’re baking for a family gathering, a bake snon-alcoholic ale, or simply a weeknight treat, this cake is sure to be a crowd-pleaser. I love serving this cake with a dollop of fresh whipped cream or a scoop of vanilla ice cream, but it’s equally delightful on its own. Don’t be afraid to experiment with variations; adding a handful of chocolate chips to the batter or a sprinkle of sea salt on top can elevate it even further. Remember, baking is all about having fun and creating something delicious to share. So, gather your ingredients, put on your favorite apron, and enjoy the process of making this wonderful Old School Chocolate Traybake Cake!
Frequently Asked Questions:
Q: How long does the Old School Chocolate Traybake Cake stay fresh?
This cake is best enjoyed within 3-4 days of baking. Store it in an airtight container at room temperature. If you live in a very warm climate, refrigeration might be beneficial to maintain its freshness and texture, though it can sometimes make the cake slightly firmer.
Q: Can I make this cake ahead of time?
Absolutely! The Old School Chocolate Traybake Cake actually benefits from being made a day in advance. This allows the flavors to meld together beautifully, resulting in an even richer taste. Just ensure it’s properly stored in an airtight container.
Q: What other frostings or toppings work well with this cake?
While a simple dusting of powdered sugar or a classic chocolate buttercream is fantastic, feel free to get creative! A cream cheese frosting would provide a lovely tang, or you could opt for a ganache for an extra decadent finish. Fresh berries also make a vibrant and refreshing topping.
Old School Chocolate Traybake Cake – Easy & Delicious Treat
A nostalgic and surprisingly easy chocolate traybake cake, perfect for birthdays or any occasion. This recipe yields a rich, chocolatey dessert that’s ideal for sharing.
Ingredients
-
1 cup (2 sticks) unsalted butter, softened to room temperature
-
1¼ cups granulated sugar
-
1 teaspoon pure vanilla extract
-
4 medium eggs, at room temperature
-
1¾ cups self-raising flour
-
¼ cup unsweetened cocoa powder
-
3 tablespoons whole milk
-
1½ cups powdered sugar, sifted
-
1 tablespoon unsweetened cocoa powder
-
2 tablespoons milk
-
Chocolate sprinkles for decorating
Instructions
-
Step 1
Cream the softened unsalted butter and granulated sugar in a large mixing bowl using an electric mixer on medium speed until light, fluffy, and pale, about 3-5 minutes. Scrape down the sides periodically. -
Step 2
Add eggs one at a time, beating well after each addition. Incorporate the pure vanilla extract and mix until just combined. Avoid overmixing. -
Step 3
In a separate bowl, whisk together the self-raising flour and ¼ cup unsweetened cocoa powder. Add half of this dry mixture to the wet ingredients, mix on low until just combined. Add the 3 tablespoons of whole milk, mix until almost incorporated. Finally, add the remaining dry ingredients and mix until a smooth batter forms, being careful not to overmix. -
Step 4
Preheat oven to 350°F (175°C). Grease and line a 9×13 inch baking pan with parchment paper. Pour batter into the pan and spread evenly. Bake for 25-30 minutes, or until a skewer inserted into the center comes out clean. Cool in the pan for 10-15 minutes before removing. -
Step 5
While the cake cools, prepare the frosting. In a medium bowl, combine sifted powdered sugar and 1 tablespoon unsweetened cocoa powder. Gradually add 2 tablespoons of milk, mixing until smooth and spreadable. Adjust milk as needed. -
Step 6
Once the cake is completely cool, spread the chocolate frosting evenly over the top. Decorate with chocolate sprinkles immediately. Let the frosting set for 15-20 minutes before slicing into squares.
Important Information
Nutrition Facts (Per Serving)
It is important to consider this information as approximate and not to use it as definitive health advice.
Allergy Information
Please check ingredients for potential allergens and consult a health professional if in doubt.