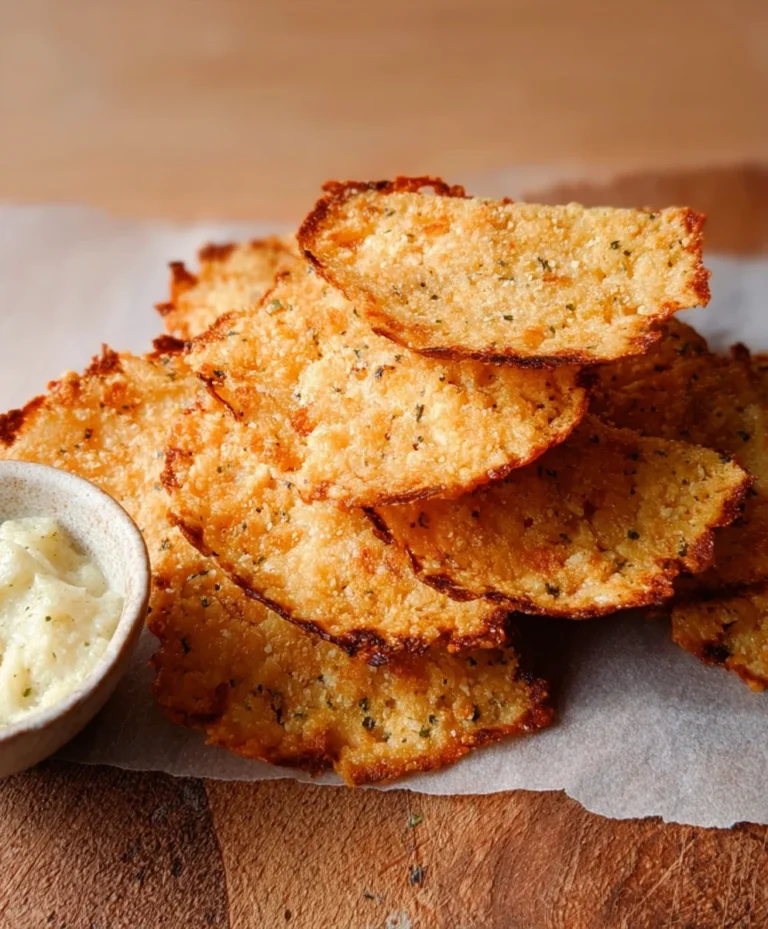
Ultimate Cheesy Garlic Bread Crispy Irresistible
Ultimate Cheesy Garlic Bread Recipe – Crispy, Cheesy & Irresistible! If you’re searching for that perfect side dish that transcends ordinary, look no further. This is the ultimate cheesy garlic bread recipe designed to be the star of any meal, from a casual weeknight dinner to a festive gathering. What is it about warm, gooey cheese and pungent garlic melting into a crusty, golden bread that makes it so universally loved? It’s the comforting aroma that fills your kitchen, the satisfying crunch of the toasted bread giving way to a soft, flavorful interior, and, of course, that deeply satisfying cheesy pull. This isn’t just any garlic bread; it’s an experience. We’ve perfected the ratio of garlic, butter, and cheese, and honed the baking technique to ensure every bite is an explosion of savory goodness, making this Ultimate Cheesy Garlic Bread Recipe – Crispy, Cheesy & Irresistible a true crowd-pleaser.
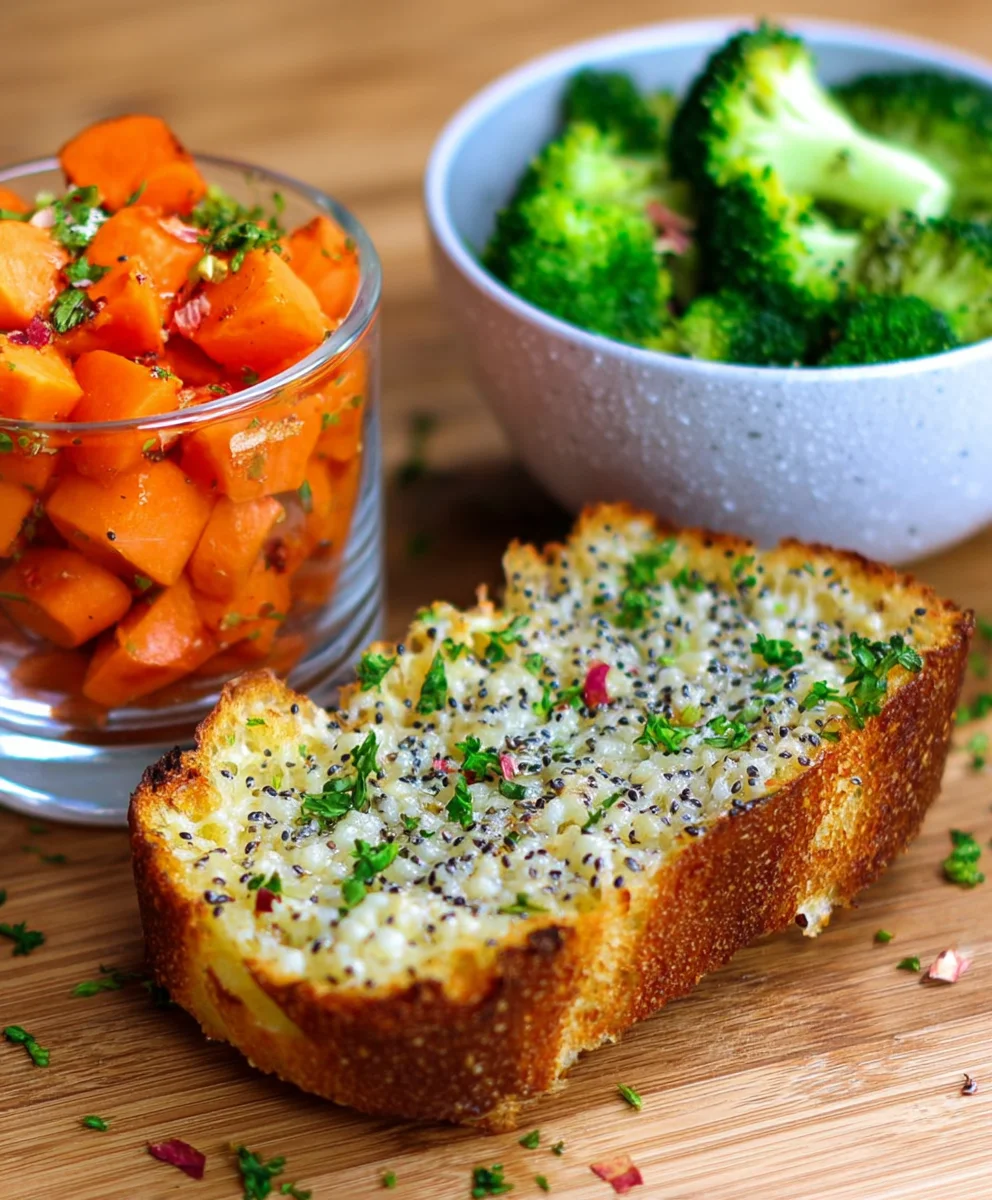
Ingredients:
- 1 large French baguette or Italian bread
- ½ cup unsalted butter, softened
- 5–6 large garlic cloves, minced
- 1 cup shredded mozzarella cheese
- ½ cup shredded cheddar cheese (optional, but highly recommended for extra flavor and meltiness)
- 2 tablespoons fresh parsley, chopped
- Salt to taste
Getting Started: Preparing Your Bread and Garlic Butter
Preheating and Slicing the Bread
The first step to achieving that ultimate cheesy garlic bread experience is to get your oven ready. Preheat your oven to 400°F (200°C). This ensures a hot environment that will quickly toast the bread and melt the cheese to perfection. While the oven is preheating, take your French baguette or Italian bread and slice it horizontally. If you’re using a standard baguette, slicing it lengthwise down the middle works beautifully. For a longer loaf, you might prefer to cut it into individual portions about 1-inch thick, but leave them connected at the bottom. This “accordion” style of slicing is fantastic for ensuring every bite is loaded with flavor and makes for easy serving. Alternatively, if you want to serve individual slices, cut the baguette completely in half lengthwise. For this recipe, I find slicing it in half lengthwise offers the best surface area for topping.
Crafting the Irresistible Garlic Butter Spread
Now, let’s move on to the heart of our cheesy garlic bread: the garlic butter. In a medium bowl, combine the softened unsalted butter, minced garlic cloves, chopped fresh parsley, and a pinch of salt to taste. It’s crucial that your butter is softened, not melted. Softened butter will allow you to mix all the ingredients together smoothly without creating an oily mess, and it will spread evenly onto the bread. Mince your garlic finely. If you don’t have a garlic press, a fine grater or a sharp knife works well. The fresher the garlic, the more potent and delicious the flavor will be. I like to use around 5-6 cloves, but feel free to adjust this based on your love for garlic! Add the chopped fresh parsley for a burst of vibrant color and a refreshing herbaceous note that perfectly complements the rich garlic butter. If you’re using it, now is also the time to add the optional cheddar cheese to the butter mixture. Stir everything together until it’s well combined and forms a fragrant, spreadable paste. Taste a tiny bit (carefully, as it’s raw!) to adjust the salt if needed, keeping in mind that the cheese will also add saltiness.
Assembling and Baking the Masterpiece
Generously Spreading the Garlic Butter
With your bread prepped and your garlic butter ready, it’s time to bring them together. Carefully spread the garlic butter mixture generously over the cut surfaces of your baguette. Make sure to get into all the nooks and crannies, especially if you opted for the accordion cut. Don’t be shy with the butter – this is where a lot of the flavor comes from! Ensure an even layer from crust to crust. If you’ve sliced the bread in half lengthwise, spread the mixture evenly over both halves. The goal is to coat the bread thoroughly so that every bite is infused with that delicious garlic and butter goodness.
Loading Up the Cheesy Goodness
This is where our “Ultimate Cheesy” status truly comes into play. Sprinkle the shredded mozzarella cheese evenly over the garlic butter spread. If you’re using the cheddar cheese, sprinkle that on top of the mozzarella. The combination of mozzarella and cheddar creates a beautiful melty texture with a wonderfully sharp flavor. You want a generous layer of cheese, covering the entire surface of the bread. Don’t leave any bare spots! The cheese will melt and bubble, creating those irresistible golden-brown, stretchy strands that make garlic bread so addictive. For an extra touch, you can even reserve a tablespoon of parsley to sprinkle on top of the cheese just before baking.
The Golden Bake
Place the prepared bread onto a baking sheet. If you sliced the baguette in half, you can place them cut-side up directly on the baking sheet. If you used the accordion cut, ensure it’s stable on the sheet. Carefully transfer the baking sheet into your preheated oven. Bake for 10-15 minutes, or until the cheese is fully melted, bubbly, and has achieved a beautiful golden-brown color. Keep a close eye on it during the last few minutes of baking, as ovens can vary, and you don’t want the cheese to burn. The aroma filling your kitchen at this stage will be absolutely divine, a testament to the deliciousness about to unfold. The edges of the bread should also be toasted to a lovely crisp.
Finishing Touches and Serving
The Final Garnish and Rest
Once your cheesy garlic bread is perfectly golden and bubbly, carefully remove it from the oven. For an extra pop of freshness and color, you can sprinkle a little more fresh chopped parsley over the top immediately after removing it from the oven. The heat from the bread will help release its fragrant oils. Allow the bread to rest on the baking sheet for a minute or two before slicing and serving. This brief resting period helps the cheese settle slightly, making it easier to cut and serve without everything sliding off.
Serving Suggestions
Slice your ultimate cheesy garlic bread into generous portions using a serrated knife. It’s the perfect accompaniment to almost any meal – pasta dishes, hearty soups, stews, or even as a standalone appetizer with a side of marinara sauce for dipping. The combination of the crispy bread, warm garlic butter, and gooey, melted cheese is simply irresistible. Enjoy every delicious, cheesy bite!
Conclusion:
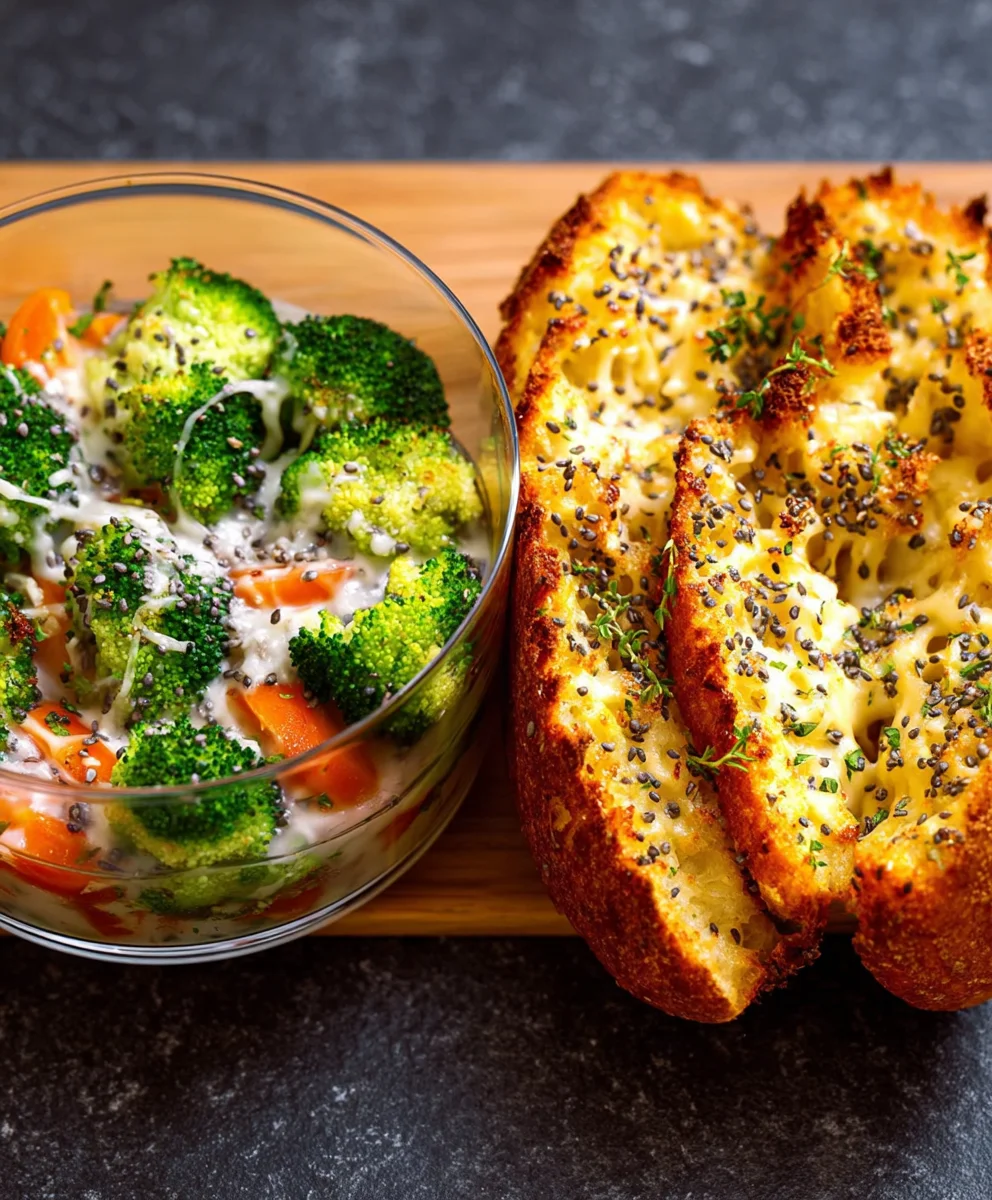
You’ve now mastered the art of creating the Ultimate Cheesy Garlic Bread Recipe – Crispy, Cheesy & Irresistible! This recipe is designed to deliver that perfect balance of crispy toasted bread, a rich garlic butter spread, and a gooey, melted cheesy topping that’s truly addictive. Whether you’re serving it as an appetizer, a side dish to your favorite pasta or soup, or even as a satisfying snack, this garlic bread is guaranteed to be a hit with everyone.
For an extra special touch, consider garnishing your finished garlic bread with freshly chopped parsley or a sprinkle of red pepper flakes for a hint of heat. Don’t be afraid to experiment with different cheese combinations too; Gruyère, Monterey Jack, or a sharp cheddar can offer delightful variations. Remember, the key to that irresistible crunch is a good, firm bread and a perfectly preheated oven. So go ahead, impress your friends and family with this incredibly delicious and straightforward recipe!
Frequently Asked Questions:
Can I make this Ultimate Cheesy Garlic Bread Recipe ahead of time?
Yes, you can assemble the garlic bread up to a few hours in advance. Prepare the garlic butter and spread it on the bread, then top with cheese. Cover it tightly with plastic wrap and refrigerate. When you’re ready to bake, remove the plastic wrap and bake as directed, possibly adding a few extra minutes to ensure it’s heated through.
What kind of bread is best for this recipe?
A sturdy, slightly dense bread works best for the Ultimate Cheesy Garlic Bread Recipe. A French baguette, Italian loaf, or even a sourdough boule sliced in half lengthwise will hold up well to the toppings and achieve that desirable crispy exterior without becoming soggy.
Ultimate Cheesy Garlic Bread Crispy Irresistible
Experience the ultimate cheesy garlic bread with a crispy texture and irresistible flavor. This recipe uses a generous amount of garlic butter and a blend of melted cheeses for a truly satisfying side dish or appetizer.
Ingredients
-
1 large French baguette or Italian bread
-
½ cup unsalted butter, softened
-
5–6 large garlic cloves, minced
-
1 cup shredded mozzarella cheese
-
½ cup shredded cheddar cheese
-
2 tablespoons fresh parsley, chopped
-
Salt to taste
Instructions
-
Step 1
Preheat oven to 400°F (200°C). Slice the baguette horizontally or into 1-inch thick portions, leaving the bottom connected for an accordion style, or cut completely in half lengthwise. -
Step 2
In a medium bowl, combine softened unsalted butter, minced garlic cloves, chopped fresh parsley, and a pinch of salt. Stir until well combined into a fragrant paste. -
Step 3
Generously spread the garlic butter mixture over the cut surfaces of the bread, ensuring even coverage. -
Step 4
Sprinkle shredded mozzarella cheese evenly over the garlic butter, followed by shredded cheddar cheese if using. -
Step 5
Place the prepared bread on a baking sheet and bake for 10-15 minutes, or until the cheese is fully melted, bubbly, and golden brown. -
Step 6
Remove from oven, sprinkle with additional fresh parsley if desired, and let rest for 1-2 minutes before slicing and serving.
Important Information
Nutrition Facts (Per Serving)
It is important to consider this information as approximate and not to use it as definitive health advice.
Allergy Information
Please check ingredients for potential allergens and consult a health professional if in doubt.