Best Bread Machine Bread Recipe – Easy & Delicious
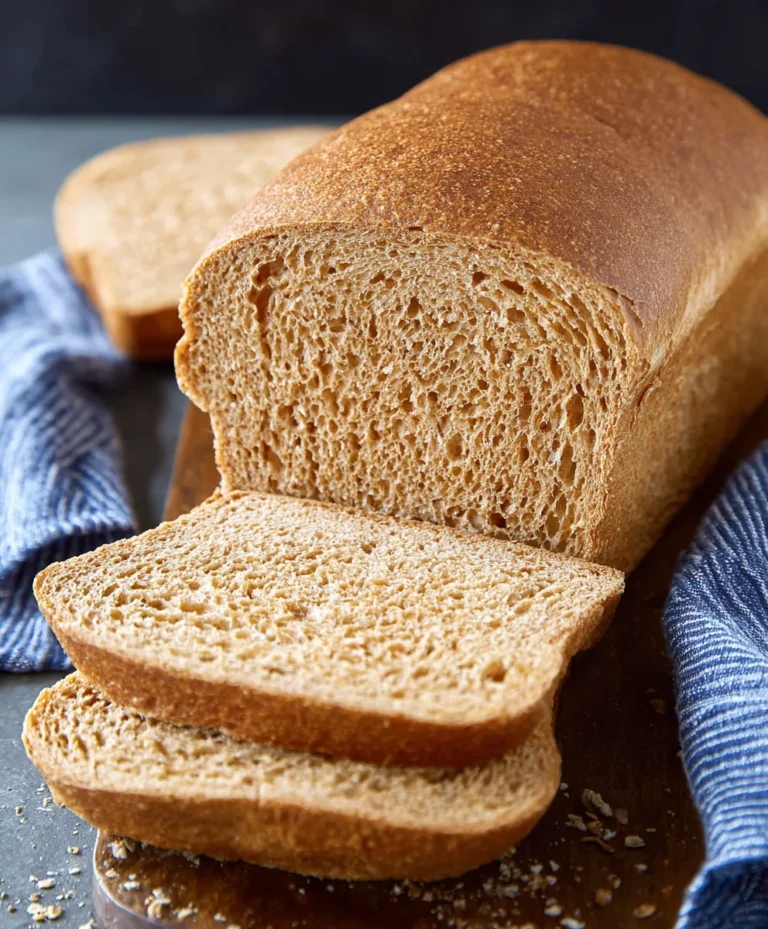
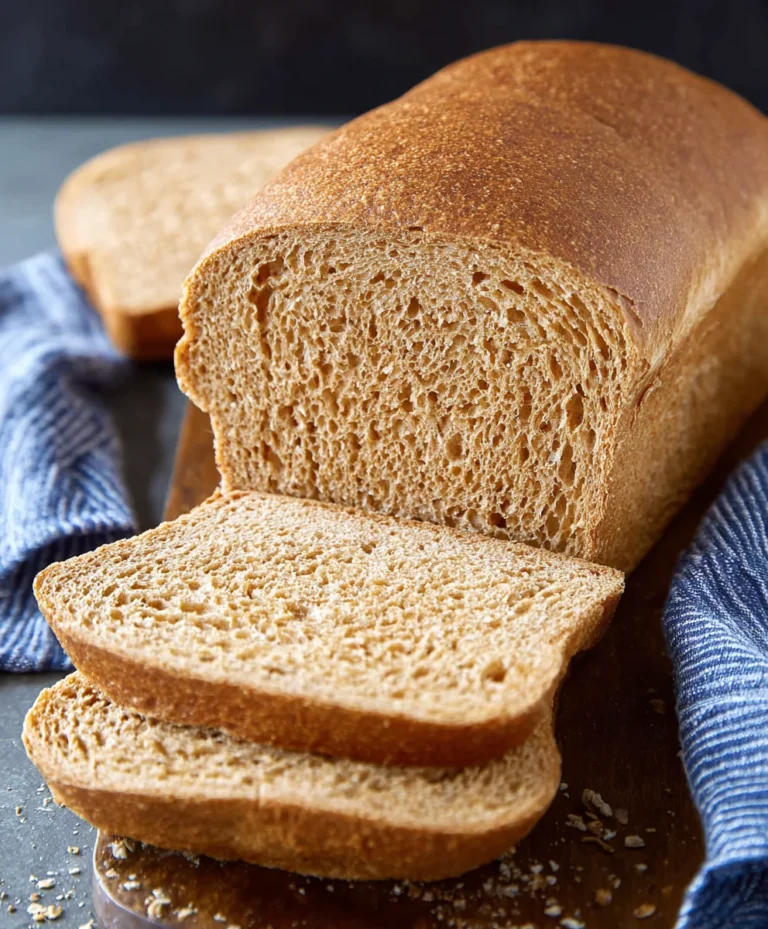
The Best Bread Machine Bread Recipe isn’t just a title; it’s a promise of comforting aromas and delightful textures that fill your kitchen. There’s something incredibly satisfying about pulling a perfectly golden, crusty loaf from your bread machine, knowing you’ve achieved homemade perfection with minimal effort. This recipe has captured the hearts of home bakers for its unparalleled simplicity and the consistently outstanding results it delivers. People adore it because it banishes the intimidation factor often associated with baking, transforming even the busiest weeknight into an opportunity for fresh, warm bread. What truly makes this The Best Bread Machine Bread Recipe stand out is its foolproof method, yielding a tender crum extractb and a wonderfully chewy crust that rivals any artisanal bakery, all thanks to a carefully balanced blend of ingredients and precise timings.
Ingredients:
- 1 ¾ cups warm water (about 105-115°F or 40-46°C)
- 2 tablespoons vegetable oil (or other neutral oil like canola or sunflower oil)
- 1 ½ teaspoons granulated sugar
- 1 teaspoon salt
- 4 cups all-purpose bread flour (ensure it’s specifically bread flour for best results)
- 2 teaspoons active dry yeast (sometimes labeled as bread machine yeast)
Let’s Get Baking!
Preparing Your Bread Machine
Before we begin extract mixing, make sure your bread machine is clean and ready to go. For this recipe, we’ll be using the standard “basic” or “white bread” cycle, which typically takes around 3 hours, including kneading, rising, and baking. Consult your bread machine’s manual for specific instructions on how to add ingredients to your particular model. Generally, most machines prefer liquids to be added first, followed by dry ingredients, and then the yeast placed on top. This order helps prevent the yeast from activating too early.
Step 1: Adding the Liquids and Sugargin extract4>
Begin by pouring the 1 ¾ cups of warm water directly into the bread machine pan. It’s important that the water is warm, not hot or cold. Too hot and it will kill the yeast; too cold and it won’t activate properly. Aim for that comfortable bathwater temperature. Next, add the 2 tablespoons of vegetable oil. This oil contributes to a softer crum extractb and a wonderfully tender crust. Finally, sprinkle in the 1 ½ teaspoons of granulated sugar. The sugar doesn’t just add a touch of sweetness; it also feeds the yeast, giving it a good start for a strong rise.
Step 2: Incorporating the Dry Ingredients
Now, it’s time to add the dry ingredients. Measure out your 4 cups of bread flour and carefully pour it over the liquid mixture. Try to create a mound of flour, covering the liquids as much as possible. This acts as a barrier for the yeast. Next, add the 1 teaspoon of salt. Salt is crucial for flavor and also plays a role in controlling the yeast’s activity, ensuring a well-structured loaf. Make sure the salt is spread evenly around the perimeter of the flour mound, if possible, and not directly on top of where the yeast will go.
Step 3: Adding the Yeast – The Final Piece
This is the crucial step for activating the yeast. Create a small well or divot in the center of the flour mound, being careful not to let the flour touch the liquid underneath. Gently spoon the 2 teaspoons of bread machine yeast into this well. Ensure that the yeast is not mixed with the salt or sugar at this stage, as direct contact can inhibit its ability to rise. The yeast needs to be the last ingredient to come into contact with the liquid. Once all ingredients are in the pan in this order, you can gently brush away any stray flour from the sides of the pan and the heating element, ensuring nothing will burn during the baking process.
Step 4: Setting Up the Bread Machine and Starting the Cycle
Close the lid of your bread machine securely. Now, select the appropriate cycle on your machine. For this recipe, the “Basic” or “White Bread” setting is ideal. Ensure you’ve chosen a medium crust setting if your machine offers options, as this generally yields the best results for a standard loaf. Once you’ve confirmed your settings, press the start button. Your bread machine will ngin extracttake over, beginning the kneading process, followed by the rising stages, and finally the baking. You don’t need to intervene further until the cycle is complete and the machine signals it’s done.
Step 5: Monitoring and Enjoying the Aroma
While the machine does its work, you might notice some activity. During the first few minutes of the kneading cycle, peek through the lid (if your machine allows) to ensure the dough is forming into a cohesive ball. If it seems too drum extractand crumbly, you can add a teaspoon of warm water at a time. If it’s too sticky and wet, add a tablespoon of bread flour. However, with the precise measurements in this recipe, it should form a beautiful, smooth dough. As the bread bakes, you’ll be treated to an irresistible aroma filling your kitchen. This is the sign that delicious, homemade bread is almost ready!
Step 6: Cooling and Slicing Your Perfect Loaf
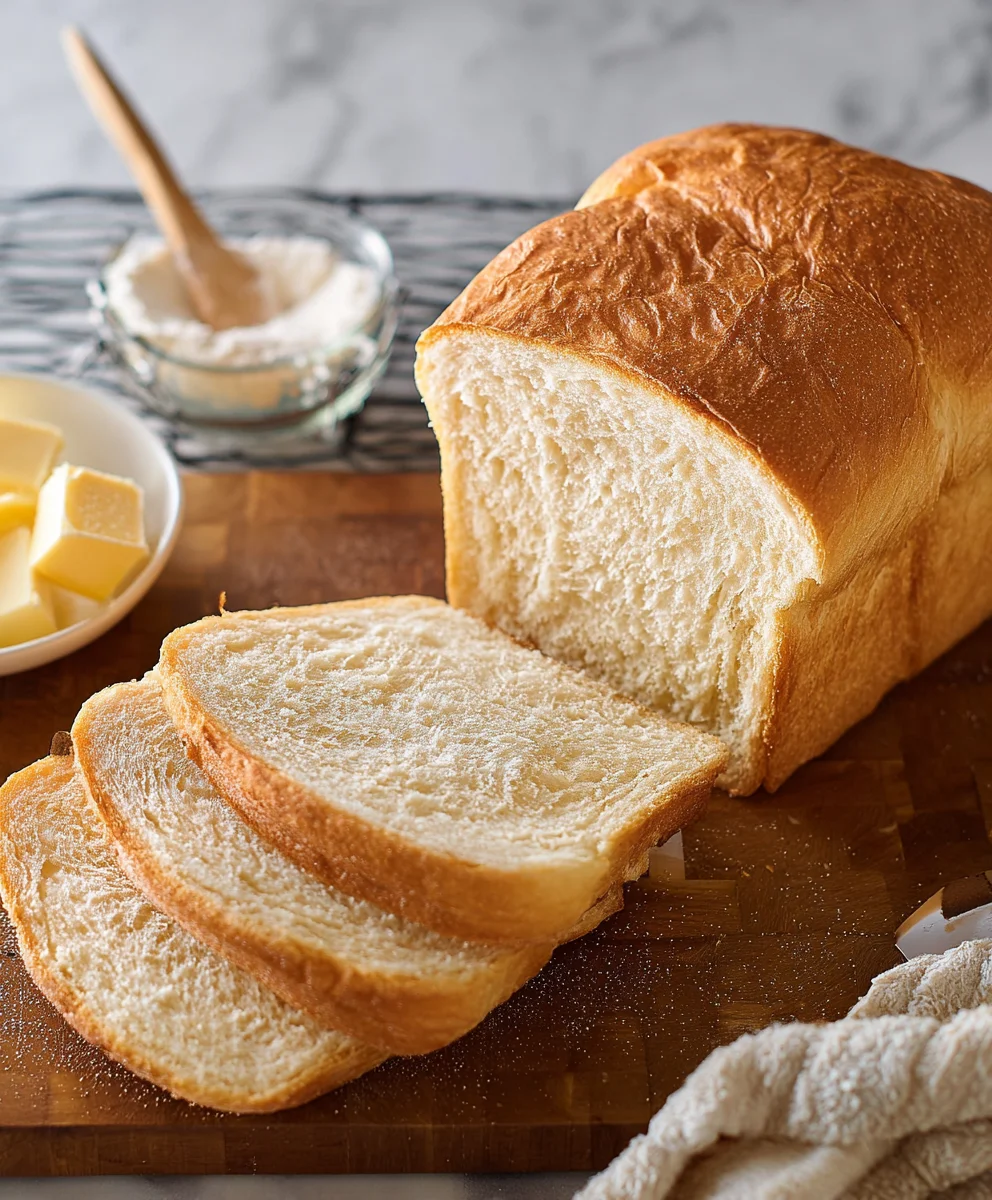
Once the bread machine beeps to signal that the baking cycle is complete, carefully open the lid. Use oven mitts to remove the bread pan from the machine. You might need to gently shake the pan to release the loaf onto a wire cooling rack. Be cautious, as the pan and the bread will be very hot. Allow the bread to cool completely on the wire rack for at least 1 to 2 hours before slicing. This is a critical step; slicing hot bread can result in a gummy texture because the internal structure hasn’t fully set. Once cooled, use a serrated bread knife to slice into your beautifully golden, perfectly textured loaf. Enjoy the fruits of your simple, yet rewarding, bread-making endeavor!
Conclusion:
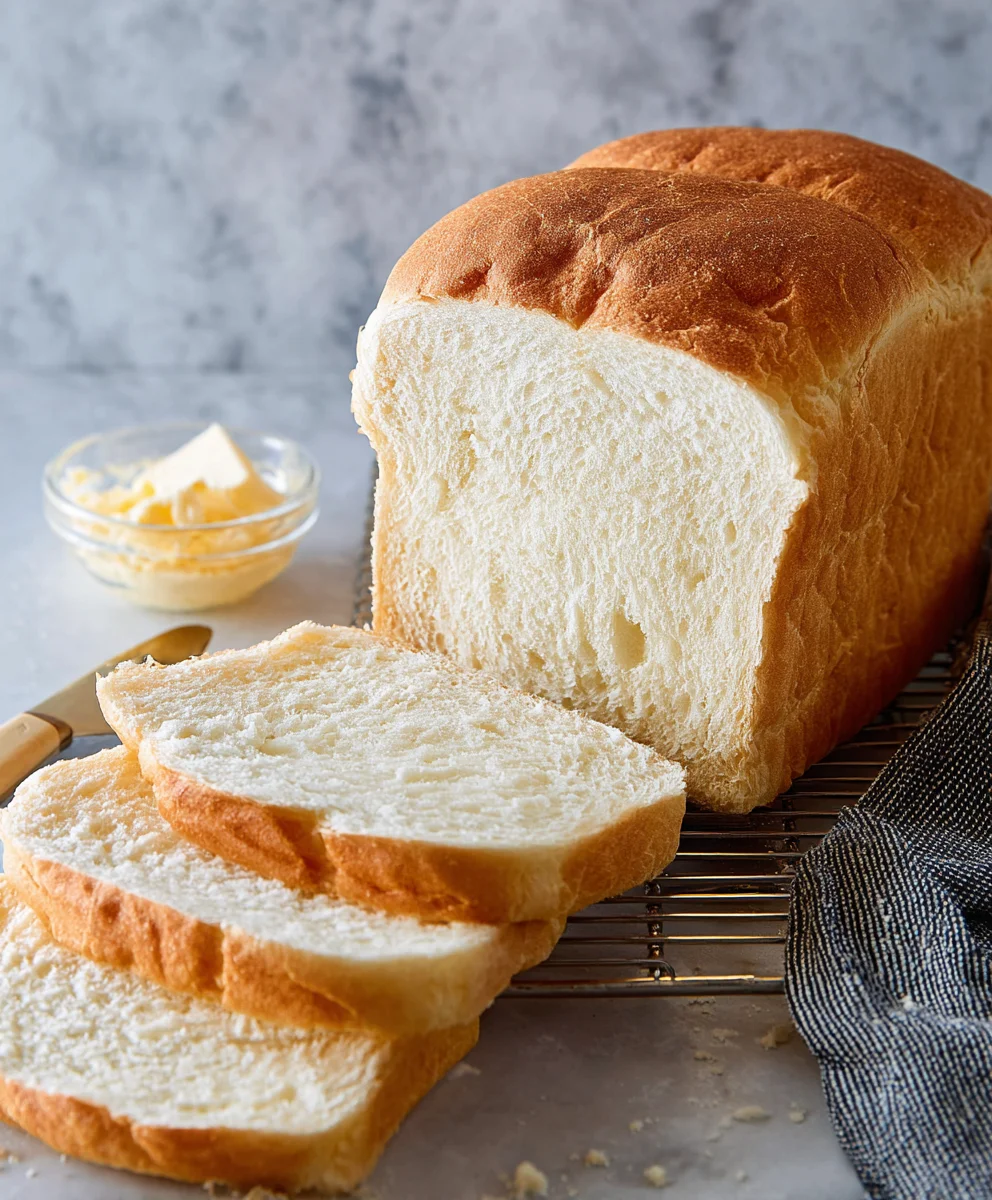
You’ve reached the end of my guide to making The Best Bread Machine Bread Recipe! I hope you’re feeling inspired and ready to bake a truly exceptional loaf. This recipe is designed for simplicity and delicious results, proving that homemade bread can be both easy and incredibly satisfying. The aroma alone is worth the effort, and the taste of a freshly baked, crusty loaf is unparalleled.
I love serving this bread warm, slathered with good quality butter or a drizzle of olive oil. It’s fantastic alongside soups and stews, as the base for amazing sandwiches, or simply enjoyed on its own with a cup of coffee. Don’t be afraid to experiment! Try adding a handful of seeds like sunflower or poppy seeds to the dry ingredients for extra texture and flavor. For a sweeter twist, a touch of honey or a sprinkle of cinnamon can transform it into a delightful breakfast bread.
The beauty of The Best Bread Machine Bread Recipe is its versatility and the joy of creating something wonderful from scratch. So go ahead, preheat your senses, and experience the magic of homemade bread. I encourage you to try it soon and share your delicious creations!
Frequently Asked Questions:
Q: Can I use different types of flour in The Best Bread Machine Bread Recipe?
A: Absolutely! While this recipe is optimized for all-purpose flour, you can experiment with bread flour for a chewier texture or even incorporate a small percentage of whole wheat flour for a nuttier flavor. Be mindful that different flours absorb liquid differently, so you might need slight adjustments to the water amount.
Q: My bread machine bread didn’t rise well. What could be the problem?
A: There are a few common culprits. Ensure your yeast is fresh and active; expired yeast won’t produce a good rise. Check that your ingredients are at room temperature, as extreme temperatures can affect yeast activity. Also, make sure you haven’t accidentally used a “fast rise” yeast if the recipe calls for regular yeast, or vice-versa, as this can alter the timing.
Best Bread Machine Bread Recipe – Easy & Delicious
An easy and delicious recipe for homemade bread using a bread machine, yielding a perfectly textured loaf.
Ingredients
-
1 ¾ cups warm water (415g)
-
2 tablespoons vegetable oil (25g)
-
1 ½ teaspoons granulated sugar (7g)
-
1 teaspoon salt (8g)
-
4 cups all-purpose bread flour (570g)
-
2 teaspoons active dry yeast (8g)
Instructions
-
Step 1
Pour the warm water, vegetable oil, and granulated sugar into the bread machine pan. Ensure the water is at the correct temperature for yeast activation. -
Step 2
Add the bread flour and salt to the pan, creating a mound of flour over the liquids. Spread the salt around the perimeter of the flour mound, not directly on top of where the yeast will go. -
Step 3
Create a small well in the center of the flour mound and gently spoon the active dry yeast into it. Ensure the yeast does not touch the liquids or salt at this stage. -
Step 4
Close the bread machine lid, select the ‘Basic’ or ‘White Bread’ cycle, and press start. Ensure a medium crust setting is chosen if available. -
Step 5
Monitor the dough during the first few minutes of kneading. Adjust with a teaspoon of warm water if too crumbly, or a tablespoon of bread flour if too sticky. Otherwise, allow the machine to complete its cycle. -
Step 6
Once the cycle is complete, carefully remove the bread pan using oven mitts. Gently shake to release the loaf onto a wire cooling rack and allow it to cool completely for at least 1-2 hours before slicing.
Important Information
Nutrition Facts (Per Serving)
It is important to consider this information as approximate and not to use it as definitive health advice.
Allergy Information
Please check ingredients for potential allergens and consult a health professional if in doubt.