Homemade Yeast Rolls From Scratch-Easy & Delicious
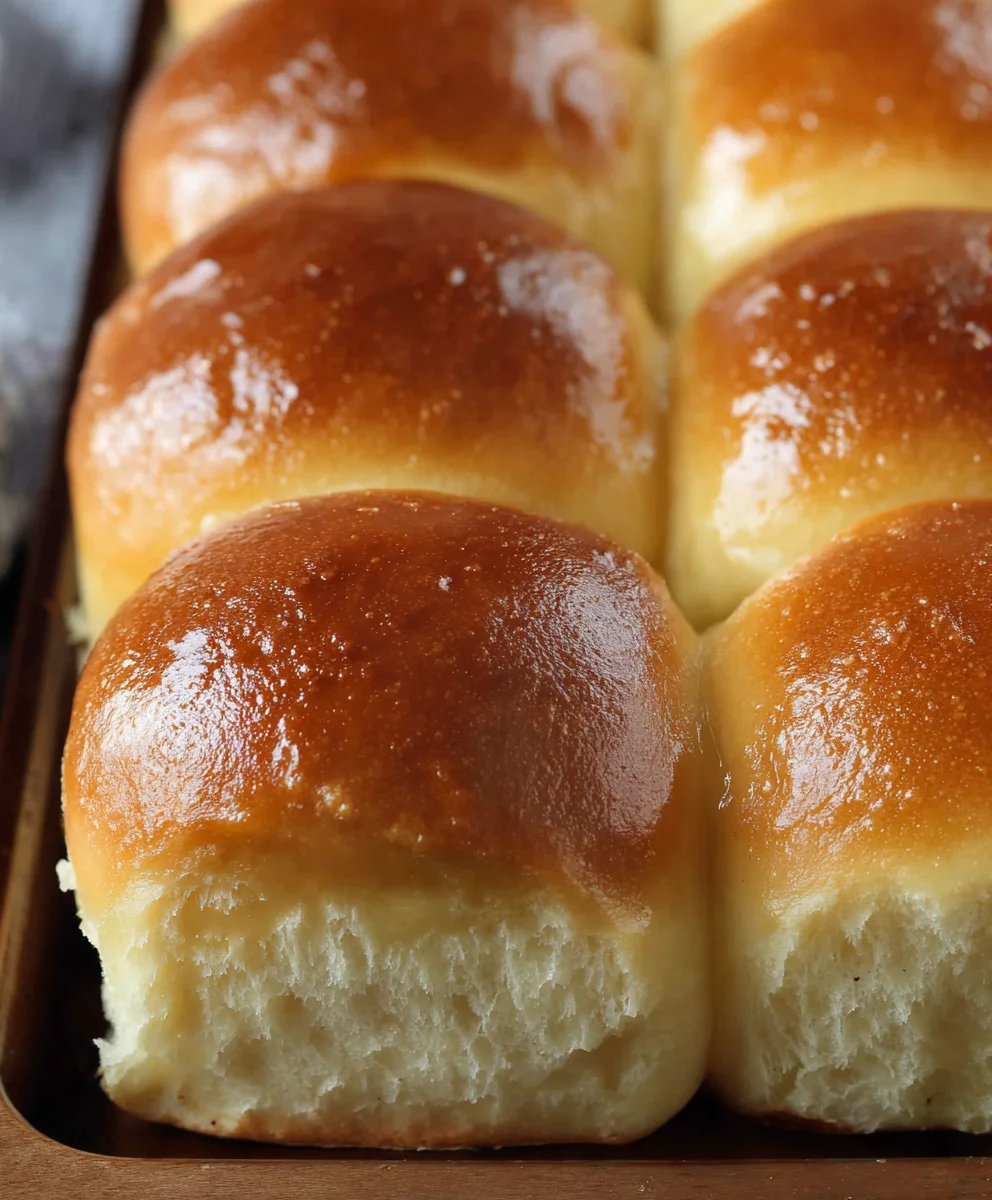
Homemade Yeast Rolls from Scratch are more than just a side dish; they are a warm hug on a plate, a testament to simple ingredients transformed into something truly magical. There’s an undeniable comfort that comes from pulling a basket of these golden, pillowy rolls straight from the oven. People absolutely adore them for their incredible softness, their slightly sweet, yeasty aroma that fills the kitchen, and that satisfying chew that perfectly complements any meal. What truly sets homemade yeast rolls from scratch apart is the unparalleled freshness and the subtle, nuanced flavor you just can’t replicate with store-bought versions. It’s the slight tang from the activated yeast, the rich creaminess from the milk, and the delicate crispness of the crust that sings praises of home baking. Imagin extracte sharing these delightful creations with loved ones, each bite a little piece of culinary bliss, knowing you’ve poured your heart and soul into making them.
Ingredients:
- 2 cups milk (480 ml)
- 2 tablespoons instant dry yeast
- ¼ cup granulated sugar (50 g)
- ⅓ cup unsalted butter, softened, plus 1 extra tablespoon butter for brushing (80 g)
- 2 large eggs, at room temperature
- 6¼ cups all-purpose flour (750 g)
- 2 teaspoons fine sea salt
Preparing the Dough
Step 1: Activating the Yeast and Warming the Milk
The foundation of any good homemade yeast roll is a well-risen dough, and that starts with happy yeast. In a large mixing bowl, gently warm your milk. You want it to be lukewarm, not hot. A good test is to dip your finger in – it should feel comfortably warm, like bathwater, around 105-115°F (40-46°C). If it’s too hot, it will kill the yeast; too cold, and it won’t activate properly. To this warm milk, sprinkle in the instant dry yeast and the granulated sugar. Give it a gentle stir just to combine. The sugar acts as food for the yeast, helping it to wake up and become active. Let this mixture sit undisturbed for about 5 to 10 minutes. You should see a foamy, bubbly layer form on the surface. This is a visual confirmation that your yeast is alive and ready to work its magic. If you don’t see any foam, your yeast might be old or the milk was the wrong temperature, and you’ll want to start over with fresh yeast.
Step 2: Incorporating Wet Ingredients and Initial Mixing
Once your yeast mixture is happily frothing, it’s time to add the remaining wet ingredients. Add the softened unsalted butter to the bowl. The butter should be soft enough that you can easily dent it with your finger but not melted. This will contribute to the richness and tender crum extractb of your rolls. Next, crack in your two large eggs. For best results, ensure your eggs are at room temperature. Cold eggs can shock the yeast and affect the dough’s texture. Give everything a good whisk or stir until the butter is mostly incorporated and the eggs are blended in. Now, it’s time to begin extract adding the flour and salt. Add about half of the all-purpose flour and the fine sea salt to the wet ingredients. The salt is crucial for flavor and also helps to control the yeast activity. Stir with a wooden spoon or a sturdy spatula until a shaggy gin extractgh begins to form. It will look a bit rough and unappealing at this stage, and that’s perfectly normal.
Step 3: Developing the Dough (Kneading)
Now comes the part where we develop the gluten, which gives our rolls their structure and elasticity. Add the remaining flour, about a cup at a time, mixing until it’s incorporated. You may not need all of the flour, or you might need a tiny bit more, depending on the humidity in your kitchen and the absorption rate of your flour. The dough should start to pull away from the sides of the bowl. Once it becomes too stiff to stir, turn the dough out onto a lightly flogin extractd surface. Begin kneading. This involves pushing the dough away from you with the heels of your hands, then folding it back over on itself and giving it a quarter turn. Continue this rhythmic motion for about 8 to 10 minutes. You’re looking for a dough that is smooth, elastic, and no longer sticky to the touch. It should bounce back slowly when you gently poke it. If the dough is too sticky, add a little more flour, a tablespoon at a time. If it feels too dry, you can dampen your hands slightly with water.
First Rise and Shaping
Step 4: First Rise (Proofing)
Lightly grease a clean large bowl with a little oil or softened butter. Place the kneaded dough into the bowl, turning it once to coat all sides with the greasing agent. This prevents the dough from drying out as it rises. Cover the bowl tightly with plastic wrap or a damp kitchen towel. Find a warm, draft-free spot for the dough to rise. This could be in a slightly warmed oven (turned off, of course!), on top of your refrigerator, or simply in a sunny spot in your kitchen. Allow the dough to rise for about 1 to 1.5 hours, or until it has doubled in size. The time it takes will depend on the warmth of your environment. You’ll know it’s ready when it looks puffy and has a significant volume increase. Gently punch down the dough to release the air bubbles. This is an important step to ensure an even texture in the final rolls.
Step 5: Shaping the Rolls
Turn the punched-down dough out onto a lightly floured surface. Gently pat or roll the dough into a rectangle, about ½ inch thick. You can either cut this rectangle into squares for traditional, slightly more rustic rolls, or you can roll it up like a jelly roll and then cut it into ½-inch thick slices for a classic swirl effect. If you’re cutting squares, aim for approximately 2-inch by 2-inch pieces. If you’re rolling and slicing, a log about 12 inches long will yield roughly 12-16 rolls. For the softest, most delicate rolls, you can also shape them into individual balls. To do this, take a portion of the dough, flatten it into a circle, then gather the edges up to the center, pinching them together to form a smooth ball. Place the shaped rolls into a greased 9×13 inch baking pan, leaving about 1 inch of space between them to allow for their second rise and to puff up as they bake. For a beautiful golden-brown finish, brush the tops of the shaped rolls with a little melted butter.
Second Rise and Baking
Step 6: Second Rise (Proofing) and Baking
Once your rolls are shaped and nestled in the baking pan, cover them loosely with plastic wrap or a clean kitchen towel. Let them rise again in a warm place for another 30 to 45 minutes, or until they are visibly puffed up and nearly touching each other. While they are in their second rise, preheat your oven to 375°F (190°C). Once the oven is preheated and the rolls have completed their second rise, it’s time to bake them. Place the pan in the preheated oven and bake for 15 to 20 minutes. You’re looking for a beautiful golden-brown color on top and a rich golden hue on the bottoms. To check for doneness, you can gently tap the top of a roll; it should sound hollow. As soon as they come out of the oven, while they are still hot, brush the tops of the rolls with the remaining 1 tablespoon of softened butter. This adds an extra layer of flavor and moisture, making them irresistibly tender and delicious. Let them cool slightly in the pan before transferring them to a wire rack, if desired, or serve them warm directly from the pan.
Conclusion:
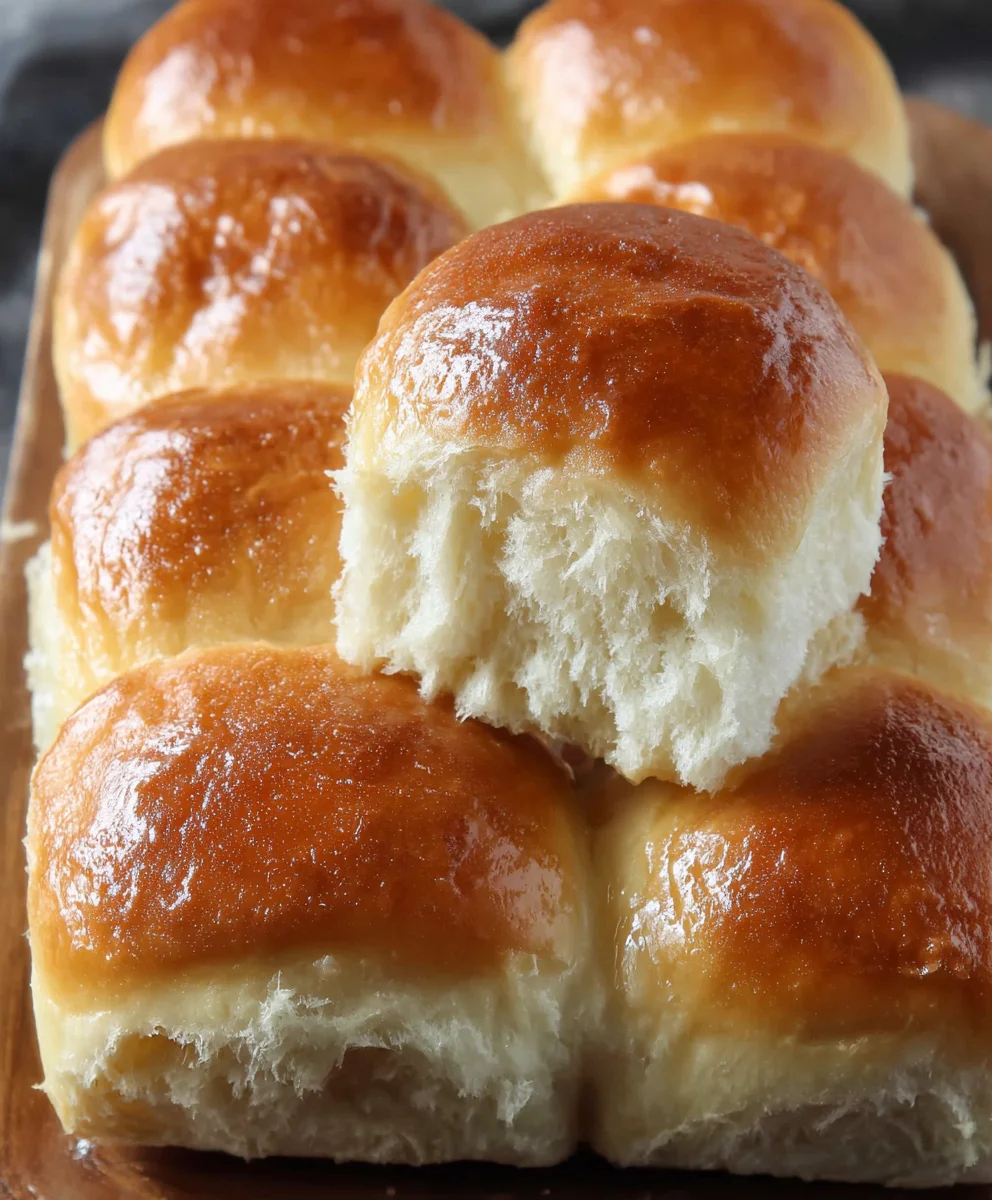
And there you have it! Your very own batch of golden, fluffy Homemade Yeast Rolls from Scratch are ready to grace your table. We’ve walked through the steps together, from activating the yeast to achieving that perfect rise and bake. These rolls are more than just a side dish; they’re a warm hug, a comforting aroma, and a testament to the joy of creating something delicious from simple ingredients. Whether you’re a seasoned baker or just starting out, I encourage you to give this recipe a try. The sense of accomplishment and the delicious result are truly rewarding.
For serving, these rolls are incredibly versatile. They’re perfect alongside hearty stews, roasted meats, or a simple bowl of soup. For a delightful twist, consider slathering them with butter and a drizzle of honey, or even using them as mini sandwich buns. Feeling adventurous? Experiment with adding herbs like rosemary or chives to the dough, or even a sprinkle of cheese before baking for a savory kick. The possibilities are endless!
Frequently Asked Questions:
Why are my Homemade Yeast Rolls not rising?
This can be due to a few common issues. Ensure your yeast is fresh and not expired. Water temperature is crucial; it should be warm (around 105-115°F or 40-46°C), not too hot, which can kill the yeast, or too cold, which won’t activate it. Also, make sure your dough is in a warm, draft-free place to rise. Sometimes, a lack of sufficient kneading can also prevent proper gluten development, hindering the rise.
Can I make Homemade Yeast Rolls from Scratch ahead of time?
Yes, you absolutely can! You can prepare the dough and let it complete its first rise, then punch it down, shape the rolls, and place them on your baking sheet. Cover them and refrigerate overnight. In the morning, let them sit at room temperature for about 30 minutes to an hour to finish rising before baking as per the recipe. They might need a slightly longer baking time when baked from cold.
Homemade Yeast Rolls From Scratch-Easy & Delicious
Learn to make incredibly soft and delicious homemade yeast rolls from scratch with this easy-to-follow recipe. Perfect for any meal!
Ingredients
-
2 cups milk
-
2 tablespoons instant dry yeast
-
1/4 cup granulated sugar
-
1/3 cup unsalted butter, softened, plus 1 extra tablespoon butter for brushing
-
2 large eggs
-
6 1/4 cups all-purpose flour
-
2 teaspoons fine sea salt
Instructions
-
Step 1
Warm milk to 105-115°F (40-46°C). Sprinkle yeast and sugar over milk. Let sit 5-10 minutes until foamy. -
Step 2
Add softened butter and room temperature eggs to the yeast mixture. Whisk to combine. Add half the flour and salt, stir until a shaggy dough forms. -
Step 3
Gradually add remaining flour, mixing until the dough pulls away from the sides. Turn onto a lightly floured surface and knead for 8-10 minutes until smooth and elastic. -
Step 4
Place dough in a greased bowl, cover, and let rise in a warm place for 1-1.5 hours, or until doubled in size. Punch down. -
Step 5
Pat or roll dough into a rectangle (about 1/2 inch thick). Cut into squares or roll up and slice. Place rolls in a greased 9×13 inch pan, leaving space between them. Brush tops with melted butter. -
Step 6
Cover rolls loosely and let rise in a warm place for 30-45 minutes until puffy. Preheat oven to 375°F (190°C). -
Step 7
Bake for 15-20 minutes, until golden brown. While hot, brush tops with the remaining 1 tablespoon of butter.
Important Information
Nutrition Facts (Per Serving)
It is important to consider this information as approximate and not to use it as definitive health advice.
Allergy Information
Please check ingredients for potential allergens and consult a health professional if in doubt.