Easy Cinnamon Sugar Pretzels – Sweet & Salty Treat
Cinnamon Sugar Pretzels are more than just a treat; they’re a warm hug in pretzel form, a delightful dance of sweet and salty that transports us back to simpler times. Think of that irresistible aroma wafting through the air, beckoning you closer. That’s the magic of a perfectly baked cinnamon sugar pretzel. We all have that nostalgic memory, don’t we? Whether it’s from a childhood trip to the fairgrounds, a cozy afternoon snack, or simply the comforting scent of home baking, these simple treats hold a special place in our hearts. What makes them so universally loved? It’s that delightful contrast – the slightly chewy, yielding interior of the pretzel, coated in a glistening, crisp shell of butter, sugar, and fragrant cinnamon. It’s the perfect balance, never too sweet, always satisfying. This recipe is designed to capture that quintessential experience, bringin extractg the joy of homemade cinnamon sugar pretzels right into your kitchen.
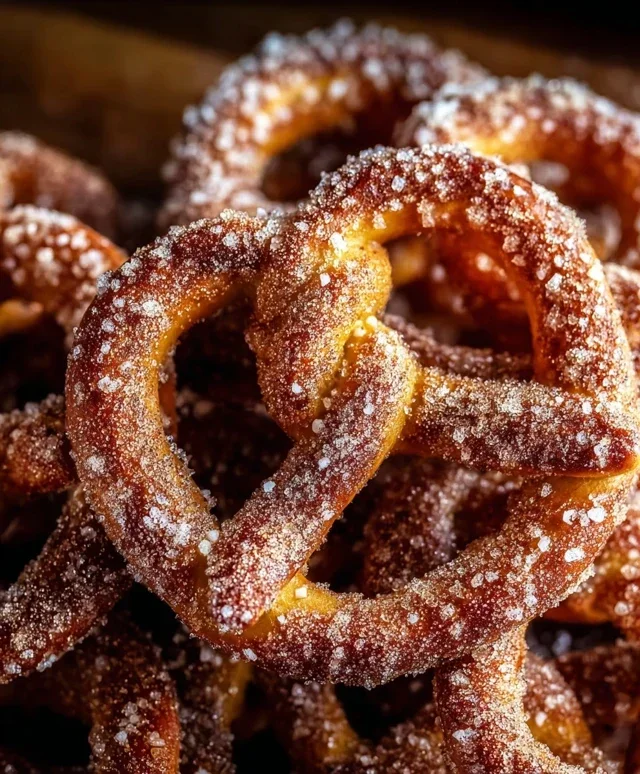
Cinnamon Sugar Pretzels: An Irresistible Sweet and Salty Treat
There are few snacks as universally loved as pretzels. Their satisfying crunch and salty bite are perfect on their own, but when you introduce them to a warm, sweet cinnamon-sugar coating, you unlock a whole new level of deliciousness. These cinnamon sugar pretzels are incredibly easy to make, requiring minimal ingredients and effort, yet they deliver a gourmet flavor experience. They’re perfect for movie nights, holiday gatherings, or simply as a delightful afternoon pick-me-up. The combination of the buttery glaze and the fragrant cinnamon sugar creates a truly addictive treat that will have everyone reaching for more. Forget those store-bought versions; homemade is always best, and this recipe proves it!
Ingredients:
Instructions:
Step 1: Prepare Your Workspace and Preheat the Oven
Before we dive into creating these delightful pretzels, it’s important to get your kitchen ready. Begin extract by preheating your oven to 300°F (150°C). This moderate temperature is crucial for allowing the cinnamon sugar coating to melt and adhere to the pretzels without burning them. Next, line a large baking sheet with parchment paper. Parchment paper is a game-changer here, as it prevents the sugary coating from sticking to your baking sheet, making cleanup a breeze and ensuring your beautiful pretzels slide right off. Give yourself plenty of space on the baking sheet; you’ll want to spread the pretzels out in a single layer. Overcrowding can lead to uneven coating and a less desirable texture, so err on the side of caution and use two baking sheets if necessary.
Step 2: Create the Buttery Glaze
In a medium-sized bowl, combine the melted unsalted butter and the vanilla extract. Whisk these together until they are well incorporated. The butter acts as the adhesive for our delicious cinnamon sugar, and the vanilla extract adds a subtle depth of flavor that complements the sweetness beautifully. Don’t be tempted to skip the vanilla; it really elevates the overall taste profile. Make sure your butter is fully melted but not boiling hot, as you’ll be mixing this with the pretzels.
Step 3: Coat the Pretzels
Now for the fun part! Add the entire bag of mini pretzels directly into the bowl with the butter and vanilla mixture. Using a large spoon or spatula, gently toss the pretzels until they are evenly coated with the buttery glaze. The goal here is to ensure every single pretzel gets a nice, thin layer of the liquid. Don’t worry if some are more coated than others at this stage; we’ll refine that in the next step. Gently working them around will help distribute the butter evenly.
Step 4: Mix the Cinnamon Sugar Topping
In a separate, shallow bowl or a pie plate, combine the granulated sugar and the ground cinnamon. Stir these together thoroughly with a whisk or a fork until you achieve a uniform color and the cinnamon is evenly distributed throughout the sugar. This mixture is where all the magic happens in terms of flavor. The ratio of sugar to cinnamon is key for that classic sweet and spicy profile. Taste a tiny pinch if you’re curious – it should be fragrant and sweet.
Step 5: Toss for the Perfect Coating
Once the pretzels are well coated in the butter mixture, it’s time to give them their signature cinnamon sugar finish. Add the butter-coated pretzels to the bowl containing the cinnamon sugar mixture. Now, using a spoon or your hands (which can often be more effective for this step, just be prepared for a little stickiness!), gently toss and roll the pretzels in the cinnamon sugar until they are completely covered. You want each pretzel to have a generous, even dusting of the spice blend. Continue tossing until all the butter is absorbed by the sugar and the pretzels are shimmering with their new coating. This step might take a few minutes of patient tossing to get them just right.
Step 6: Bake to Perfection
Carefully transfer the coated pretzels from the bowl onto your prepared baking sheet, spreading them out into a single layer. Again, avoid overcrowding. Place the baking sheet in your preheated oven. Bake for 10 to 12 minutes, or until the cinnamon sugar coating looks slightly melty and the pretzels are fragrant and lightly toasted. During the baking process, it’s a good idea to stir the pretzels halfway through, around the 5-6 minute mark. This stirring helps to ensure even toasting and prevents any one side from getting too brown or burnt. Keep a close eye on them in the last few minutes, as the sugar can burn quickly.
Step 7: Cool and Enjoy
Once the pretzels have reached their golden perfection, carefully remove the baking sheet from the oven. Let the pretzels cool on the baking sheet for about 5 to 10 minutes. During this time, the cinnamon sugar coating will firm up slightly. After this initial cooling period, transfer the pretzels to a wire rack to cool completely. Resist the urge to try them immediately; while tempting, allowing them to cool fully will result in the best texture and prevent them from sticking together in clumps. Once completely cool, they are ready to be devoured! Store any leftovers in an airtight container at room temperature for up to a week. You’ll find these irresistible cinnamon sugar pretzels are perfect for sharing – or not!
Conclusion:
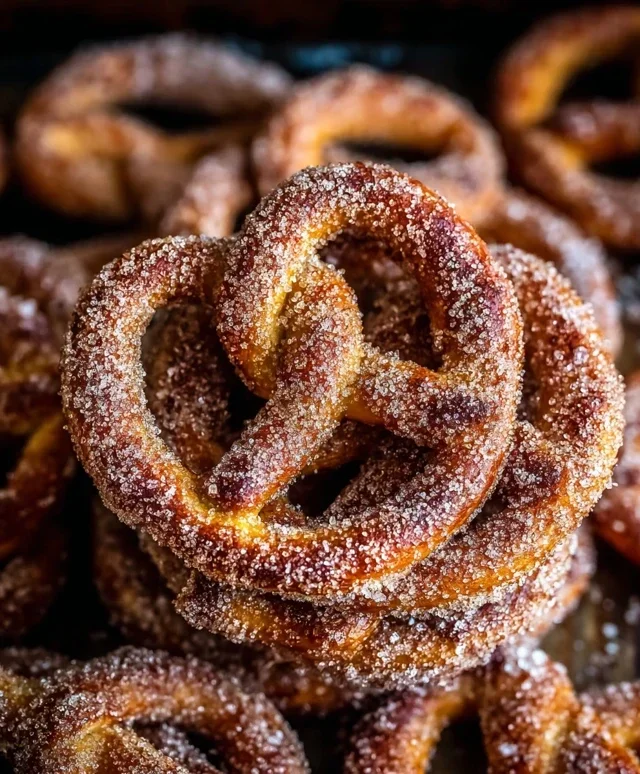
And there you have it! These cinnamon sugar pretzels are an absolute triumph – simple enough for a weeknight treat but delightful enough for any special occasion. Their irresistible aroma as they bake, the satisfying crunch followed by a soft, chewy interior, and that perfectly balanced sweet and spicy flavor make them a truly crowd-pleasing snack. I find them incredibly addictive, and I’m sure you will too!
These delightful cinnamon sugar pretzels are wonderfully versatile. Serve them warm for an extra gooey cinnamon coating, or let them cool completely for a crispier texture. They are perfect alongside a cup of coffee or tea, or as a fun addition to a dessert platter. Imagin extracte them alongside some fresh fruit or a scoop of ice cream for a truly indulgent experience. For a touch of decadence, consider drizzling them with a simple chocolate glaze after they’ve cooled.
Don’t be afraid to experiment with variations! You can add a pinch of nutmeg or cardamom to the cinnamon sugar mixture for a more complex spice profile, or even incorporate a bit of finely chopped nuts like pecans for added texture and flavor. If you prefer a less sweet pretzel, simply reduce the sugar slightly. The beauty of this recipe is its adaptability!
I truly encourage you to give these cinnamon sugar pretzels a try. They are a testament to how delicious homemade treats can be, and the satisfaction of creating them from scratch is immense. Happy baking!
Frequently Asked Questions about Cinnamon Sugar Pretzels:
Q1: How should I store these cinnamon sugar pretzels?
For the best texture, store cooled cinnamon sugar pretzels in an airtight container at room temperature for up to 3-4 days. If you prefer them slightly softer, you can add a slice of bread to the container to help maintain moisture. Avoid refrigerating them, as this can make them tough.
Q2: Can I make the dough for these pretzels ahead of time?
Absolutely! You can prepare the pretzel dough and refrigerate it overnight. Allow it to come to room temperature for about 30 minutes before shaping and baking for optimal results. This makes them even more convenient for a last-minute snack or when entertaining.
Q3: My pretzels aren’t very chewy, what did I do wrong?
Several factors can influence chegrape juicess. Ensure you are not over-baking them; they should still be slightly soft in the center when removed from the oven. Also, the type of flour used can play a role, with bread flour generally yielding a chewier result than all-purpose flour. Ensure your yeast is active for proper dough rise, contributing to a better texture.
Cinnamon Sugar Pretzels
Easy homemade cinnamon sugar pretzels with a buttery, sweet coating.
Ingredients
-
1 bag mini pretzels (16 oz)
-
10 tbsp unsalted butter, melted
-
1 tsp vanilla extract
-
⅔ cup granulated sugar
-
2 tbsp ground cinnamon
Instructions
-
Step 1
Preheat oven to 300°F (150°C). -
Step 2
In a large bowl, combine the melted butter and vanilla extract. -
Step 3
Add the mini pretzels to the butter mixture and toss to coat evenly. -
Step 4
In a separate small bowl, whisk together the granulated sugar and ground cinnamon. -
Step 5
Sprinkle the cinnamon sugar mixture over the coated pretzels and toss again until well combined. -
Step 6
Spread the coated pretzels in a single layer on a baking sheet lined with parchment paper. -
Step 7
Bake for 10-15 minutes, stirring halfway through, until lightly toasted and fragrant. -
Step 8
Let cool completely on the baking sheet before serving or storing.
Important Information
Nutrition Facts (Per Serving)
It is important to consider this information as approximate and not to use it as definitive health advice.
Allergy Information
Please check ingredients for potential allergens and consult a health professional if in doubt.