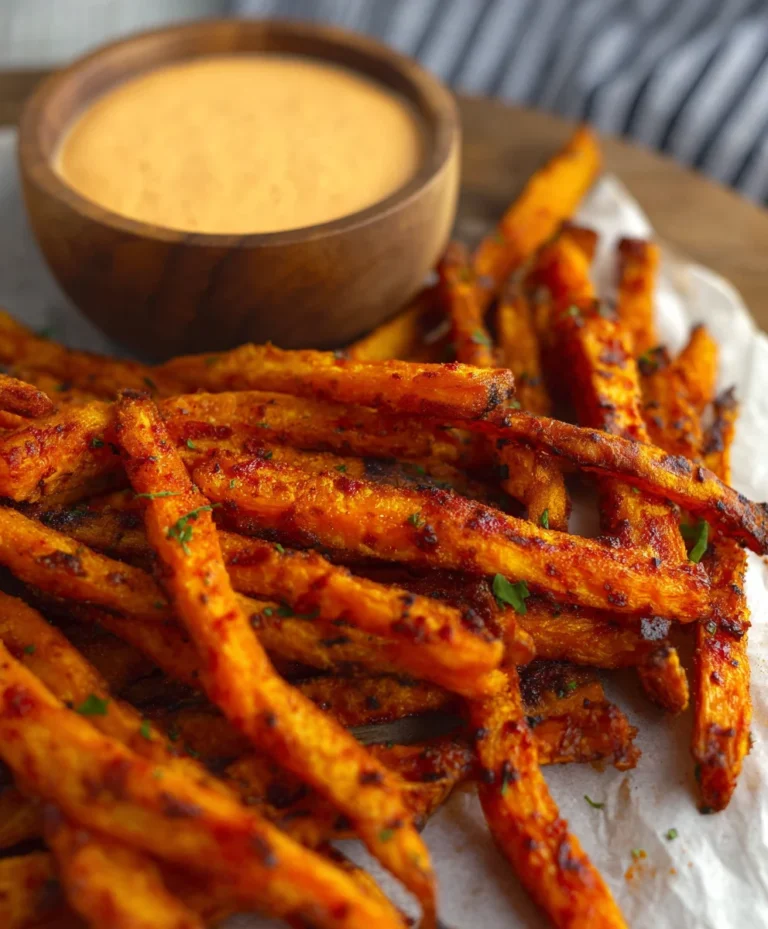
Easy Homemade Aioli Recipe – Creamy Garlic Mayo
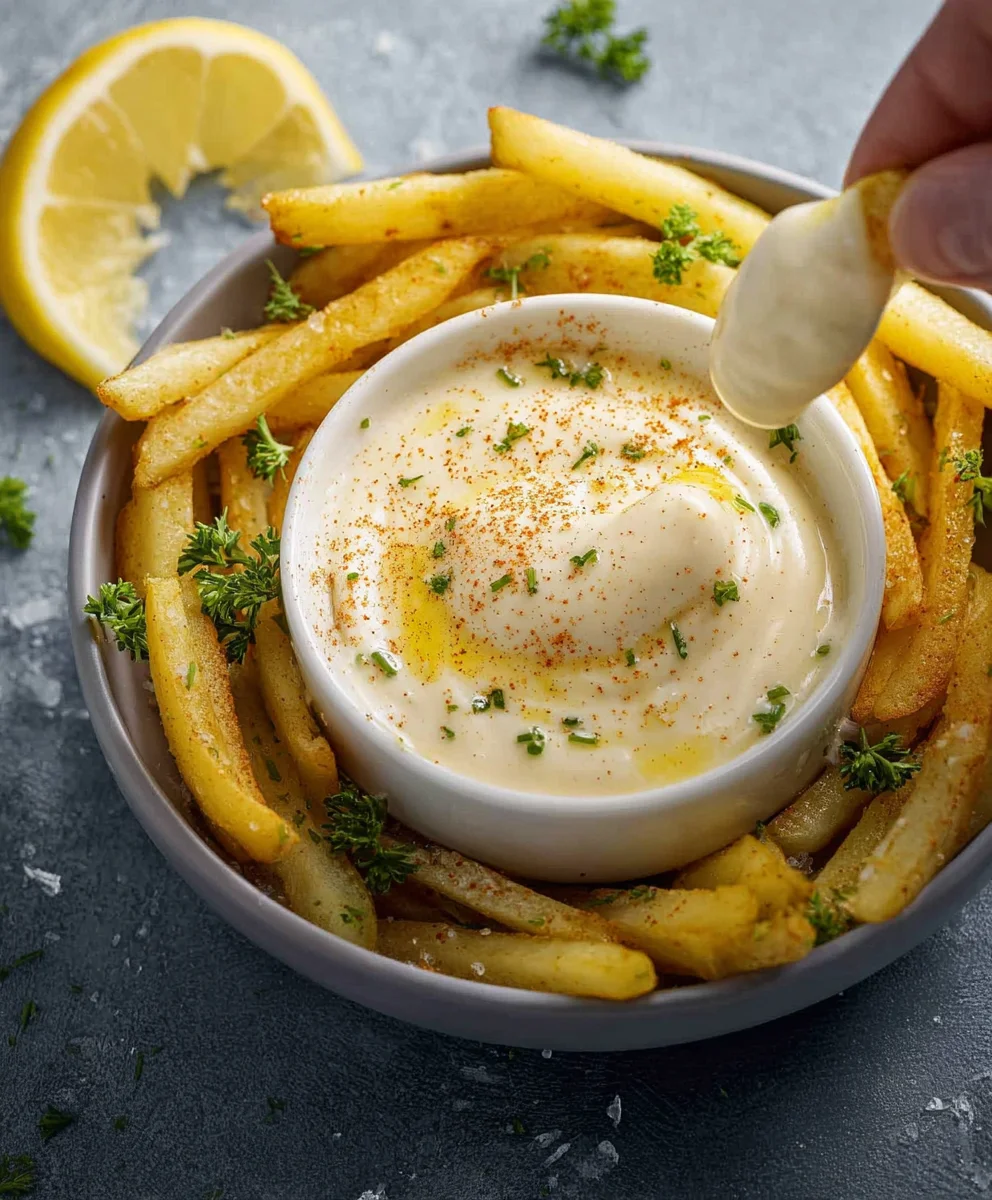
Aioli Recipe: Get ready to elevate your culinary game with the ultimate guide to crafting the perfect Aioli Recipe. This isn’t just any sauce; it’s a flavor explosion waiting to happen, a creamy, garlicky masterpiece that transforms the ordinary into the extraordinary. People absolutely adore aioli for its incredible versatility and its ability to imbue even the simplest dishes with a luxurious, homemade touch. Imagin extracte dipping golden-brown fries, crispy roasted vegetables, or tender grilled seafood into a dollop of this vibrant, emulsified goodness. What truly makes this Aioli Recipe special is its inherent simplicity, allowing the punchy, pungent flavor of fresh garlic to shine while maintaining a silky smooth texture that’s utterly irresistible. We’ll be diving into the secrets of achieving that perfect consistency, ensuring your homemade aioli is a crowd-pleaser every single time.
Ingredients:
- 1 cup mayonnaise
- 3 tablespoons lemon juice
- ½ teaspoon black pepper
- 3 tablespoons garlic, minced
- 1 teaspoon fresh parsley, finely chopped
- 3 tablespoons ketchup
Getting Started: Preparing Your Flavors
This Aioli Recipe is incredibly straightforward, relying on a few key ingredients to create a punchy, versatile condiment. Before we dive into the mixing, let’s ensure everything is prepped and ready to go. The quality of your ingredients will directly impact the final taste, so a good quality mayonnaise is your starting point. For the garlic, it’s crucial to mince it very finely. You can do this with a sharp knife or use a garlic press. The goal is to distribute the garlic flavor evenly throughout the aioli, and larger chunks can create an overpowering bite. Fresh parsley adds a lovely herbaceous freshness that cuts through the richness, so make sure it’s chopped finely – think small, confetti-like pieces. The lemon juice, when fresh, provides a bright acidity that balances the creaminess of the mayonnaise.
Phase 1: Building the Base
The foundation of this aioli is, of course, the mayonnaise. In a medium-sized bowl, add your 1 cup of mayonnaise. This is where all the magic will happen, so choose a bowl that’s comfortable to stir in. Don’t be tempted to use a fat-free or low-fat mayonnaise if you want the richest flavor and creamiest texture, although you can experiment if you prefer.
Phase 2: Infusing the Aromatics and Acidity
Next, we introduce the star of the show – the garlic. Carefully add your 3 tablespoons of finely minced garlic to the mayonnaise. The more garlic you use, the more pronounced its flavor will be, so feel free to adjust this slightly to your personal preference, but stick to the recommended amount for the classic taste. Follow this by pouring in the 3 tablespoons of fresh lemon juice. This tang is essential for cutting through the richness and preventing the aioli from feeling too heavy. Stir these ingredients together gently but thoroughly. You want to see the garlic and lemon juice fully incorporated into the mayonnaise. A whisk works wonderfully here to ensure everything is smoothly combined.
Phase 3: Adding Depth and Color
Now it’s time to add the elements that will give our aioli its distinctive character and a touch of complexity. Sprinkle in the ½ teaspoon of black pepper. Freshly ground pepper will always offer a superior flavor to pre-ground pepper, so if you have a pepper grinder, now’s the time to use it. The pepper adds a subtle warmth and a hint of spice that complements the garlic beautifully. After the pepper, add the 3 tablespoons of ketchup. Yes, ketchup! This might seem unusual in a traditional aioli, but it adds a touch of sweetness, a slight tang, and a beautiful rosy hue that makes this version incredibly appealing and versatile. Stir again, ensuring the ketchup is fully blended into the mixture. You’ll notice the color transforming into a delightful pnon-alcoholic ale pink or orangey shade.
Phase 4: The Final Touch of Freshness
For the final flourish, add the 1 teaspoon of fresh parsley, finely chopped. This is your last chance to introduce that vibrant, fresh flavor. Stir it in gently, distributing the green flecks throughout the aioli. The parsley not only adds taste but also visual appeal, making your aioli look as good as it tastes. Give everything one last good stir to make sure all the ingredients are evenly distributed. Taste a small amount – this is your moment to assess if you want to tweak anything. Perhaps a touch more lemon juice for extra brightness, or a pinch more pepper for a bolder kick.
Phase 5: Resting and Serving
Once everything is mixed to your satisfaction, cover the bowl with plastic wrap or transfer the aioli to an airtight container. For the best flavor, it’s highly recommended to let the aioli rest in the refrigerator for at least 30 minutes, or even better, for a couple of hours. This resting period allows the flavors to meld and deepen. The garlic’s potency will mellow slightly and integrate more harmoniously with the other ingredients. This resting stage is crucial for achieving that well-rounded, delicious aioli taste. When you’re ready to serve, give it another quick stir. This aioli is incredibly versatile. It’s a fantastic dipping sauce for fries, roasted vegetables, or chicken tenders. It also makes a superb sandwich spread, adding a gourmet touch to your everyday lunch. You can even use it as a base for other sauces or dressings. Enjoy the vibrant taste of your homemade aioli!
Conclusion:
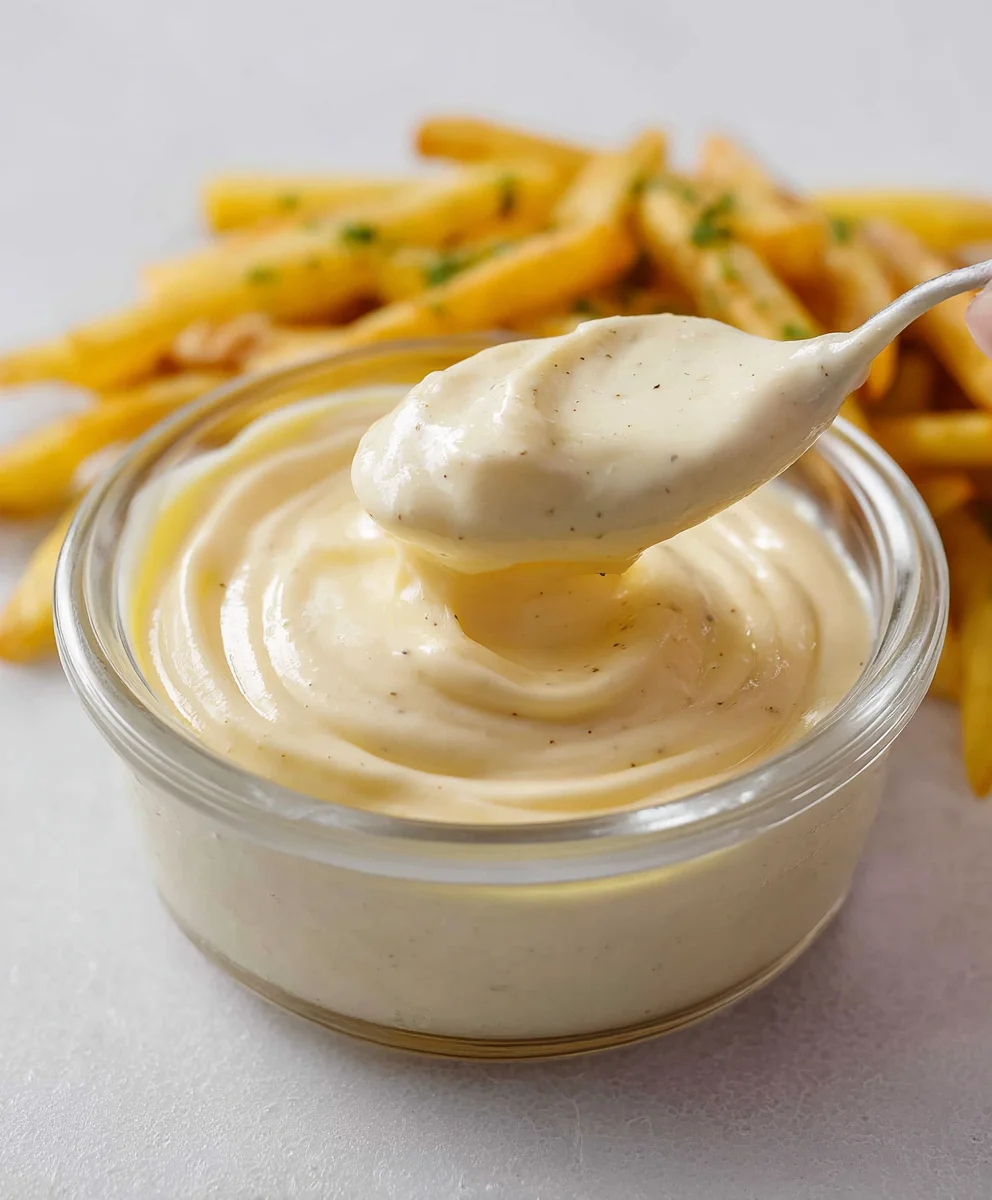
And there you have it – a simple yet incredibly satisfying Aioli Recipe that will elevate your meals! This creamy, garlicky condiment is a game-changer for everything from roasted vegetables to grilled meats and even as a dip for fries. Don’t be intimidated by making your own aioli; with these clear steps, you’ll be whipping it up like a pro in no time. Experiment with the garlic intensity to find your perfect balance, and remember, fresh ingredients truly make all the difference in this vibrant Aioli Recipe. Get ready to impress your friends and family with this versatile staple!
Serving Suggestions: This aioli is fantastic as a dip for french fries, onion rings, or roasted potatoes. It’s also a wonderful accompaniment to grilled fish, chicken, or burgers. Try spreading it on sandwiches or wraps for an extra layer of flavor.
Variations: For a spicy kick, add a pinch of cayenne pepper or a dash of hot sauce. A squeeze of lemon juice can add brightness, while fresh herbs like parsley or chives can introduce a different dimension. You can also experiment with different types of garlic for subtle flavor variations.
Frequently Asked Questions about the Aioli Recipe:
Q: My aioli is too thin. What can I do?
A: If your aioli is too thin, the most common reason is that the oil was added too quickly. To thicken it, you can try slowly whisking in a small amount of additional oil (like you did initially) or incorporate a tiny bit of finely grated Parmesan cheese, which will act as a binder.
Q: Can I make this Aioli Recipe ahead of time?
A: Yes, absolutely! This Aioli Recipe can be made up to 3-4 days in advance. Store it in an airtight container in the refrigerator. The flavors will actually meld and deepen over time, making it even more delicious!
Easy Homemade Aioli Recipe – Creamy Garlic Mayo
A simple and delicious homemade aioli recipe that’s creamy, garlicky, and incredibly versatile.
Ingredients
-
1 cup mayonnaise
-
3 tablespoons lemon juice
-
½ teaspoon black pepper
-
3 tablespoons garlic, minced
-
1 teaspoon fresh parsley, finely chopped
-
3 tablespoons ketchup
Instructions
-
Step 1
In a medium-sized bowl, add 1 cup of mayonnaise. Ensure you have a good quality mayonnaise for the best flavor and texture. -
Step 2
Add 3 tablespoons of finely minced garlic and 3 tablespoons of fresh lemon juice to the mayonnaise. Stir gently but thoroughly with a whisk until fully incorporated. -
Step 3
Sprinkle in ½ teaspoon of black pepper and add 3 tablespoons of ketchup. Stir again until the ketchup is fully blended, creating a delightful pink or orangey hue. -
Step 4
Add 1 teaspoon of fresh parsley, finely chopped, for a final touch of freshness and visual appeal. Stir gently to distribute. -
Step 5
Cover the bowl and refrigerate for at least 30 minutes, or preferably a couple of hours, to allow the flavors to meld and deepen. Give it a quick stir before serving.
Important Information
Nutrition Facts (Per Serving)
It is important to consider this information as approximate and not to use it as definitive health advice.
Allergy Information
Please check ingredients for potential allergens and consult a health professional if in doubt.