Milky Way Fudge- Decadent Candy Recipe
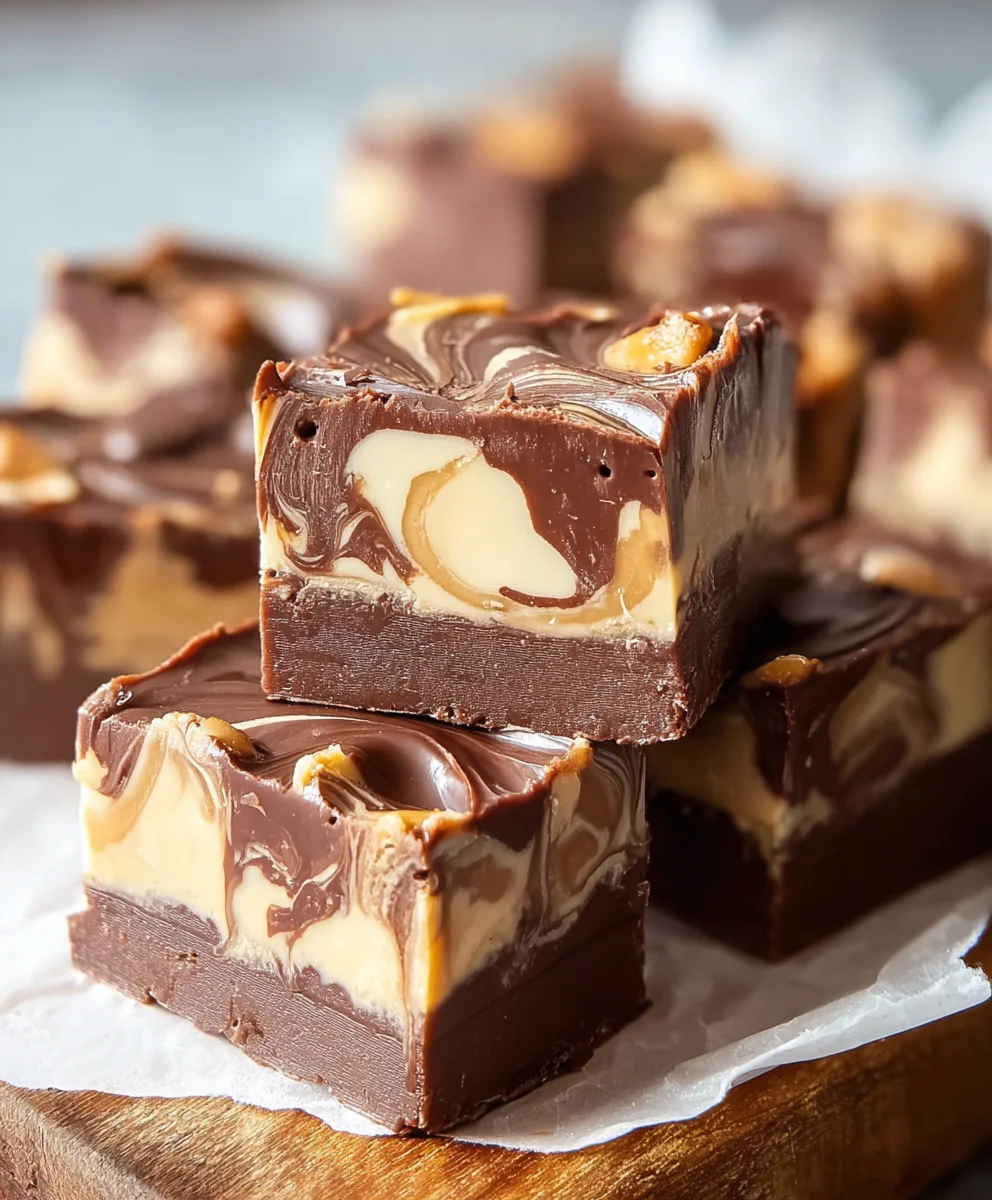
Milky Way Fudge is a celestial treat that transports your taste buds straight to the cosmos! Have you ever craved a dessert that’s both decadent and surprisingly easy to whip up? This iconic confection delivers just that, offering a delightful combination of rich chocolate, chewy nougat, and creamy caramel. It’s no wonder why Milky Way Fudge holds such a special place in the hearts (and pantries!) of so many. What truly sets this fudge apart is its ability to capture the essence of the beloved candy bar in a perfectly portioned, melt-in-your-mouth bite. Each piece is a miniature galaxy of flavor, with swirls of caramel and chunks of nougat suspended in a velvety chocolate base. Get ready to create a batch that will have everyone reaching for more, all without needing any fancy equipment or culinary degrees.
Ingredients:
- 3 cups (18 oz) semi-sweet chocolate chips
- 1 (14 oz) can sweetened condensed milk
- ¼ cup unsalted butter
- 1 teaspoon vanilla extract
- 4 regular Milky Way bars, chopped into small pieces
- ¼ cup caramel sauce (optional, for drizzling)
Getting Started: Preparation is Key
Step 1: Prepare Your Pan and Ingredients
Before you even think about melting chocolate, get your workspace ready. This ensures a smooth and stress-free fudge-making experience. Line an 8×8 inch baking pan with parchment paper, leaving some overhang on the sides. This will make lifting the finished fudge out of the pan a breeze. Trust me, this is a game-changer for cleanup and for getting perfectly portioned pieces. Next, take your 4 regular Milky Way bars and chop them into small, bite-sized pieces. Aim for pieces that are roughly ¼ to ½ inch in size. This ensures they’ll melt nicely into the fudge and provide delicious pockets of caramel and nougat throughout. Set these chopped bars aside. Measure out your semi-sweet chocolate chips and have your sweetened condensed milk and butter ready to go. Having everything prepped and within reach is crucial for working with melted chocolate, which can seize up if you’re not efficient.
The Melting Process: Creating the Fudge Base
Step 2: Gentle Melting of Chocolate and Butter
Now comes the melting. In a medium, heavy-bottomed saucepan, combine the 3 cups of semi-sweet chocolate chips and the ¼ cup of unsalted butter. Place this saucepan over very low heat. This is where patience is your best friend. You don’t want to rush this step, as high heat can scorch the chocolate and give your fudge an unpleasant gritty texture. Stir frequently with a rubber spatula or wooden spoon. You’re looking for the butter to melt and the chocolate chips to begin extract softening and melting. Continue stirring gently, allowing the residual heat to do most of the work. The goal is to achieve a smooth, glossy, and completely melted chocolate mixture. Don’t be tempted to turn up the heat if it seems slow; a few extra minutes of gentle melting will yield a far superior fudge.
Step 3: Incorporating the Sweetened Condensed Milk
Once your chocolate and butter are completely melted and beautifully smooth, it’s time to introduce the sweetened condensed milk. Gradually pour in the entire 14 oz can of sweetened condensed milk. Continue to stir constantly over low heat. This is where the magic really starts to happen, transforming the melted chocolate into a thick, rich fudge base. Keep stirring until the mixture is thoroughly combined and starts to thicken noticeably. You’ll see the mixture become glossy and a bit more substantial. Continue cooking and stirring for about 2 to 3 minutes after the condensed milk has been fully incorporated. This brief cooking period helps to evaporate some of the moisture, leading to a chewier, more stable fudge. Don’t overcook, as this can make the fudge too hard.
Adding the Stars: Milky Way Magic
Step 4: Folding in the Vanilla and Milky Way Chunks
Remove the saucepan from the heat. Now it’s time to add the flavor and texture enhancers! Stir in the 1 teaspoon of vanilla extract. Vanilla extract is a wonderful flavor booster that complements the chocolate and caramel beautifully. Make sure to stir it in until it’s fully incorporated. Next, gently fold in the chopped Milky Way bar pieces. You want to distribute them evenly throughout the fudge mixture. Be gentle here; you’re not trying to completely melt the Milky Way chunks, but rather to incorporate them so that each bite has a delightful surprise of gooey caramel, chewy nougat, and rich chocolate. The residual heat from the fudge mixture will soften them slightly, making them perfectly gooey.
Finishing Touches and Setting
Step 5: Pouring and Setting the Fudge
Carefully pour the warm fudge mixture into your prepared, parchment-lined 8×8 inch baking pan. Use your spatula to spread the fudge evenly into the corners and across the surface. Try to get it as smooth as possible, though the chunks of Milky Way might create some lovely texture variations. If you’re using the optional caramel sauce for drizzling, now is the time to do it. Drizzle the caramel sauce decoratively over the top of the fudge. You can use a spoon or a piping bag for this. You can even gently swirl it in with a toothpick for a marbled effect if you like! Let the fudge sit at room temperature for about 30 minutgin extractto begin setting before placing it in the refrigerator.
Step 6: Chilling and Cutting Your Milky Way Masterpiece
Once the fudge has sat at room temperature for about 30 minutes and has started to firm up slightly, it’s time for the refrigerator. Place the pan in the refrigerator and chill for at least 2 to 3 hours, or until the fudge is completely firm. The longer it chills, the easier it will be to cut cleanly. Once the fudge is thoroughly chilled and firm, use the parchment paper overhang to lift the entire slab out of the pan onto a cutting board. Use a sharp knife to cut the fudge into your desired squares. For the cleanest cuts, you might want to run your knife under hot water and wipe it dry between cuts. Enjoy your homemade Milky Way Fudge!
Conclusion:
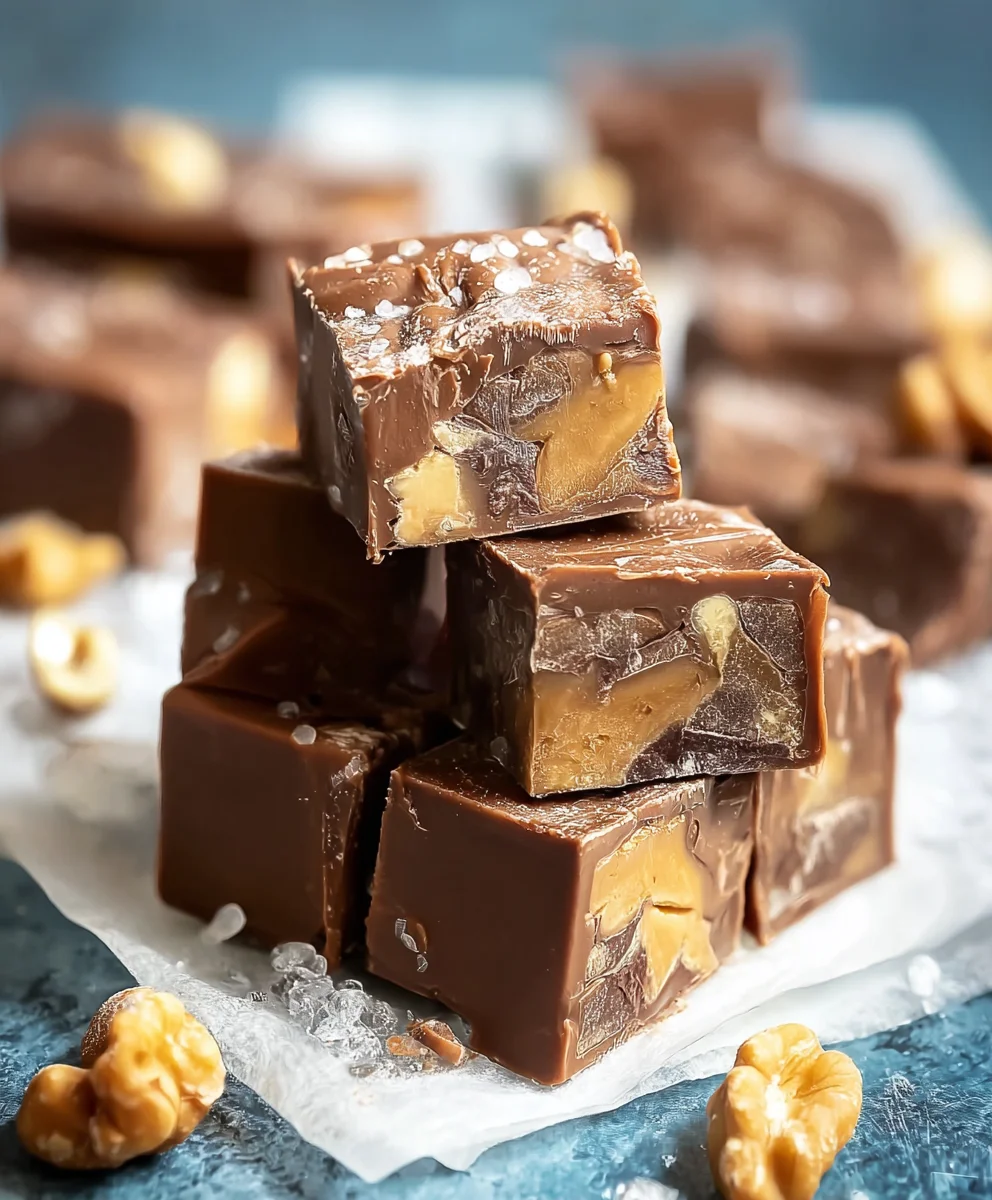
And there you have it – your very own homemade Milky Way Fudge! We hope you’ve enjoyed this delicious journey, and that your kitchen is now filled with the irresistible aroma of chocolate, caramel, and nougat. This recipe is a fantastic way to impress guests, create a thoughtful homemade gift, or simply treat yourself to something truly special. Its rich, decadent flavor profile makes it a guaranteed crowd-pleaser. Don’t be afraid to get creative!
For serving, a small square is usually enough to satisfy that sweet craving, and it pairs wonderfully with a glass of milk, a cup of coffee, or even a scoop of vanilla ice cream for an extra indulgent dessert experience. You can also chop it up and sprinkle it over ice cream sundaes or use it as a topping for brownies.
When it comes to variations, the possibilities are endless! Consider adding a sprinkle of sea salt on top for a sweet and salty kick, or folding in some chopped peanuts for added crunch. You could also experiment with different types of chocolate, like dark or white chocolate, for a unique twist on the classic Milky Way Fudge. We encourage you to embrace the fun and make this recipe your own!
Frequently Asked Questions:
Q1: How should I store my Milky Way Fudge?
Once your Milky Way Fudge has set completely, store it in an airtight container at room temperature. It should stay fresh for about a week. If your kitchen is particularly warm, you might consider storing it in the refrigerator to prevent it from becoming too soft, though be aware that refrigeration can sometimes affect the texture, making it a bit firmer.
Q2: Can I make this fudge dairy-free?
While this specific recipe is designed with traditional dairy ingredients for that classic Milky Way flavor, you can certainly experiment with dairy-free alternatives. For the condensed milk, try using a good quality vegan condensed milk made from coconut or soy. For the chocolate, opt for dairy-free chocolate chips. The texture might vary slightly, but it’s definitely worth a try if you have dietary restrictions!
Milky Way Fudge
A decadent homemade fudge recipe featuring the classic flavors of Milky Way bars, semi-sweet chocolate, and creamy condensed milk.
Ingredients
-
3 cups (18 oz) semi-sweet chocolate chips
-
1 (14 oz) can sweetened condensed milk
-
1/4 cup unsalted butter
-
1 teaspoon vanilla extract
-
4 regular Milky Way bars, chopped into small pieces
-
1/4 cup caramel sauce (optional, for drizzling)
Instructions
-
Step 1
Line an 8×8 inch baking pan with parchment paper, leaving overhang. Chop 4 regular Milky Way bars into small pieces (approx. 1/4 to 1/2 inch). Measure out other ingredients. -
Step 2
In a medium, heavy-bottomed saucepan over very low heat, combine 3 cups semi-sweet chocolate chips and 1/4 cup unsalted butter. Stir frequently until smooth and completely melted, avoiding high heat. -
Step 3
Gradually pour in the 14 oz can of sweetened condensed milk while stirring constantly over low heat. Continue stirring until the mixture is thoroughly combined, thickens noticeably, and becomes glossy. Cook for 2-3 minutes. -
Step 4
Remove the saucepan from heat. Stir in 1 teaspoon of vanilla extract until fully incorporated. Gently fold in the chopped Milky Way bar pieces, distributing them evenly. -
Step 5
Pour the fudge mixture into the prepared pan and spread evenly. If using, drizzle 1/4 cup caramel sauce decoratively over the top and swirl gently. -
Step 6
Let the fudge sit at room temperature for about 30 minutes to begin setting, then refrigerate for at least 2-3 hours, or until completely firm. Lift fudge from the pan using parchment paper, cut into squares with a sharp knife.
Important Information
Nutrition Facts (Per Serving)
It is important to consider this information as approximate and not to use it as definitive health advice.
Allergy Information
Please check ingredients for potential allergens and consult a health professional if in doubt.