Piping Basketball Cookies – Fun & Easy Recipe
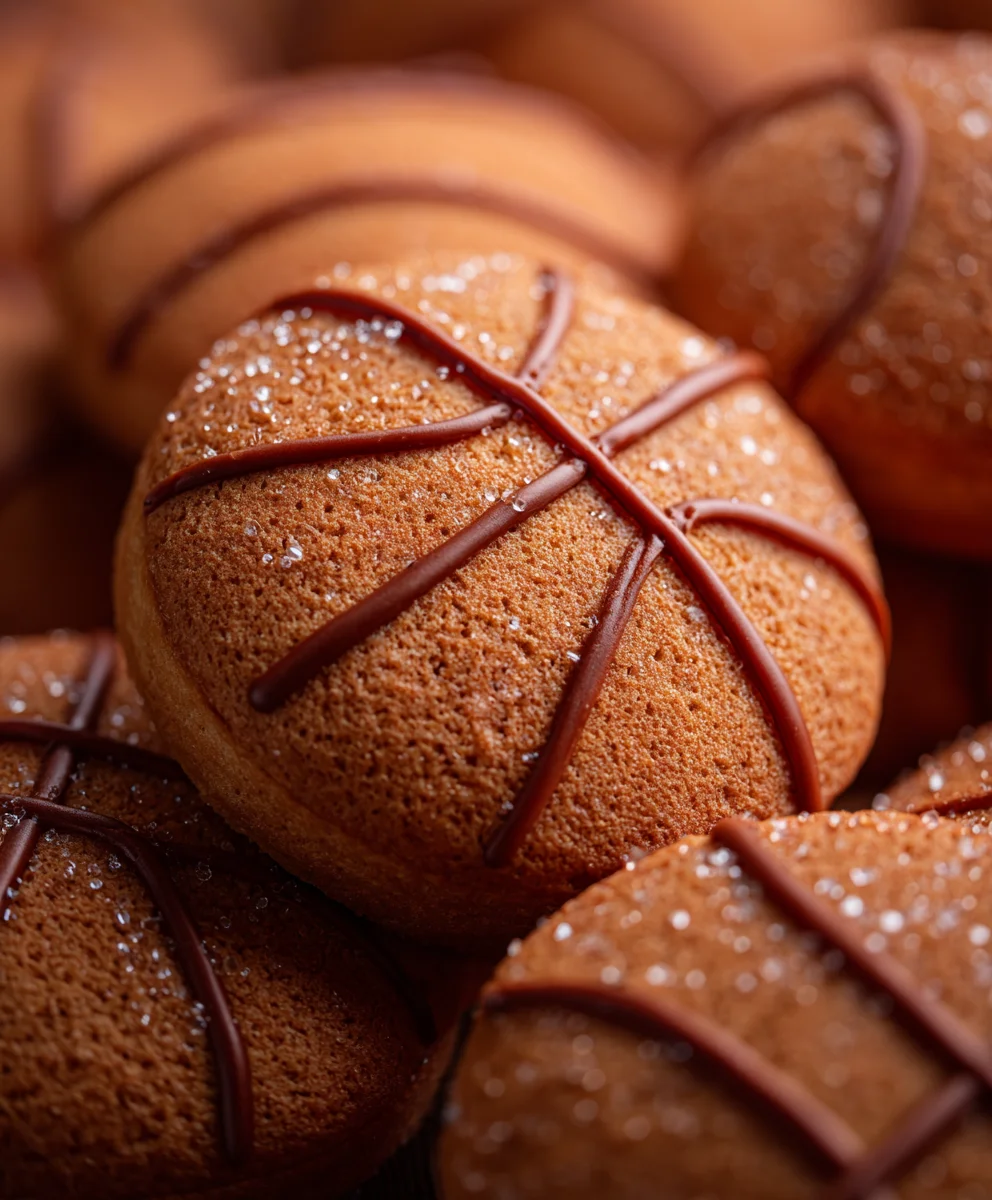
Piping basketball cookies are more than just a sweet treat; they’re a slam dunk for any sports fan’s palate! Imagin extracte the thrill of game night, the cheering crowds, and the satisfying crunch of a perfectly baked cookie, all encapsulated in a delightful, edible sphere. These aren’t your average decorated cookies. What truly sets piping basketball cookies apart is the artistry involved. It’s about transforming simple dough into a recognizable and beloved symbgin extract bringing a playful energy to birthdays, school events, or just a casual afternoon gathering. The satisfaction of seeing those iconic orange hues and black seams come to life under your piping bag is immense, and the delighted reactions from friends and family when they take their first bite are simply priceless. Get ready to score big with this fun and delicious recipe!
Ingredients:
- 2 ¼ cups all-purpose flour, plus more for dusting
- 1 teaspoon baking soda
- ½ teaspoon salt
- 1 cup (2 sticks) unsalted butter, softened
- ¾ cup granulated sugar
- ¾ cup packed light brown sugar
- 2 large eggs
- 1 teaspoon vanilla extract
- 12 ounces semi-sweet chocolate chips
- ½ cup finely chopped walnuts (optional)
- Orange food coloring
- Black food coloring
- White royal icing (store-bought or homemade)
- Small black edible marker
Preparing the Cookie Dough
Mixing Dry Ingredients
In a medium bowl, whisk together the all-purpose flour, baking soda, and salt. This ensures that the leavening agents and salt are evenly distributed throughout the dough, which is crucial for consistent cookie texture. Set this mixture aside.
Creaming Butter and Sugars
In a large mixing bowl, cream together the softened unsalted butter, granulated sugar, and packed light brown sugar until the mixture is light and fluffy. This process, called creaming, incorporates air into the butter and sugar, which contributes to a tender cookie. It’s important that the butter is truly softened, not melted, for optimal creaming. I usually test this by pressing a finger into the butter; it should yield easily.
Adding Wet Ingredients
Next, beat in the two large eggs, one at a time, ensuring each egg is fully incorporated before adding the next. Then, stir in the vanilla extract. The eggs provide structure and richness to the cookies, while the vanilla adds a warm, comforting flavor.
Combining Wet and Dry Mixtures
Gradually add the dry ingredients to the wet ingredients, mixing on low speed or by hand until just combined. Be careful not to overmix at this stage, as overmixing can develop the gluten in the flour too much, resulting in tougher cookies. Once the flour is mostly incorporated, gently fold in the semi-sweet chocolate chips and the finely chopped walnuts, if you are using them. These add delightful texture and bursts of flavor to every bite.
Shaping and Coloring the Cookies
Dividing and Coloring Dough
Divide the cookie dough into three roughly equal portions. To one portion, add a few drops of orange food coloring and mix until the color is uniform. This will form the base of our basketball cookies. To another portion, add a few drops of black food coloring and mix well. This will be used for the basketball lines. Leave the third portion of dough plain.
Forming the Basketballs
For the orange dough, take about 1 tablespoon of dough and roll it into a ball. Gently flatten it slightly. This will be the main body of your basketball cookie. Place these on a baking sheet lined with parchment paper, leaving about 2 inches between each cookie to allow for spreading. Repeat with the remaining orange dough.
Adding Basketball Lines
Once the orange cookie bases are formed, you’ll use the black dough to create the iconic basketball lines. Take a very small piece of the black dough (about the size of a pea) and roll it into a thin rope. You’ll want to shape these thin ropes into curved lines that mimic the seams of a basketball. Carefully place these black dough ropes onto the orange cookie bases, gently pressing them into the dough. You can refer to pictures of basketballs for accurate placement. Alternatively, you can roll out the black dough very thinly and use a small knife or pizza cutter to cut out curved strips to place on the orange dough. It’s important to work relatively quickly with the dough so it doesn’t become too sticky.
Baking and Decorating
Baking the Cookies
Preheat your oven to 375°F (190°C). Bake the cookies for 9 to 11 minutes, or until the edges are lightly golden brown and the centers are still slightly soft. The exact baking time will depend on your oven and the size of your cookies. It’s always better to slightly underbake than overbake cookies for a chewy texture. Let the cookies cool on the baking sheet for a couple of minutes before transferring them to a wire rack to cool completely. This initial cooling on the baking sheet prevents them from breaking.
Decorating with Royal Icing and Edible Marker
Once the cookies have cooled completely, it’s time for the final decorative touches. Prepare your white royal icing. If it’s too thick, you can add a tiny bit of water at a time until it reaches a pipeable consistency. Spoon the royal icing into a piping bag fitted with a small round tip. You can pipe the classic basketball lines or any other decorative patterns you like. For a more precise detail, like adding the NBA logo or smaller seam details, you can use a small black edible marker to draw directly onto the cooled cookie or the dried royal icing. Allow the royal icing to dry completely before handling or serving. These piped basketball cookies are perfect for sports-themed parties or any cookie enthusiast!
Conclusion:
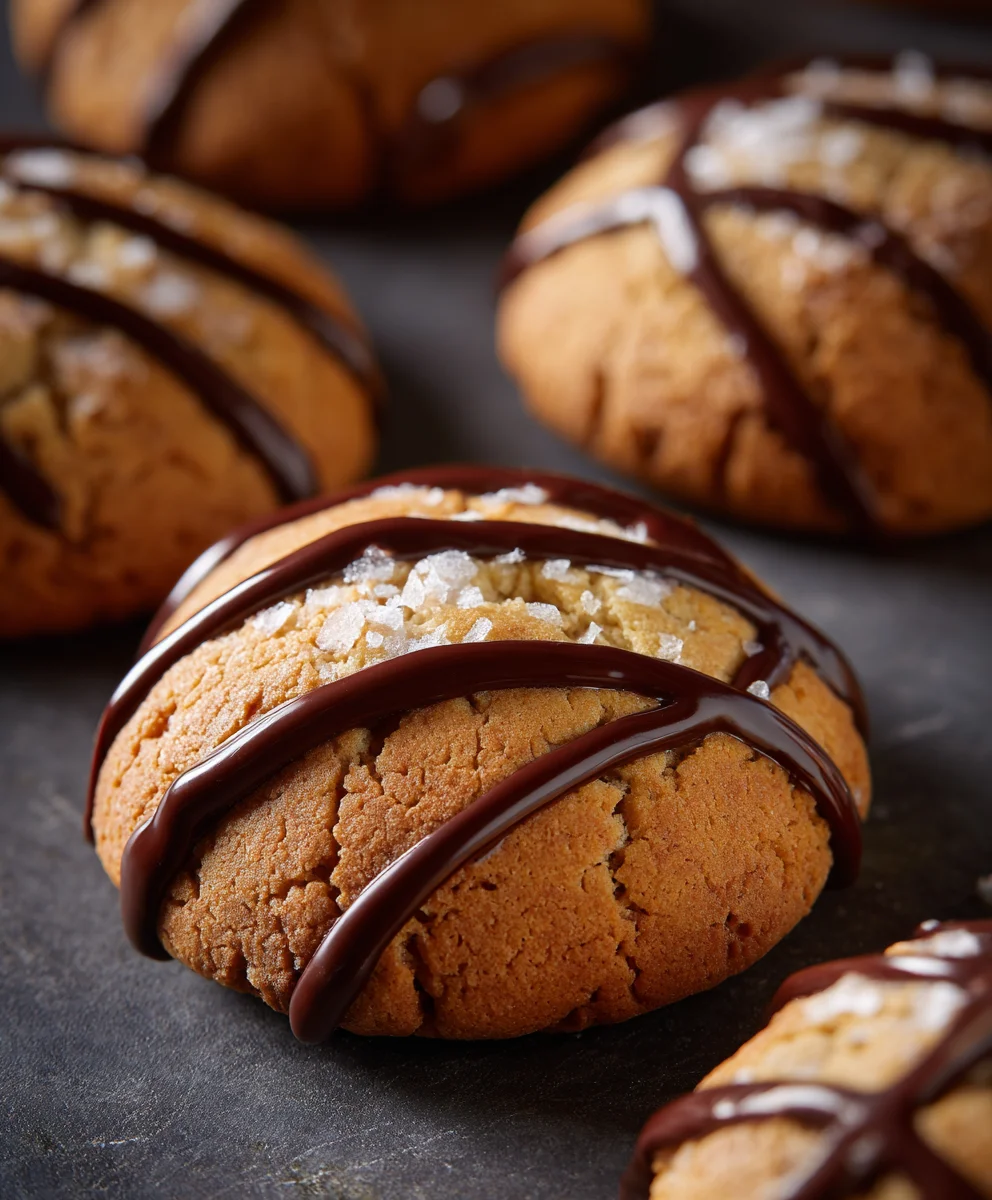
We hope you’ve enjoyed learning how to create these delightful piping basketball cookies! This recipe is a fantastic way to celebrate game day, a sports-themed party, or simply to bring a smile to any basketball enthusiast’s face. The simple sugar cookie base paired with the iconic orange and black icing makes for a visually appealing and delicious treat that’s surprisingly easy to master. Remember, the key to successful piping is patience and a steady hand, but don’t be afraid to embrace a few happy imperfections – they just add to the homemade charm!
These piping basketball cookies are perfect served as is, or you can get creative with serving suggestions. They make wonderful additions to a dessert table alongside other team-colored treats, or you can package them up in cellophane bags tied with ribbon for delightful party favors. For variations, consider using different shades of orange and black icing for a more dynamic look, or even adding a touch of white edible glitter for a subtle sparkle. You could also experiment with different cookie shapes as a base for your basketball design. So go ahead, gather your ingredients, and get ready to score a touchdown (or, well, a slam dunk!) with these fun cookies!
Frequently Asked Questions:
Can I make the cookie dough ahead of time?
Absolutely! The dough for these piping basketball cookies can be made up to 2 days in advance and stored in the refrigerator. Just be sure to wrap it tightly in plastic wrap to prevent it from drying out. Let it sit at room temperature for about 15-20 minutes before rolling it out for easier handling.
What is the best way to achieve a smooth piped surface on the cookies?
For a smooth piped surface, ensure your royal icing has the right consistency – it should be like toothpaste, thick enough to hold its shape but smooth enough to flow. Use a piping bag with a small, round tip. Start by piping an outline around the edge of the cookie and then fill it in with more icing, using a toothpick or scribe tool to gently spread the icing and eliminate air bubbles. Work in small sections if needed.
Piping Basketball Cookies – Fun & Easy Recipe
Create fun and easy basketball-themed cookies with this simple recipe, perfect for sports parties.
Ingredients
-
2 ¼ cups all-purpose flour, plus more for dusting
-
1 teaspoon baking soda
-
½ teaspoon salt
-
1 cup (2 sticks) unsalted butter, softened
-
¾ cup granulated sugar
-
¾ cup packed light brown sugar
-
2 large eggs
-
1 teaspoon vanilla extract
-
12 ounces semi-sweet chocolate chips
-
½ cup finely chopped walnuts (optional)
-
Orange food coloring
-
Black food coloring
-
White royal icing (store-bought or homemade)
-
Small black edible marker
Instructions
-
Step 1
Mix dry ingredients: Whisk together flour, baking soda, and salt in a medium bowl. Set aside. -
Step 2
Cream butter and sugars: In a large bowl, cream softened butter with granulated and brown sugars until light and fluffy. -
Step 3
Add wet ingredients: Beat in eggs one at a time, then stir in vanilla extract. -
Step 4
Combine mixtures: Gradually add dry ingredients to wet ingredients, mixing until just combined. Gently fold in chocolate chips and walnuts. -
Step 5
Divide and color dough: Divide dough into three portions. Color one orange, one black, and leave one plain. -
Step 6
Form basketballs: Roll 1 tablespoon of orange dough into a ball and flatten slightly. Place on a parchment-lined baking sheet. -
Step 7
Add basketball lines: Roll black dough into thin ropes and shape into curved lines, mimicking basketball seams. Gently press onto orange cookie bases. -
Step 8
Bake cookies: Preheat oven to 375°F (190°C). Bake for 9-11 minutes until edges are golden brown. Cool on baking sheet then wire rack. -
Step 9
Decorate: Once cooled, pipe white royal icing onto cookies to create decorative patterns or classic basketball lines. Use an edible marker for finer details.
Important Information
Nutrition Facts (Per Serving)
It is important to consider this information as approximate and not to use it as definitive health advice.
Allergy Information
Please check ingredients for potential allergens and consult a health professional if in doubt.